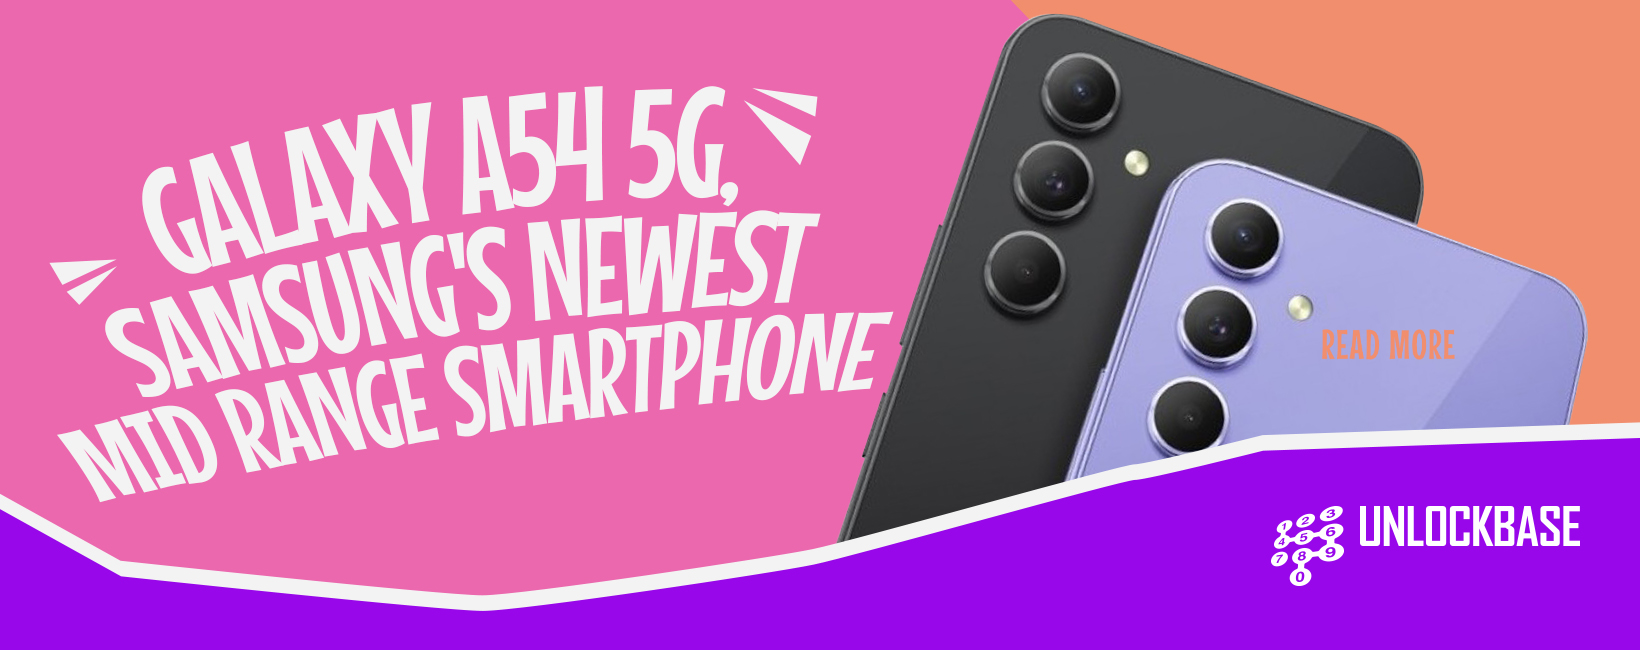
Samsung’s Galaxy A series has gained popularity among customers as it provides access to the wide range of Samsung features without the high price tags that accompany the flagship Galaxy S series. The 2023 Samsung Galaxy A54 5G has been crafted with the modern consumer in mind, who seeks a phone that is both aesthetically pleasing and packed with advanced features.
This latest addition to the Galaxy A series is even closer in terms of features and performance to the top-tier Galaxy S23 models than its predecessors. So, what are the features that make the Samsung A54 5G stand out?
Samsung A54 5G : Design and Display
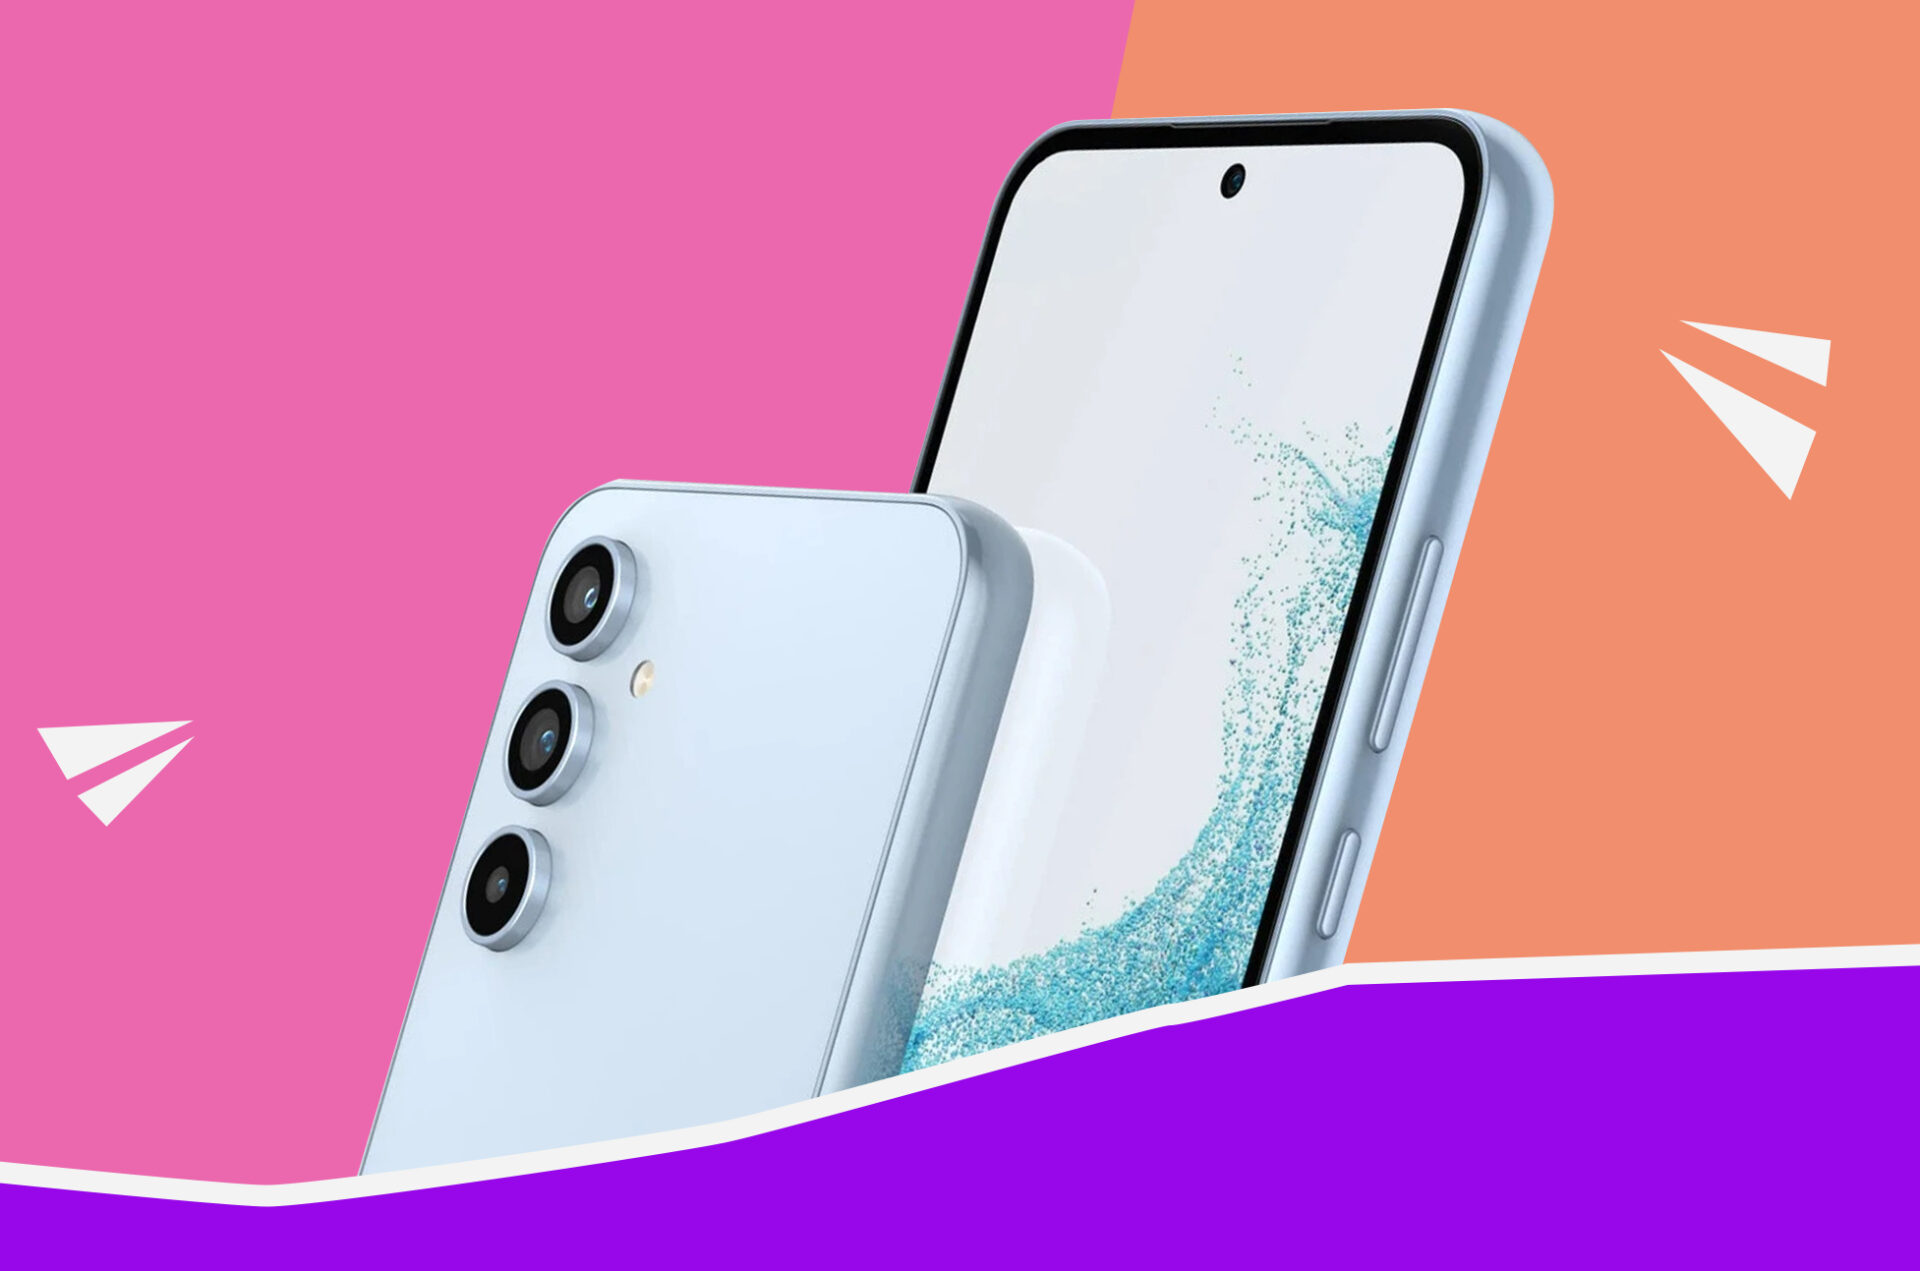
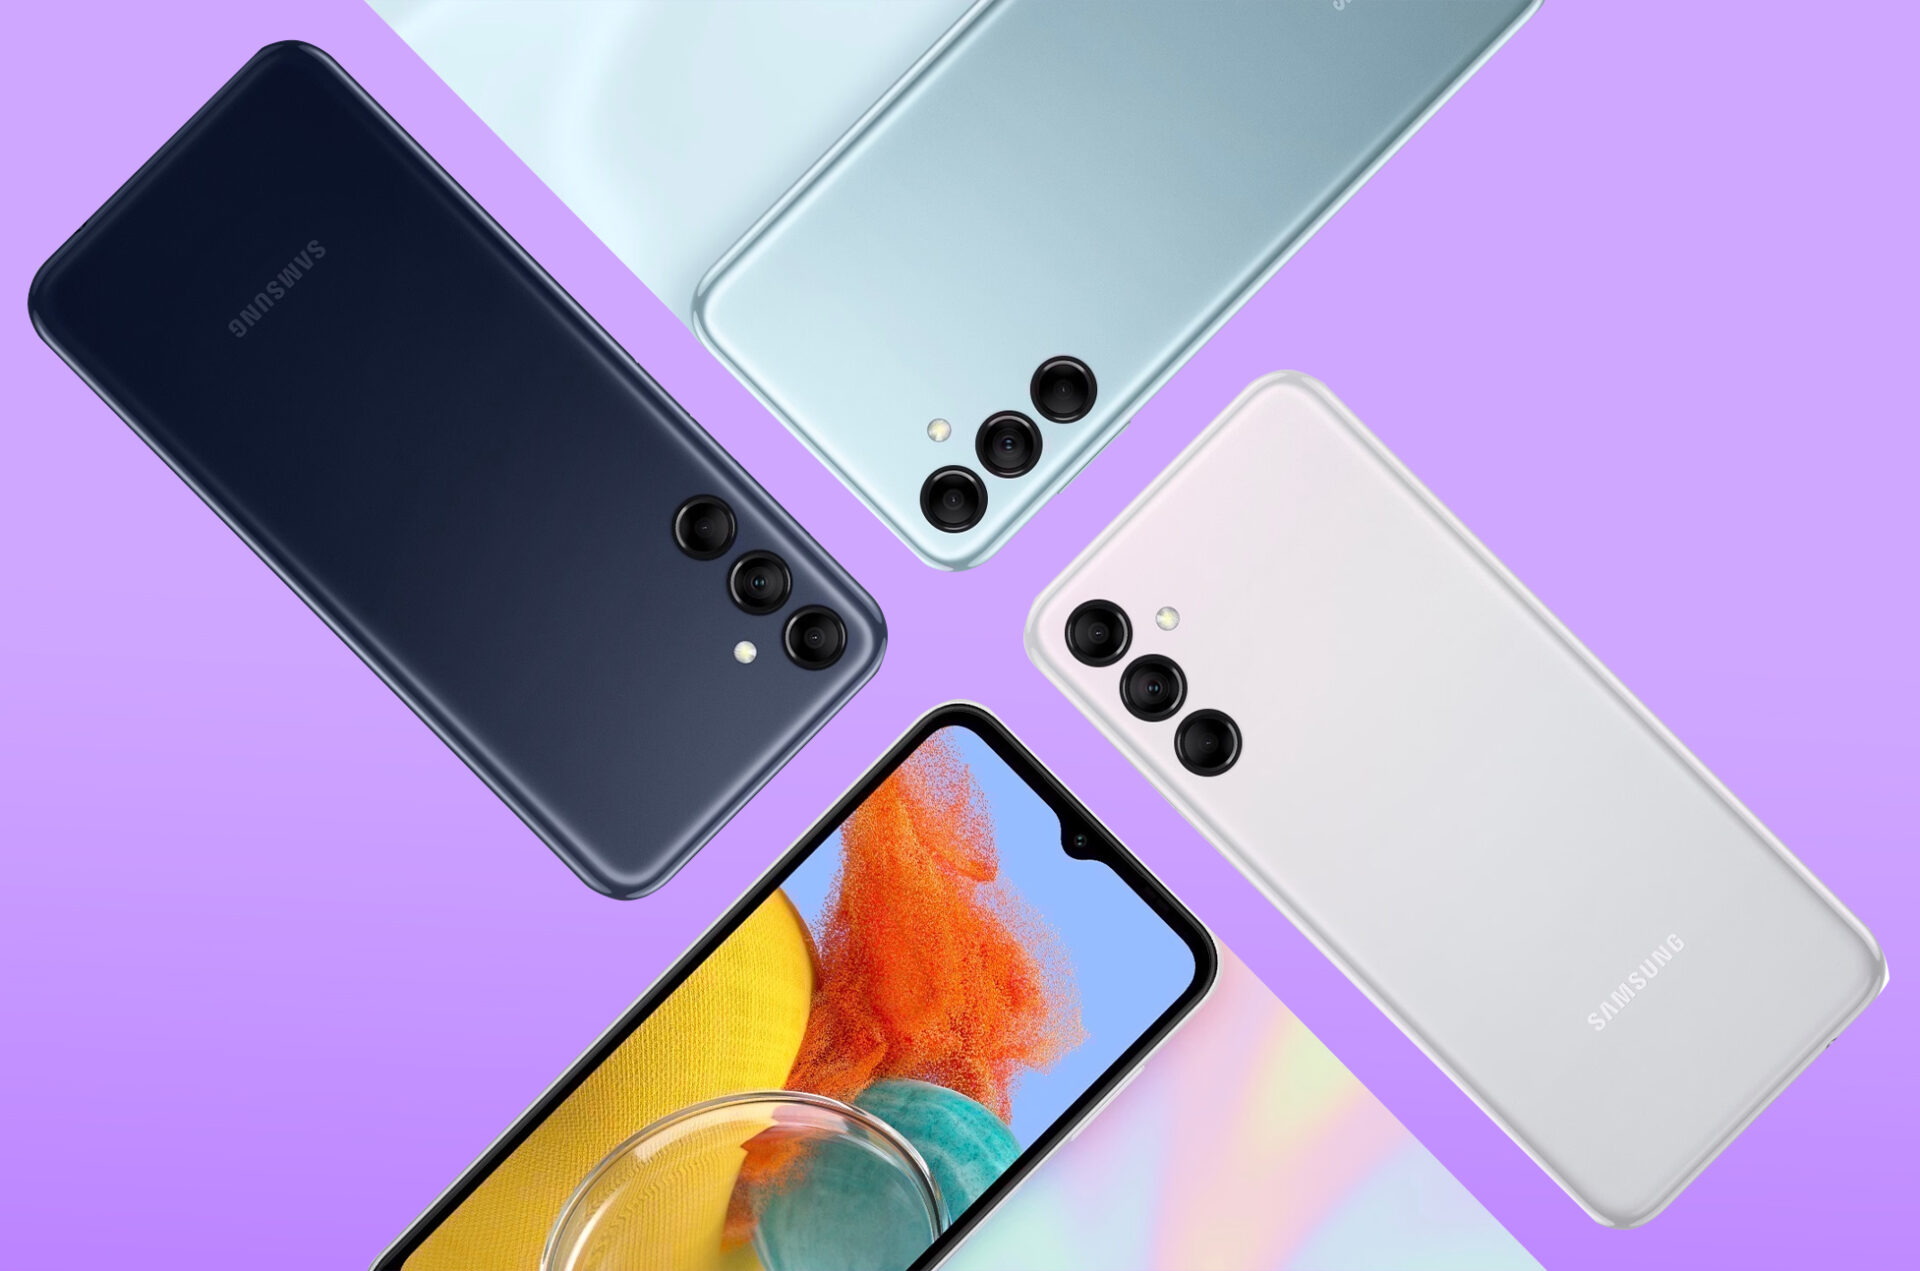
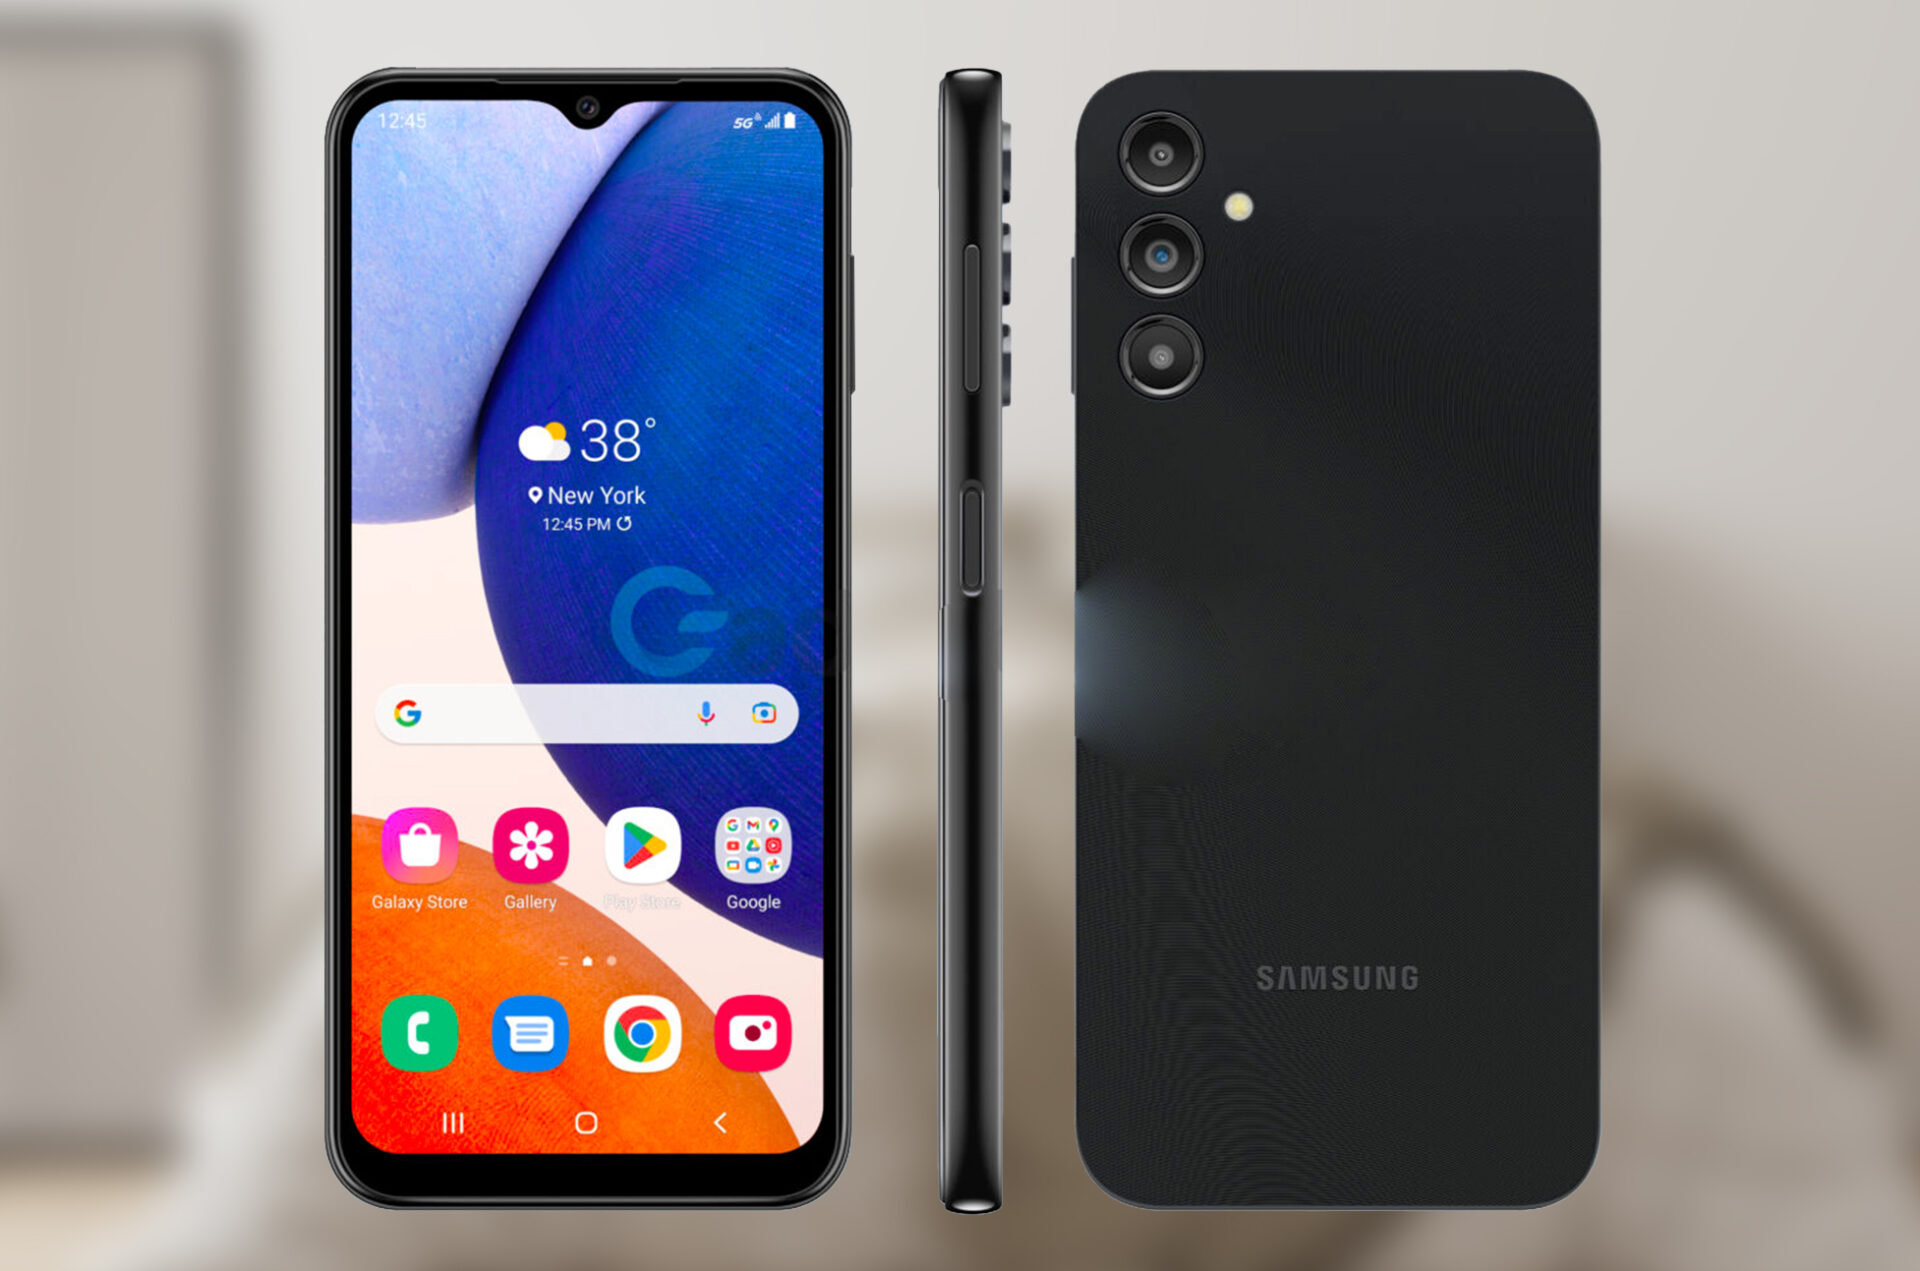
The Samsung A54 comes with a sleek and modern design that is sure to impress. It has a 6.5-inch Super AMOLED display with a quick 120Hz refresh rate. The display is an Infinity-O display, which means it has a small hole-punch cutout for the front-facing camera. The phone also features a glass back, and is available in four different colors. Lime, Graphite, Violet, and White are all Fantastic colors.
Samsung A54 5G : Camera
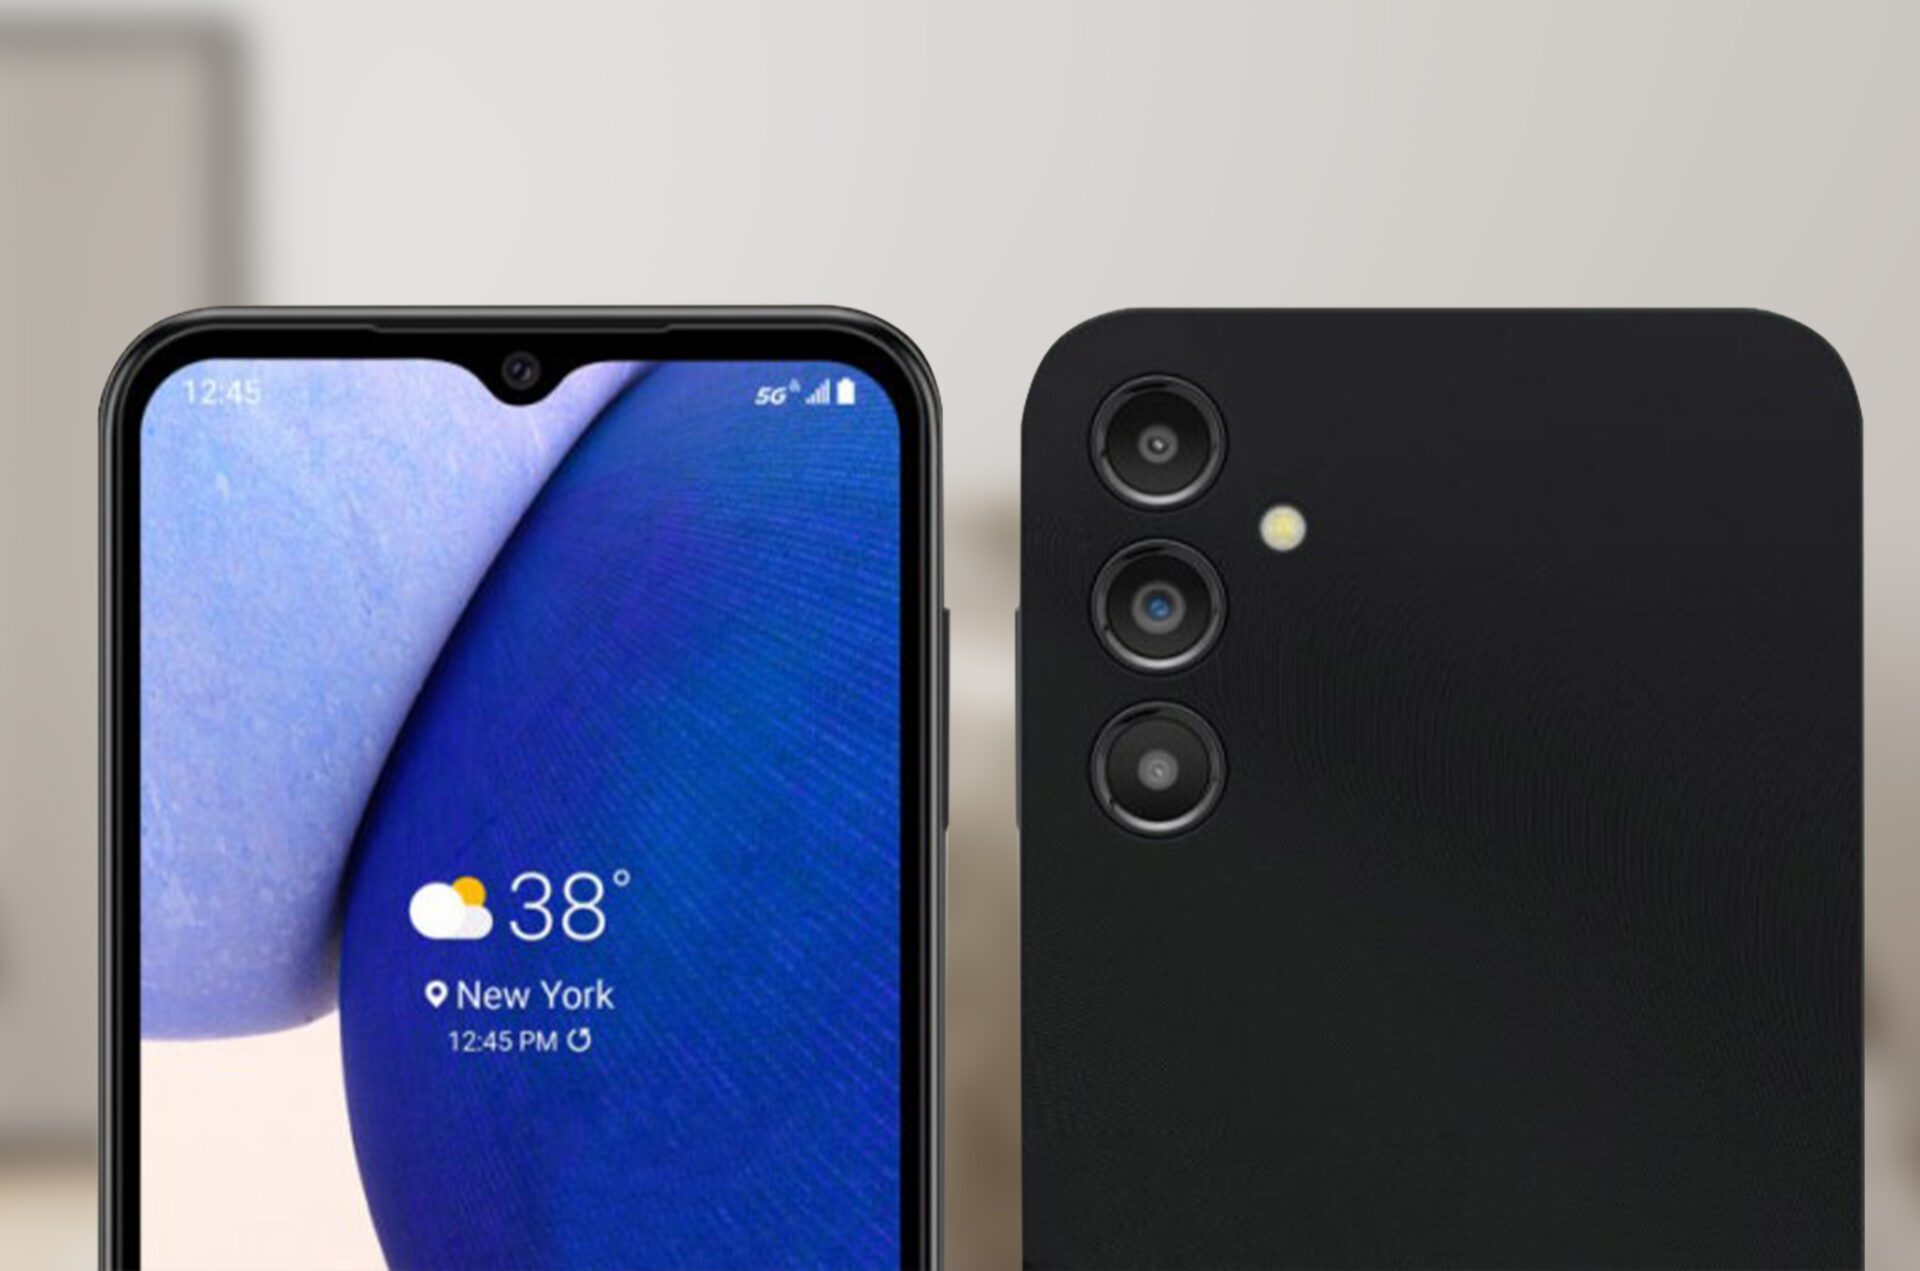
There are a few positive improvements to the Samsung A54 5G over the previous model of this phone. Secondly, it now features a triple camera system instead of the previous quad. As we’ve long railed against these useless sensors that do nothing more than bulk up the statistics without providing any real value, the depth sensor has been eliminated.
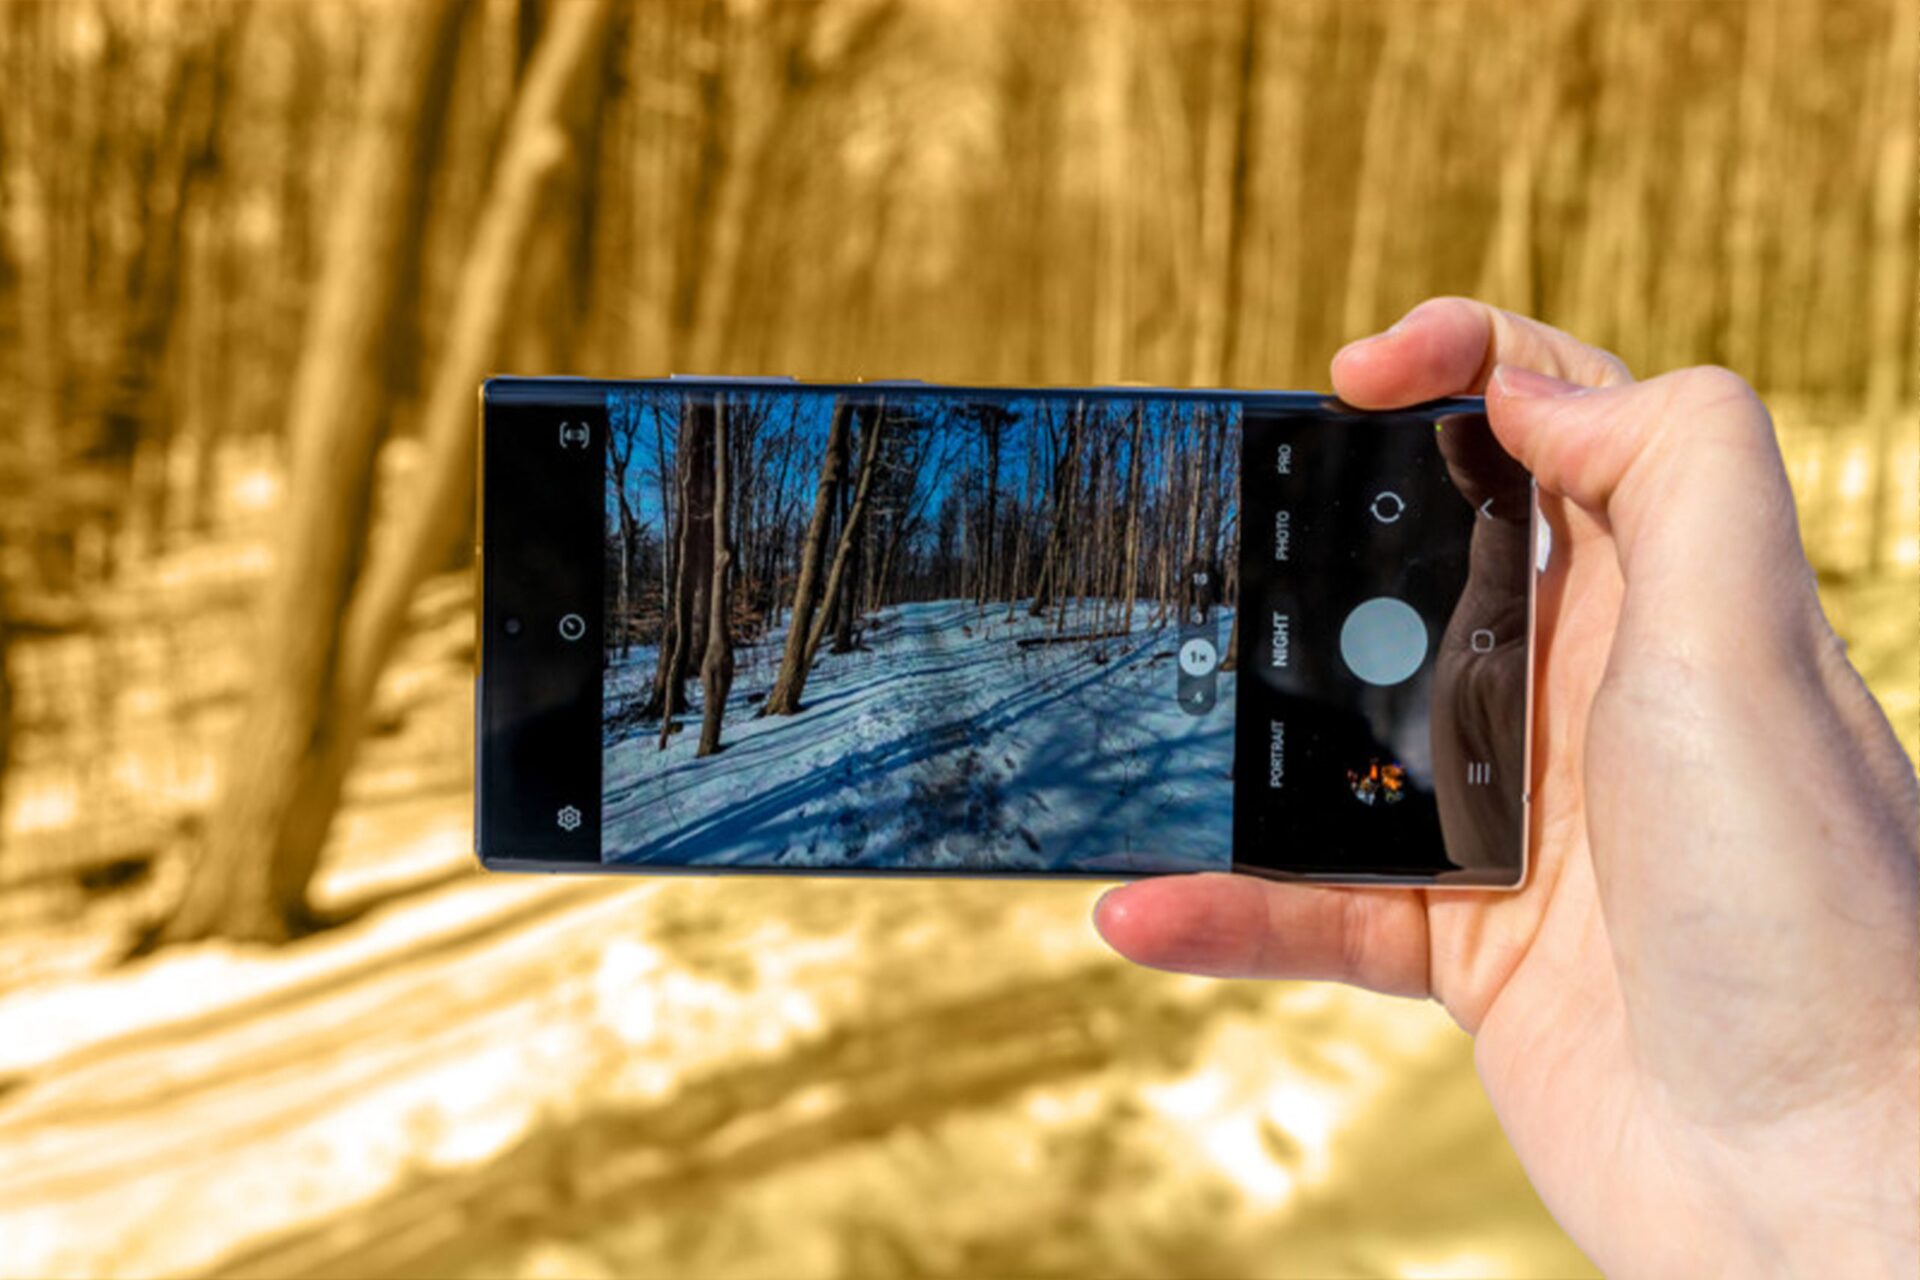
The Samsung A54 5G has a tri-camera setup on the back. Individuals who enjoy making their own content will love the high resolution of the 32 megapixel selfie camera. The primary camera is 50 megapixels with optical image stabilization; there is also a crisp 12-megapixel ultra-wide and a 5-megapixel macro lens on the back. The camera is capable of capturing great photos in a variety of lighting conditions, and the ultrawide camera is great for capturing panoramic shots.
Samsung A54 5G : Performance and Battery
The Samsung A54 5G is powered by a mid-range processor that can handle most jobs with ease, a 2.4GHz Exynos 1380 octa-core. Most users won’t need more storage space than what the phone offers, as it comes with either 128GB or 256GB of it. A microSD card can be used to add extra space if necessary.
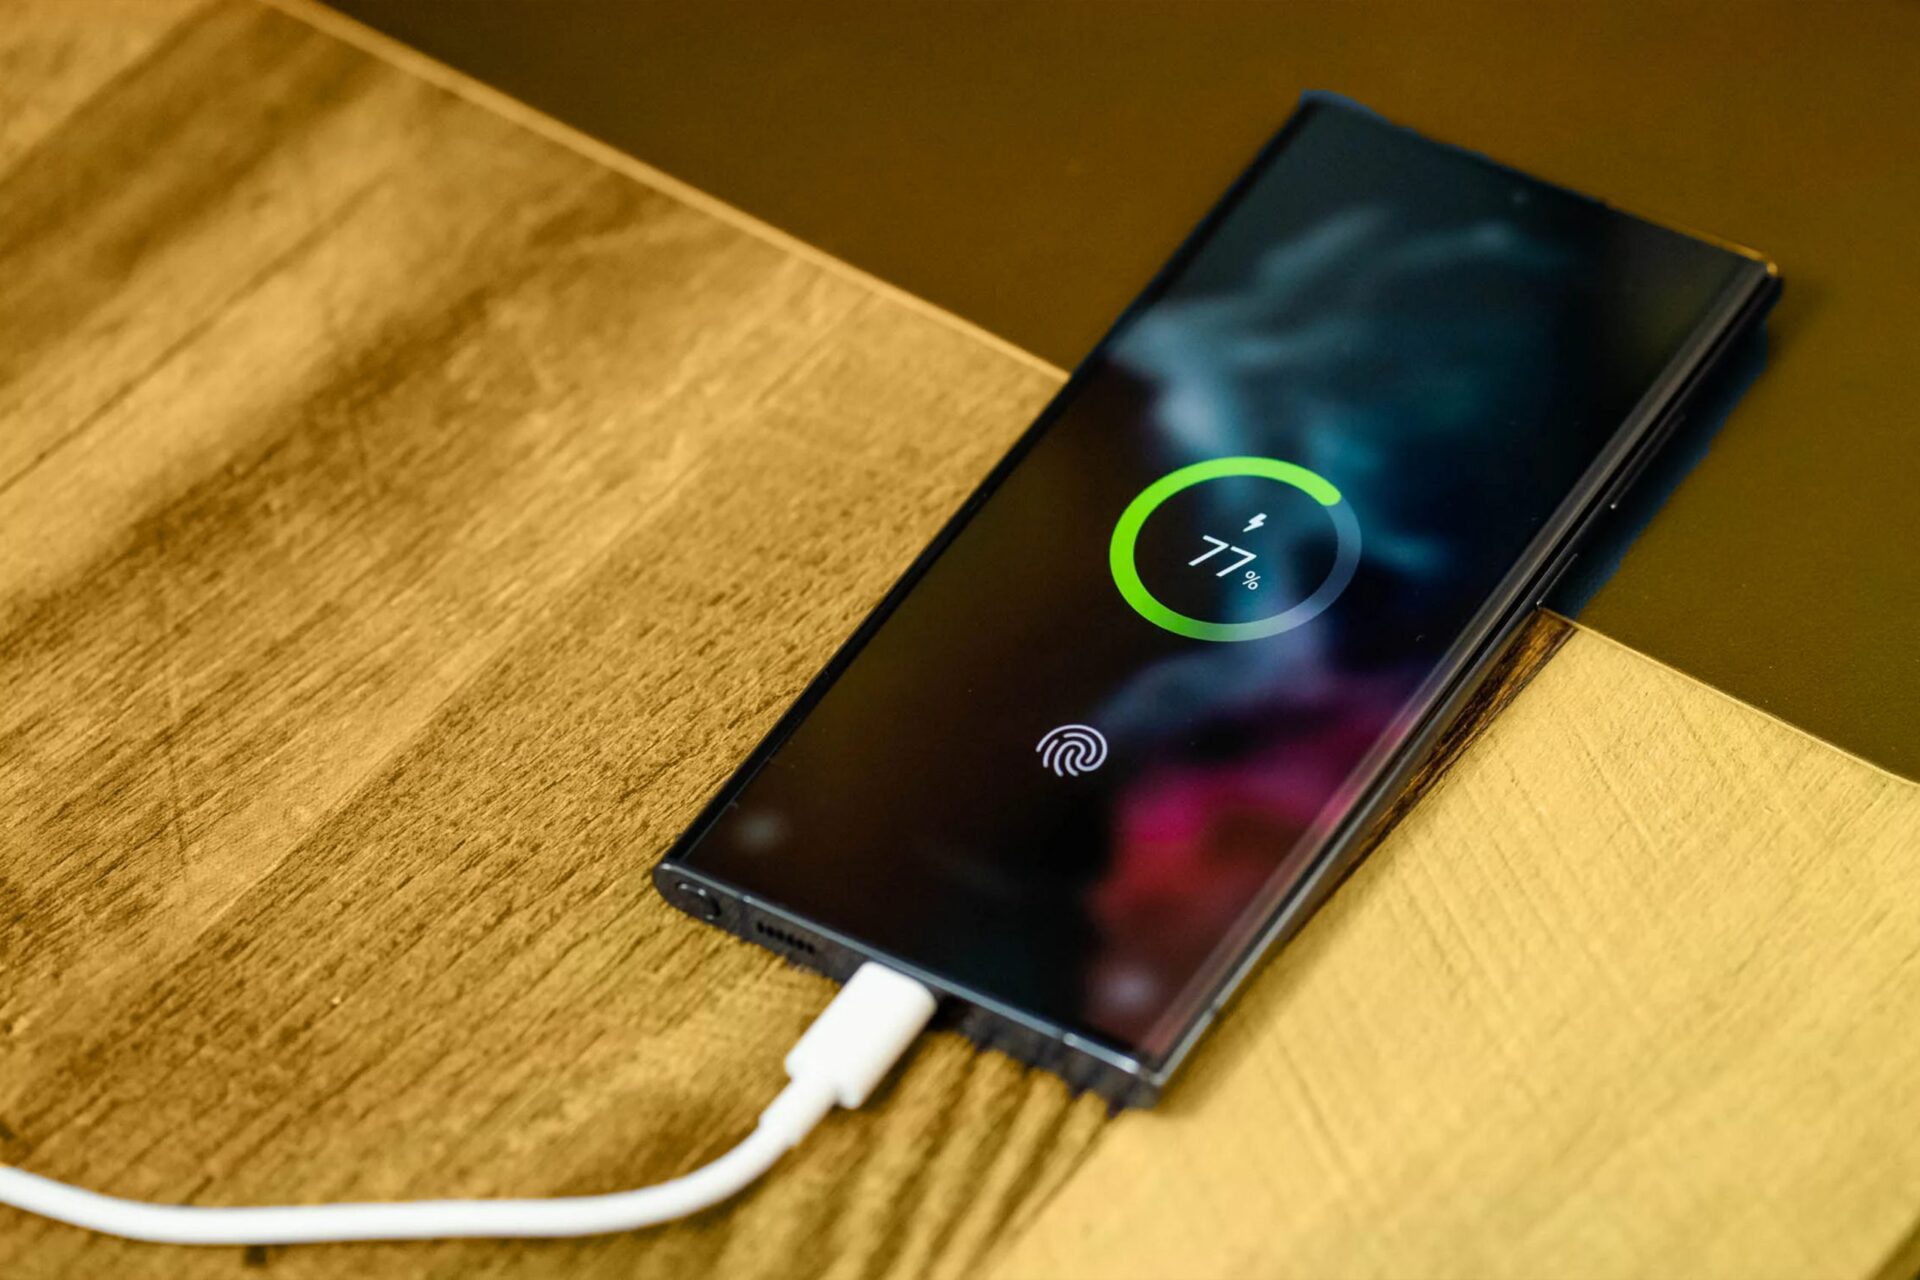
The phone has a 5000mAh battery, so a day of moderate use should be no problem. The phone can be swiftly recharged when the battery becomes low because it supports 25W fast charging.
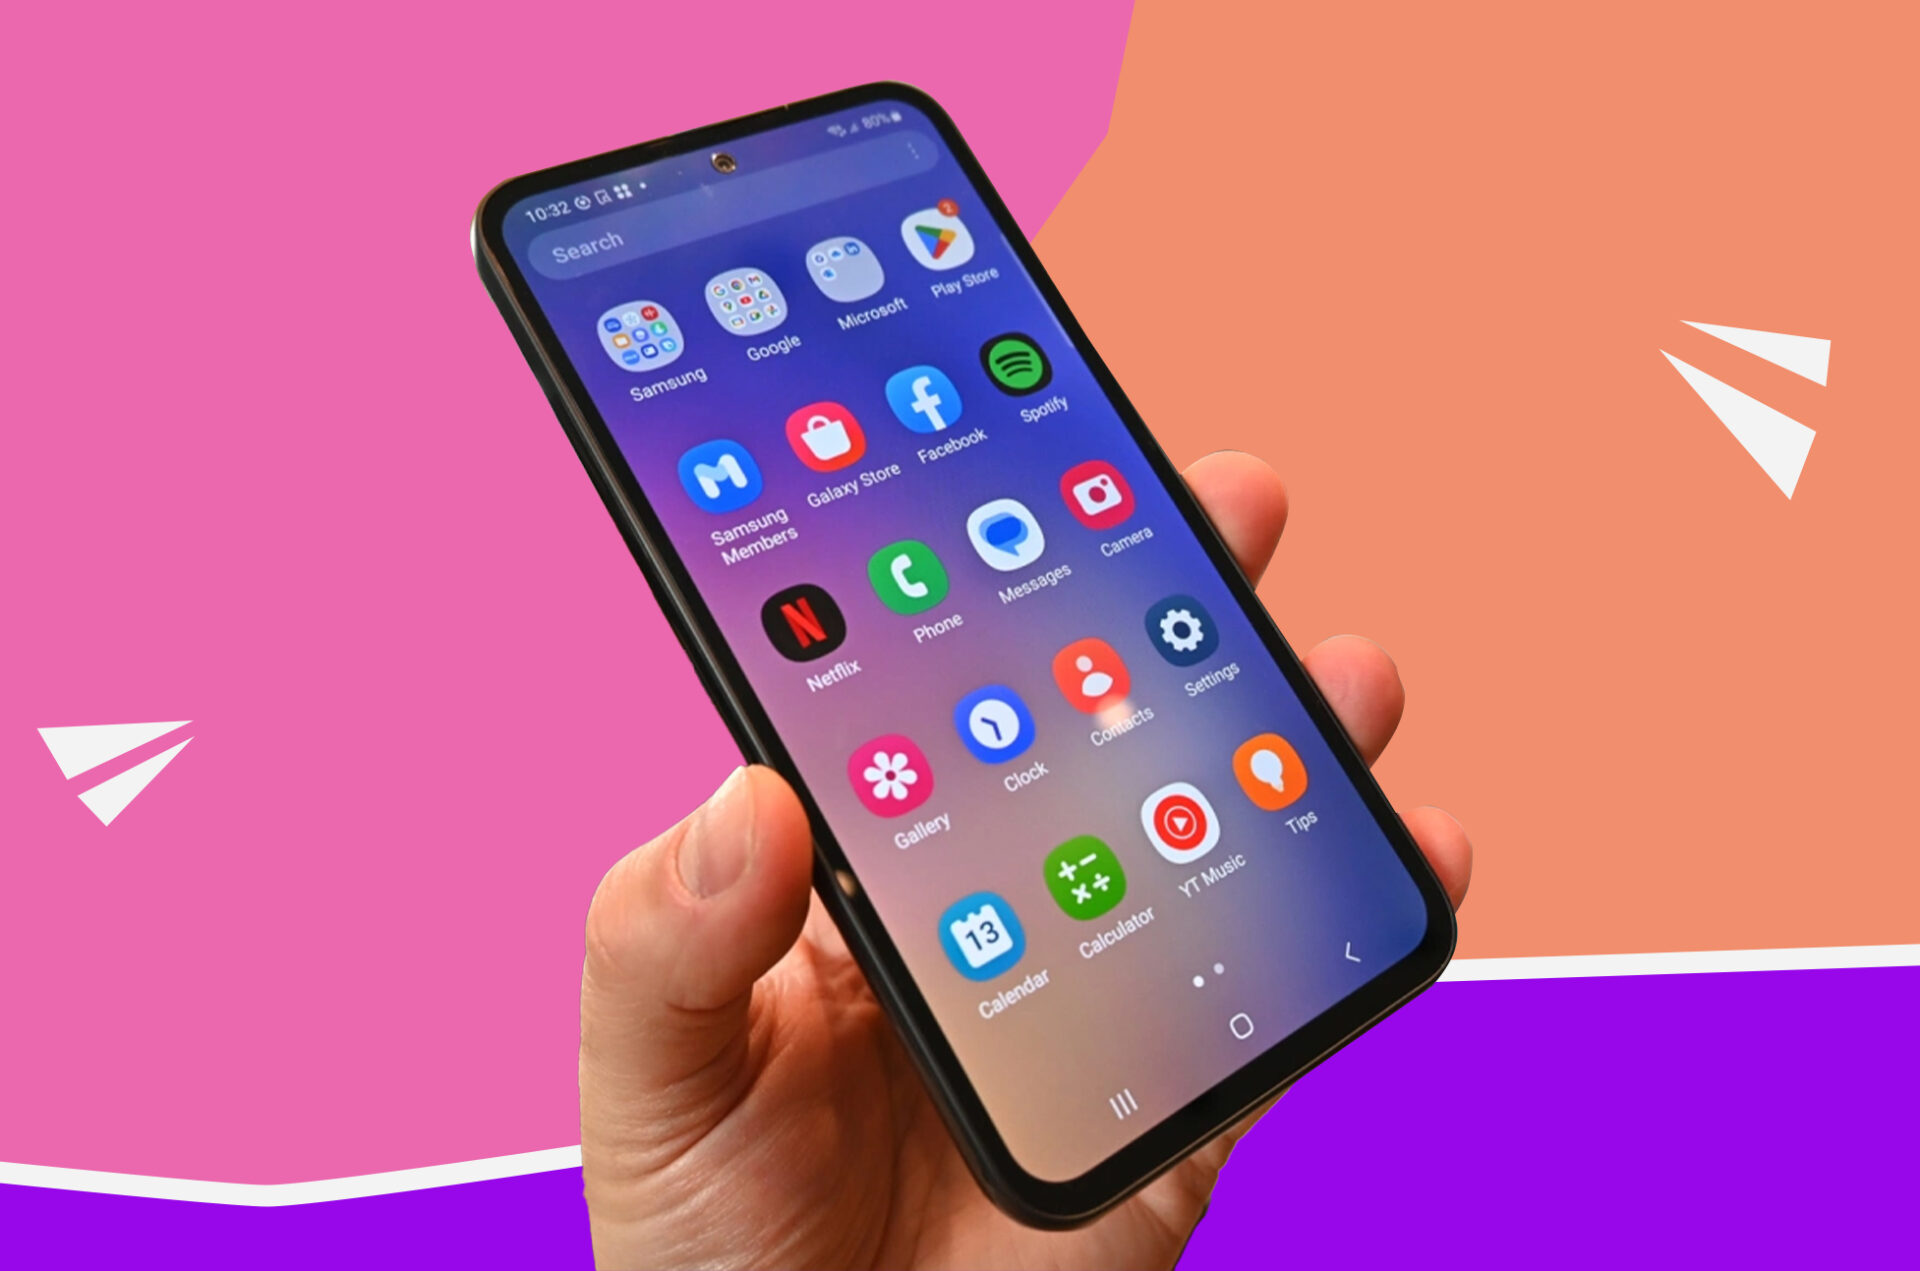
The Samsung A54 5g runs on Android 13 with One UI 5.1 interface, stereo speakers, and an under-display fingerprint scanner, One UI is a great custom skin that adds a lot of useful features to Android, such as the ability to use two apps at once with split-screen mode.
Samsung A54 5G is available from a number of brick-and-mortar locations and online merchants. Here are a few well-liked choices:
Samsung: You may purchase the Samsung A54 5G straight from the company’s website or a physical location. Amazon: The Samsung A54 5G is one of the many smartphones available on Amazon. You may compare costs from different dealers and select from new or used models. Best Buy: The Samsung A54 5G is available from this well-known shop as too. To order the phone, go to one of its physical stores or place an online order. Stores run by carriers: You may also purchase the SSamsung A54 5G through a shop or online run by your carrier. Major providers like Verizon, AT&T, and T-Mobile offer the phone for sale.
Be sure to shop around and look for any discounts or special offers before buying the Samsung A54 5G. In order to get a genuine product and dependable customer support, be sure you buy from a renowned merchant as well.
Conclusion
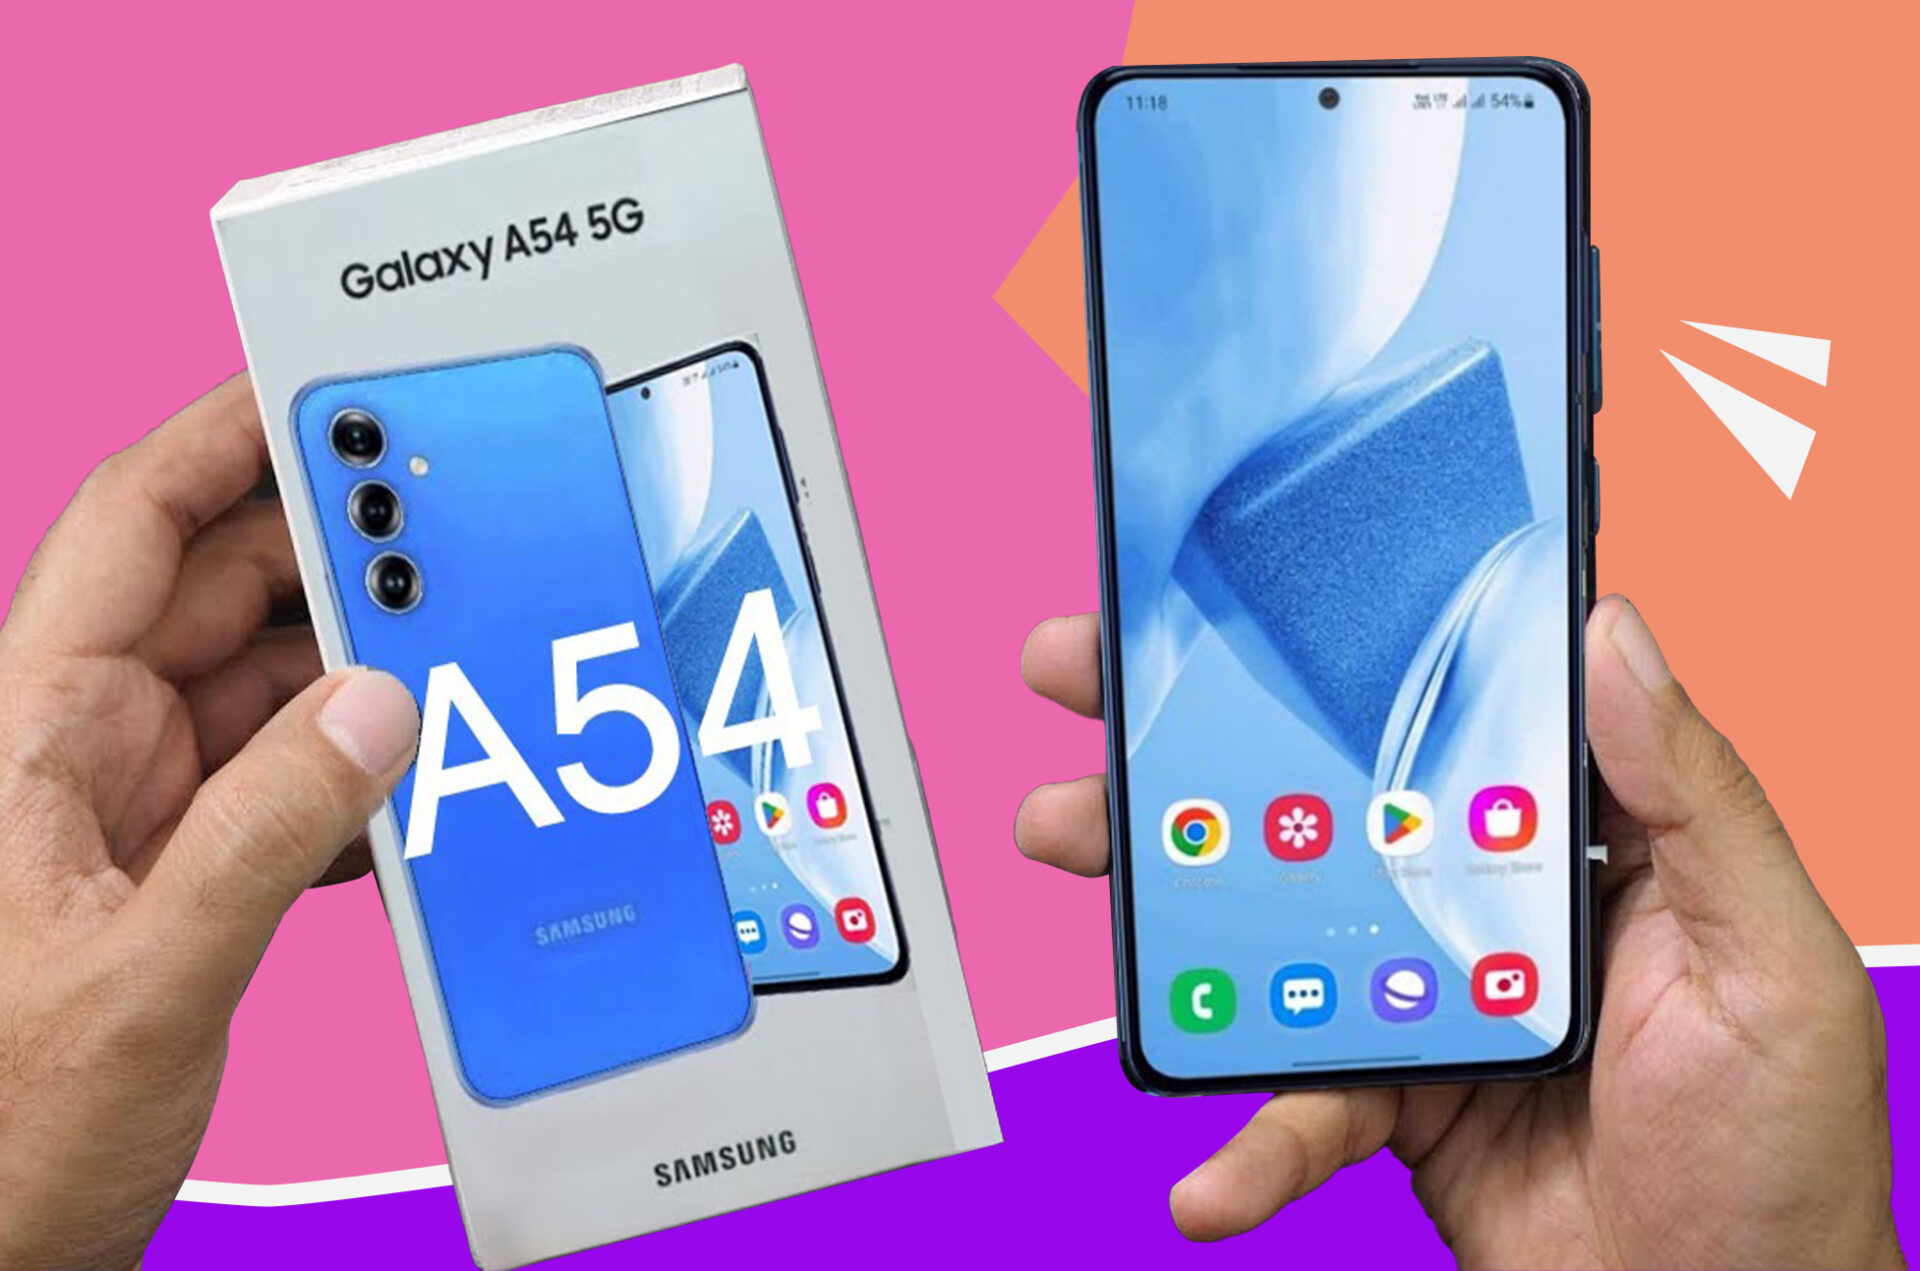
The Samsung A54 is a fantastic mid-range smartphone that exceeds expectations in terms of both performance and value. The Samsung A54 is a great option if you need a new smartphone but don’t want to spend a lot of money. Its high-quality camera, long-lasting battery, and dependable performance guarantee satisfaction. If you have any question, let us know in the comment section below!
All products, and company names, logos, and service marks (collectively the "Trademarks") displayed are registered® and/or unregistered
trademarks™ of their respective owners.
The authors of this web site are not sponsored by or affiliated with any of the third-party trade mark or third-party registered trade mark owners,
and make no representations about them, their owners, their products or services.
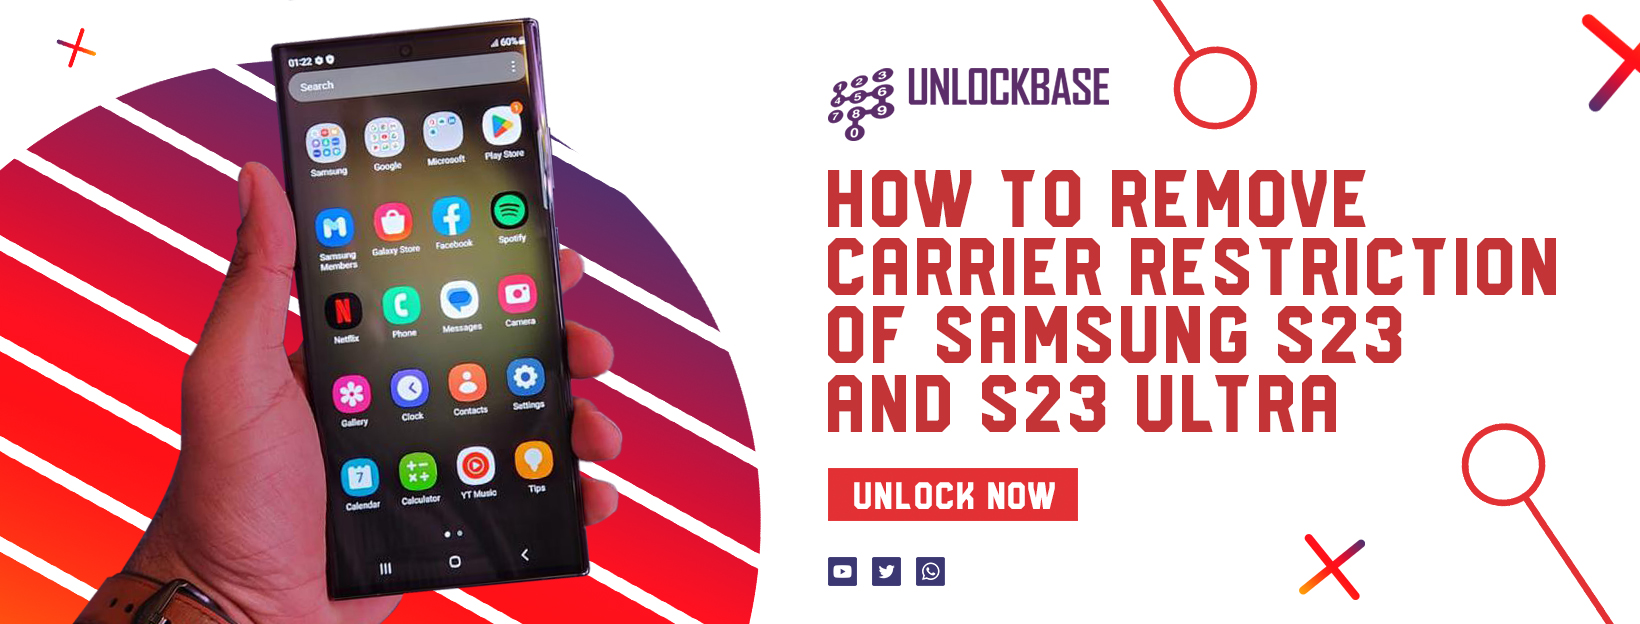
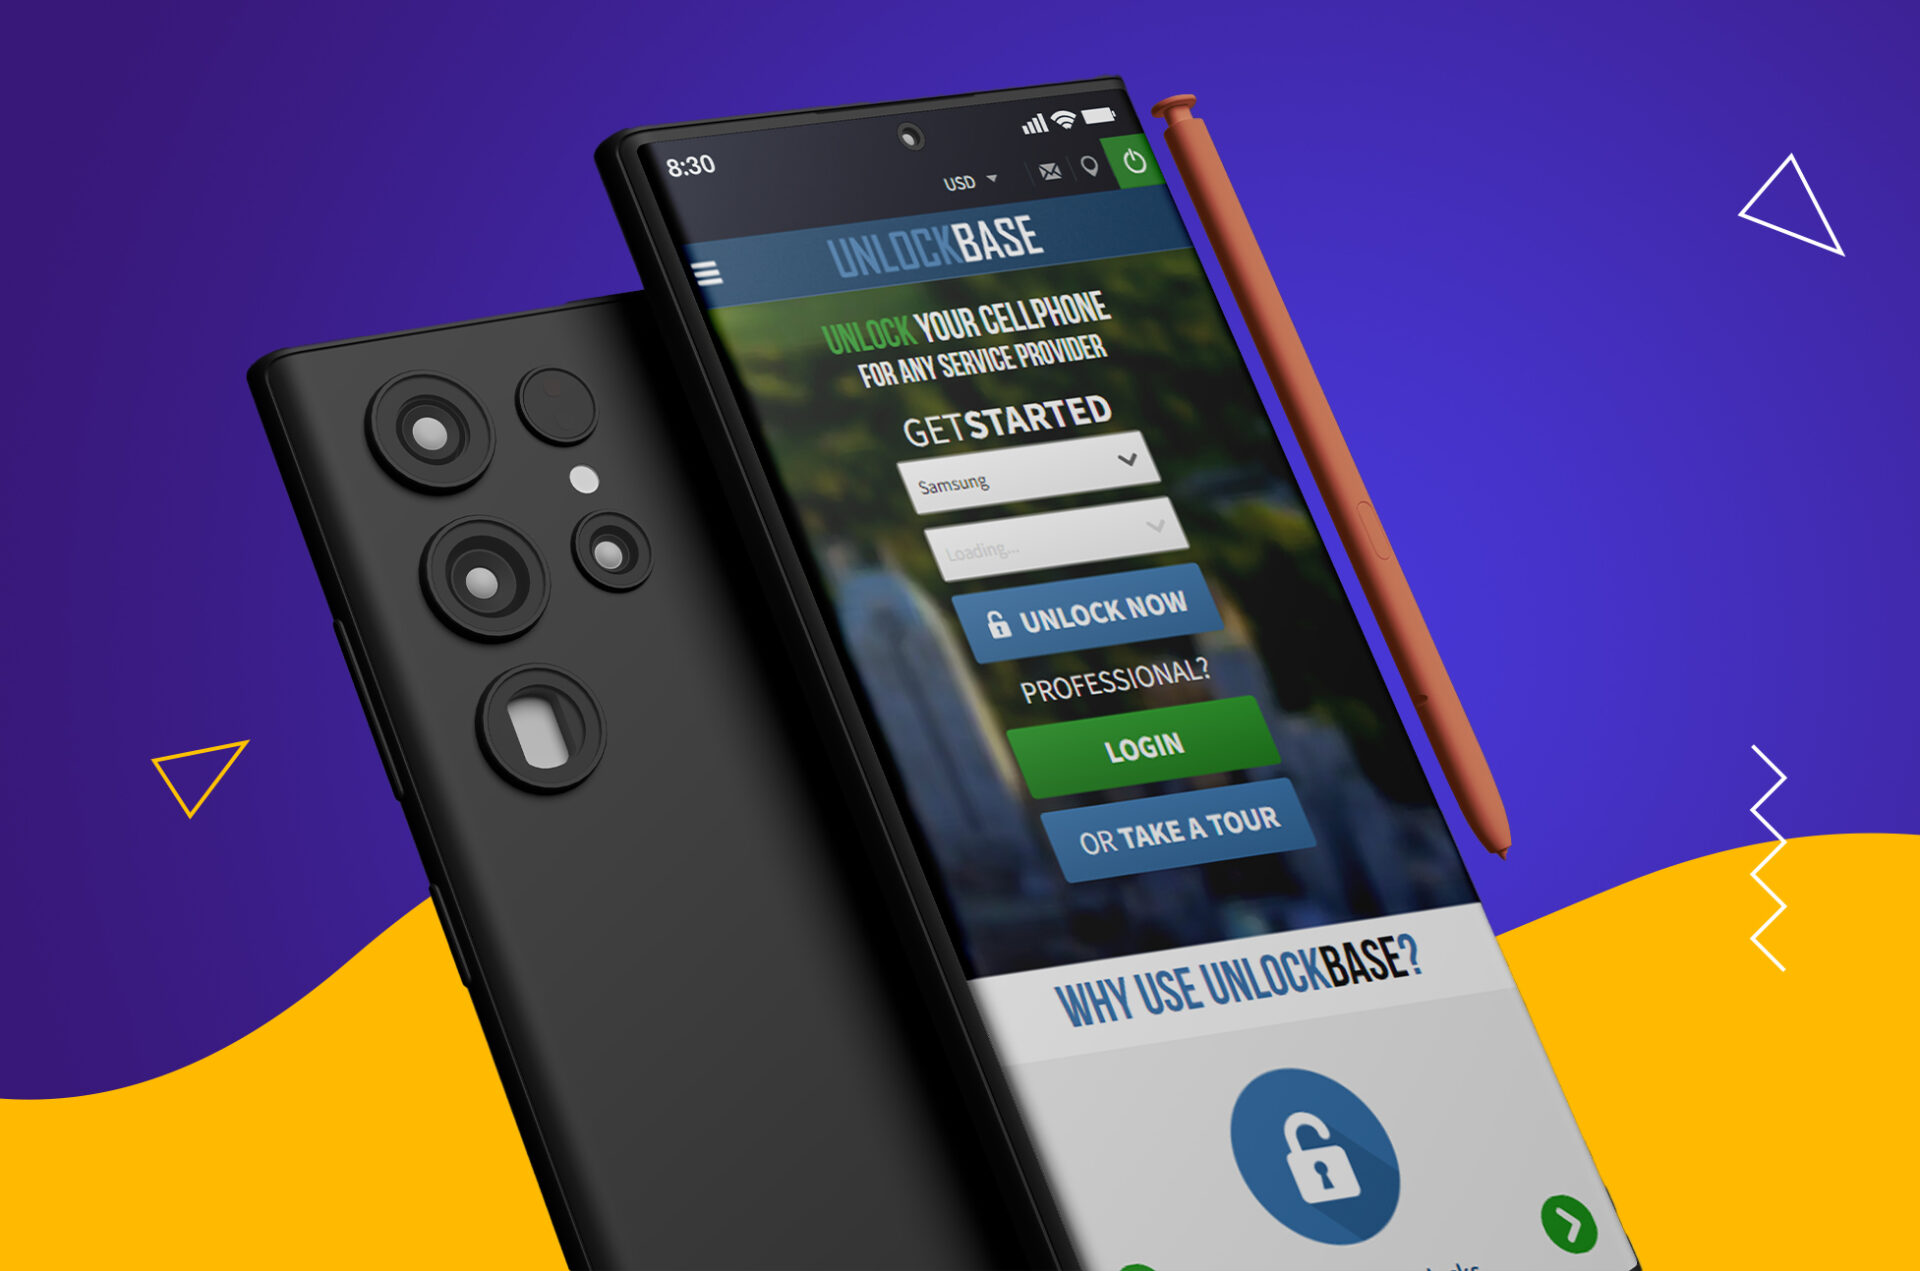
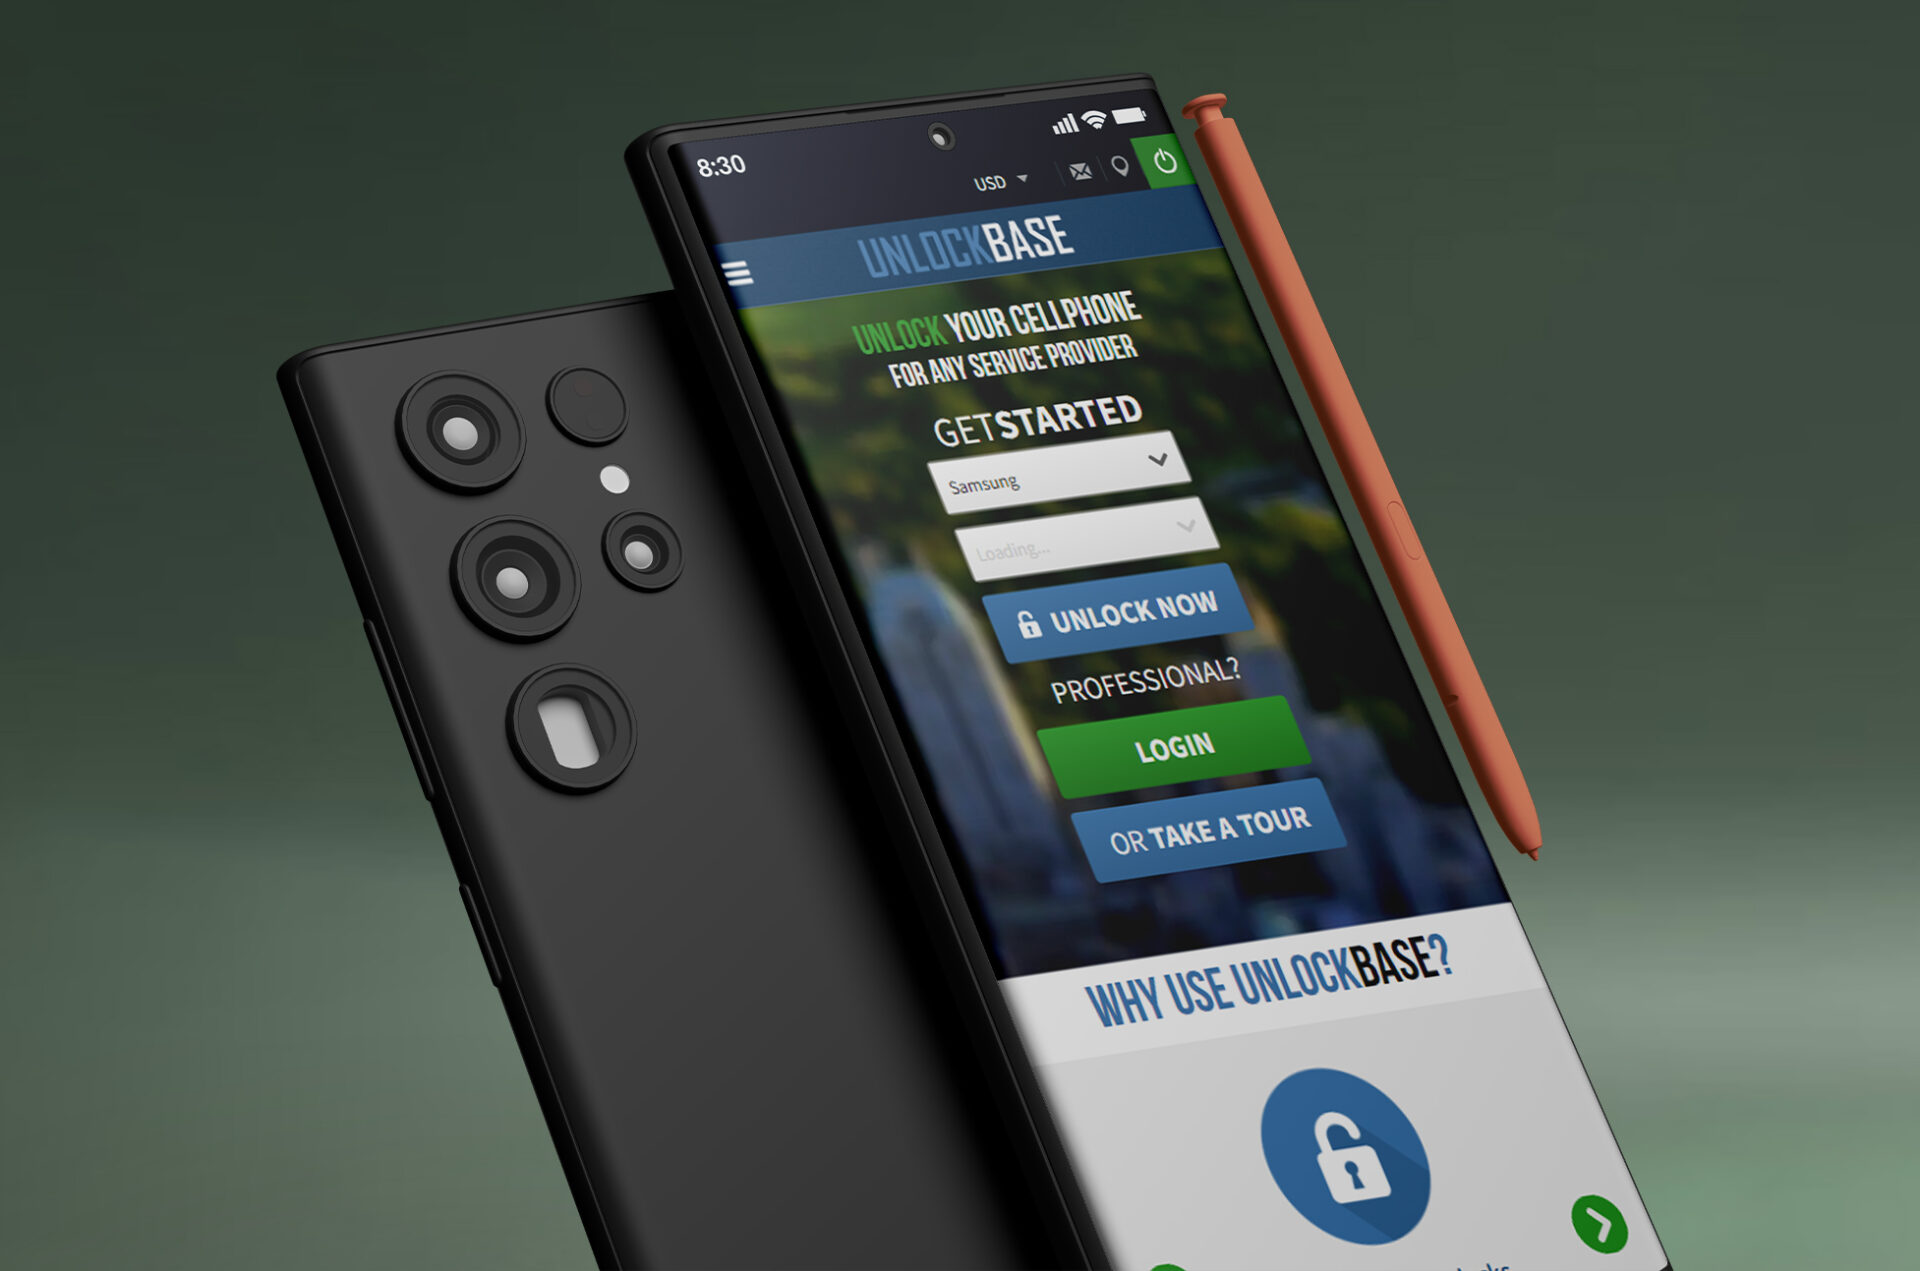
How to Unlock S23 and S23 Ultra? Are you tired of your Samsung S23 or S23 Ultra being locked to a certain carrier? Do you want to be able to use your phone with any carrier? Carrier restrictions can be annoying, but luckily they are easy to get rid of. In this blog post, we’ll show you how to get your Samsung S23 and S23 Ultra to work with a different carrier.
By the end of this guide, you’ll be able to use your Samsung S23 or S23 Ultra with any carrier you want, giving you the freedom to choose the plan that best fits your needs. So let’s get started!
How to Unlock S23: All you need to know before unlocking your Samsung Galaxy S23/S23 Ultra unlocked
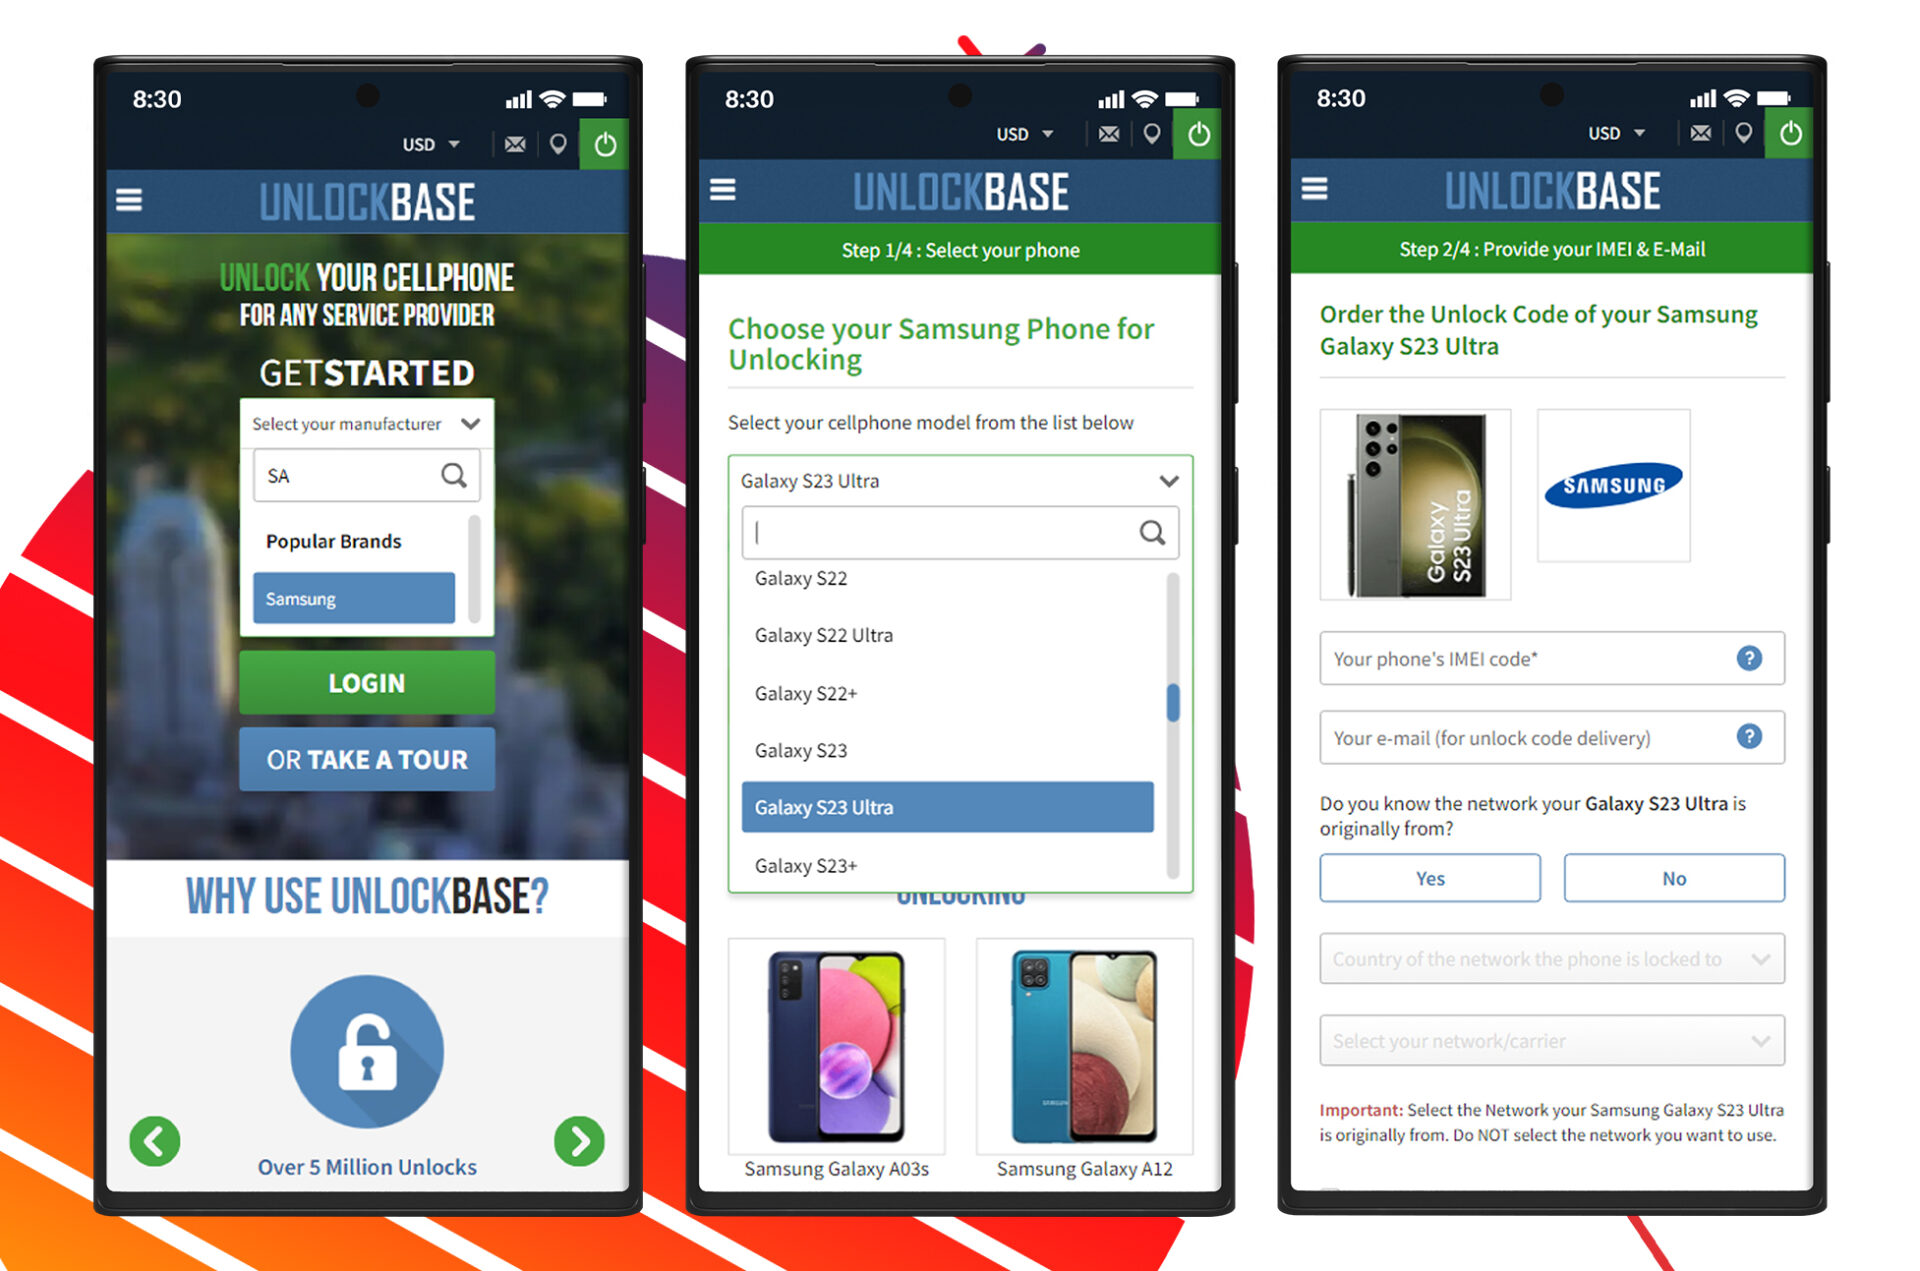
How to Unlock S23 and S23 Ultra? Make sure your Samsung S23 or S23 Ultra is eligible for carrier unlocking before you begin the unlocking process. Contact your carrier and ask for an unlock code to accomplish this. Your carrier will provide you an unlock code if your smartphone qualifies.
Postpaid phones are phones that are obtained from a network provider with a two-year contract. If your device is under contract, you’ll need to wait until the contract ends to unlock your phone. However, there is an exception to this rule if you are willing to pay an early termination fee to end your contract. But with UnlockBase, you may be able to unlock your devices as early as you get your Samsung Galaxy S23 or S23 Ultra.
Insert a new SIM card from a different carrier after making sure your device can be unlocked for use with another carrier. You cannot use a SIM card from another carrier if your Samsung S23 or S23 Ultra is carrier-locked. If the new SIM card works, your handset is unlocked and you are not need to go through the carrier unlocking procedure below
How to Unlock S23: Backup your device before Unlocking
How to Unlock S23 and S23 Ultra? It’s optional to back up the data on your Samsung S23 or S23 Ultra before moving further with carrier unlocking. This will guarantee that you don’t lose any important data while carrier unlocking is being done. By connecting your device to a computer and moving your information to a secure location, you can backup your data.
How to Unlock S23: Unlocking Your Samsung Galaxy S23 and S23 Ultra
How to Unlock S23 and S23 Ultra? Utilizing an unlock code for a Samsung Galaxy S23 or S23 Ultra locked phone is easier than you would imagine. It does not need any equipment or knowledge. Please take the following steps:
You will be allowed to choose the country where the phone is locked.
Select the network or provider to which the phone is locked.
Check to see whether your payment went through, then wait for an email with a confirmation.
Please perform the following procedures:
Remove the original SIM card that comes with your phone
Insert whatever SIM card you want.
A box with an entry field on the screen should instantly appear so you may input the unlock code.
Enter the unlock code that UnlockBase provided for you.
Or, you can use the link below to access a comprehensive video tutorial showing you how to unlock your phone in no time. Relax! Unlocking a Samsung Galaxy S21 Ultra is the same as unlocking a Samsung S23 Ultra!
Conclusion
How to Unlock S23 and S23 Ultra? Your Samsung S23 or S23 Ultra may be carrier unlocked easily and quickly by following a few easy steps. You can remove carrier restrictions from your device and use any carrier by following the instructions in this blog post. Please keep in mind to backup your data prior to carrier unlocking to prevent losing any important info. If you have any questions, let us know in the comment section below!
All products, and company names, logos, and service marks (collectively the "Trademarks") displayed are registered® and/or unregistered
trademarks™ of their respective owners.
The authors of this web site are not sponsored by or affiliated with any of the third-party trade mark or third-party registered trade mark owners,
and make no representations about them, their owners, their products or services.
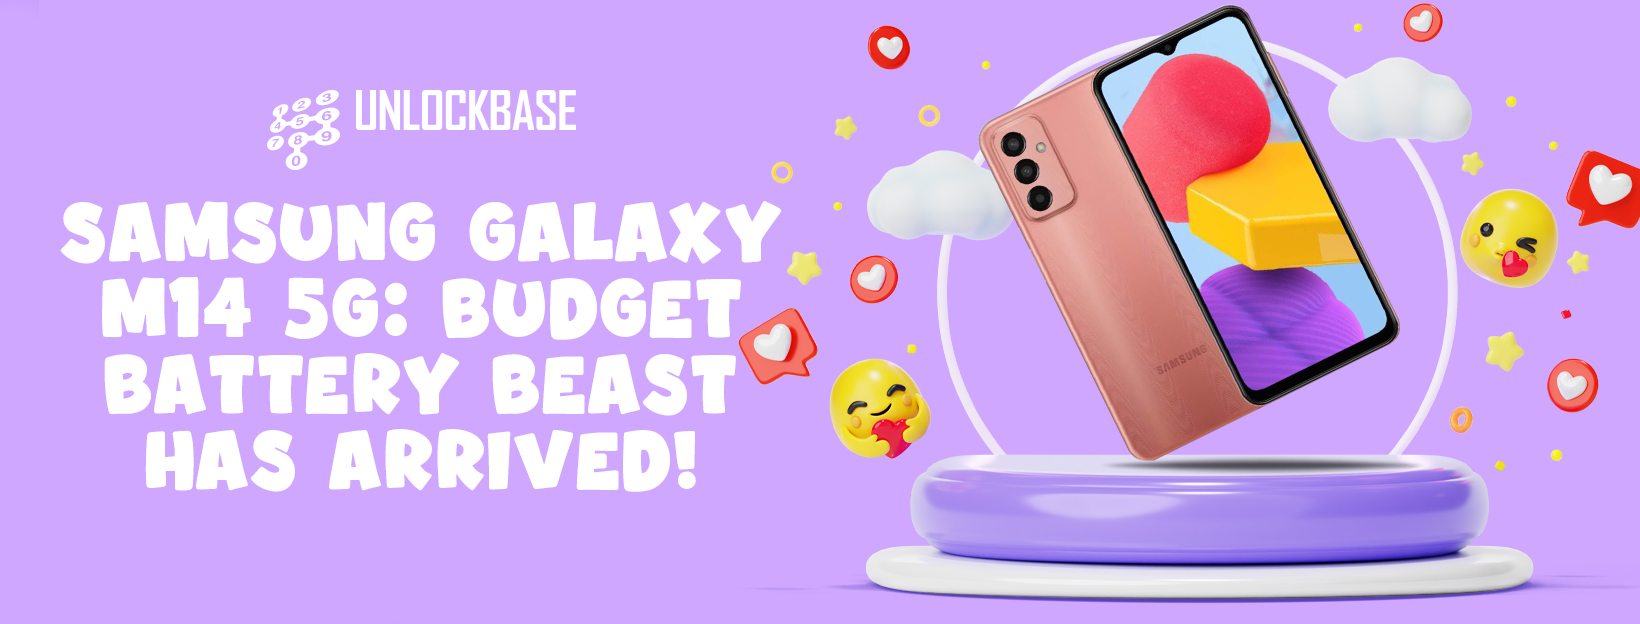
Samsung has just released its most recent smartphone, the Samsung Galaxy M14 5G, which is being marketed as an affordable battery beast. With remarkable features like as a robust battery, 5G connection, and a stylish appearance, the M14 5G is primed to be a popular choice among smartphone users in need of a device that provides excellent value for money.
In this blog, we will examine the Samsung Galaxy M14 5G’s features and what makes it an affordable battery beast.
Dimensions
166.8 x 77.2 x 9.4 mm (6.57 x 3.04 x 0.37 in)
Colors
Navy Blue, Light Blue, Silver
SIMs
Single SIM (Nano-SIM) or Dual SIM (Nano-SIM, dual stand-by)
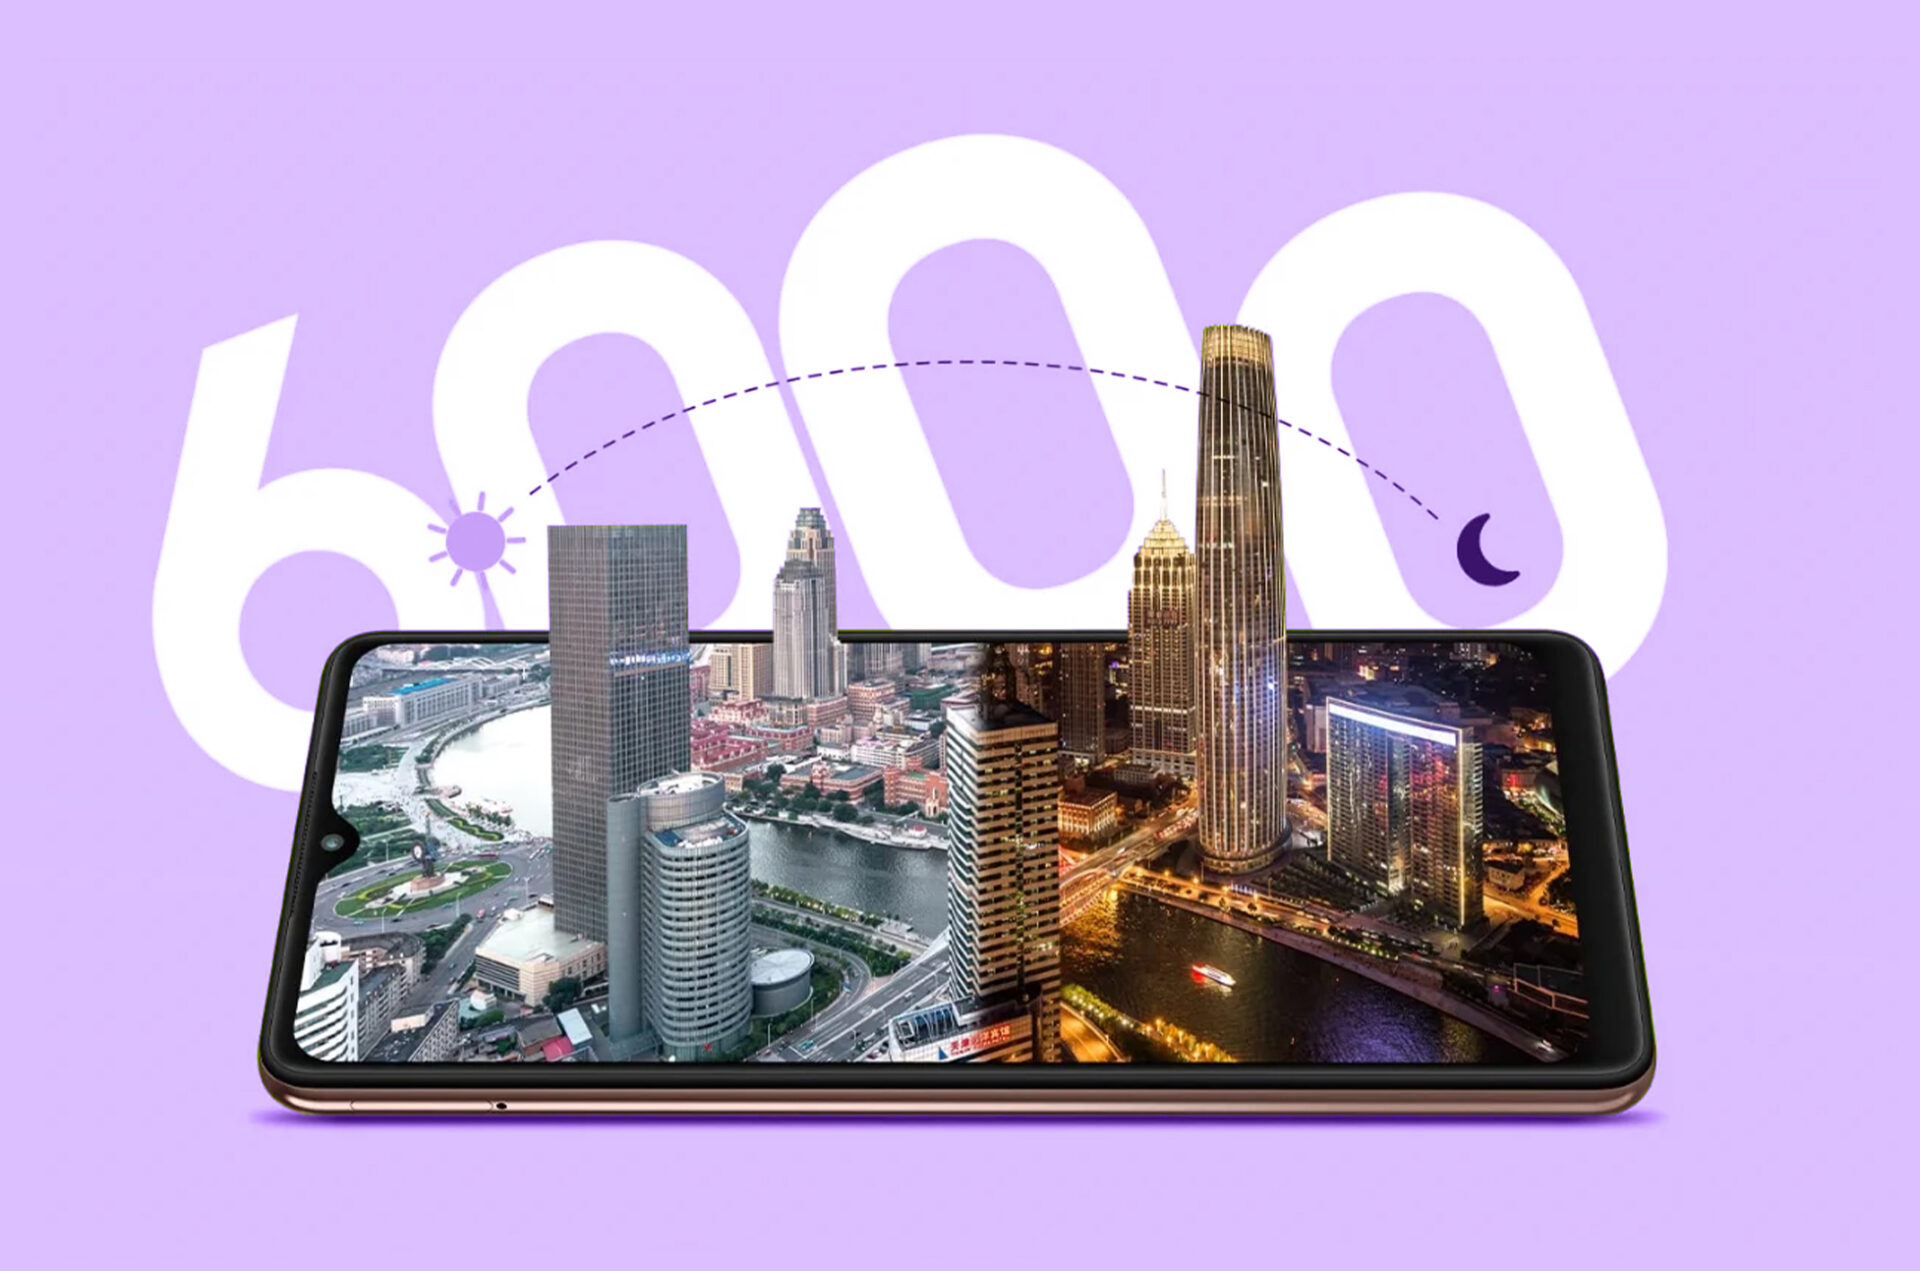
The battery is a noteworthy feature of the Samsung Galaxy M14 5G. The device’s huge 6000mAh battery promises up to two days of battery life per charge. This is excellent news for people who are constantly on the move and do not wish to be chained to an electrical outlet.
There are contradictory reports indicating that the phone supports either 15W or 25W wired charging. We hope it’s the latter, as 15W charging a 6,000mAh battery would be agonizingly slow (not that 25W charging would be fast).
Samsung Galaxy M14 5G: Connectivity
The Samsung Galaxy M14 5G also includes 5G connectivity, allowing you to enjoy incredibly quick download and upload rates. This is excellent news for people who enjoy streaming media, playing online games, and downloading large files..
Samsung Galaxy M14 5G: Performance, Software and Hardware
The phone is also equipped with an Exynos 1330 processor, which appears to be a little reduced version of the Galaxy A33 and A53’s average Exynos 1280 chipset. This implies a 5nm design, an octa-core CPU (two Cortex-A78 and six Cortex-A55 cores), and a Mali-G68 MC2 GPU. Do not expect compatibility for the faster but less stable mmWave 5G standard either.
Samsung promises two major OS upgrades and four years of security patches, which is a solid guarantee for a budget phone. The Samsung Galaxy M14 5G also includes a 3.5mm connection and a microSD card slot, both of which are becoming increasingly uncommon.
Samsung Galaxy M14 5G: Sleek Design
In addition to its long battery life and 5G connectivity, the Samsung Galaxy M14 5G features a stylish appearance. The gadget comes equipped with a 6.6-inch, 90Hz, FHD+ LCD screen, 4GB of RAM, 64GB to 128GB of storage, and a fingerprint scanner on the side. A 50MP+2MP+2MP rear camera array and a 13MP front-facing camera housed in a waterdrop notch perform photography tasks.
Conclusion
The Samsung Galaxy M14 5G is a budget-friendly battery beast with 5G connectivity and a stylish appearance. The M14 5G is likely to be a popular choice among smartphone users in need of a device that provides excellent value for money due to its amazing features and inexpensive price. Hence, if you’re in the market for a new smartphone, you should consider the Samsung Galaxy M14 5G.
All products, and company names, logos, and service marks (collectively the "Trademarks") displayed are registered® and/or unregistered
trademarks™ of their respective owners.
The authors of this web site are not sponsored by or affiliated with any of the third-party trade mark or third-party registered trade mark owners,
and make no representations about them, their owners, their products or services.
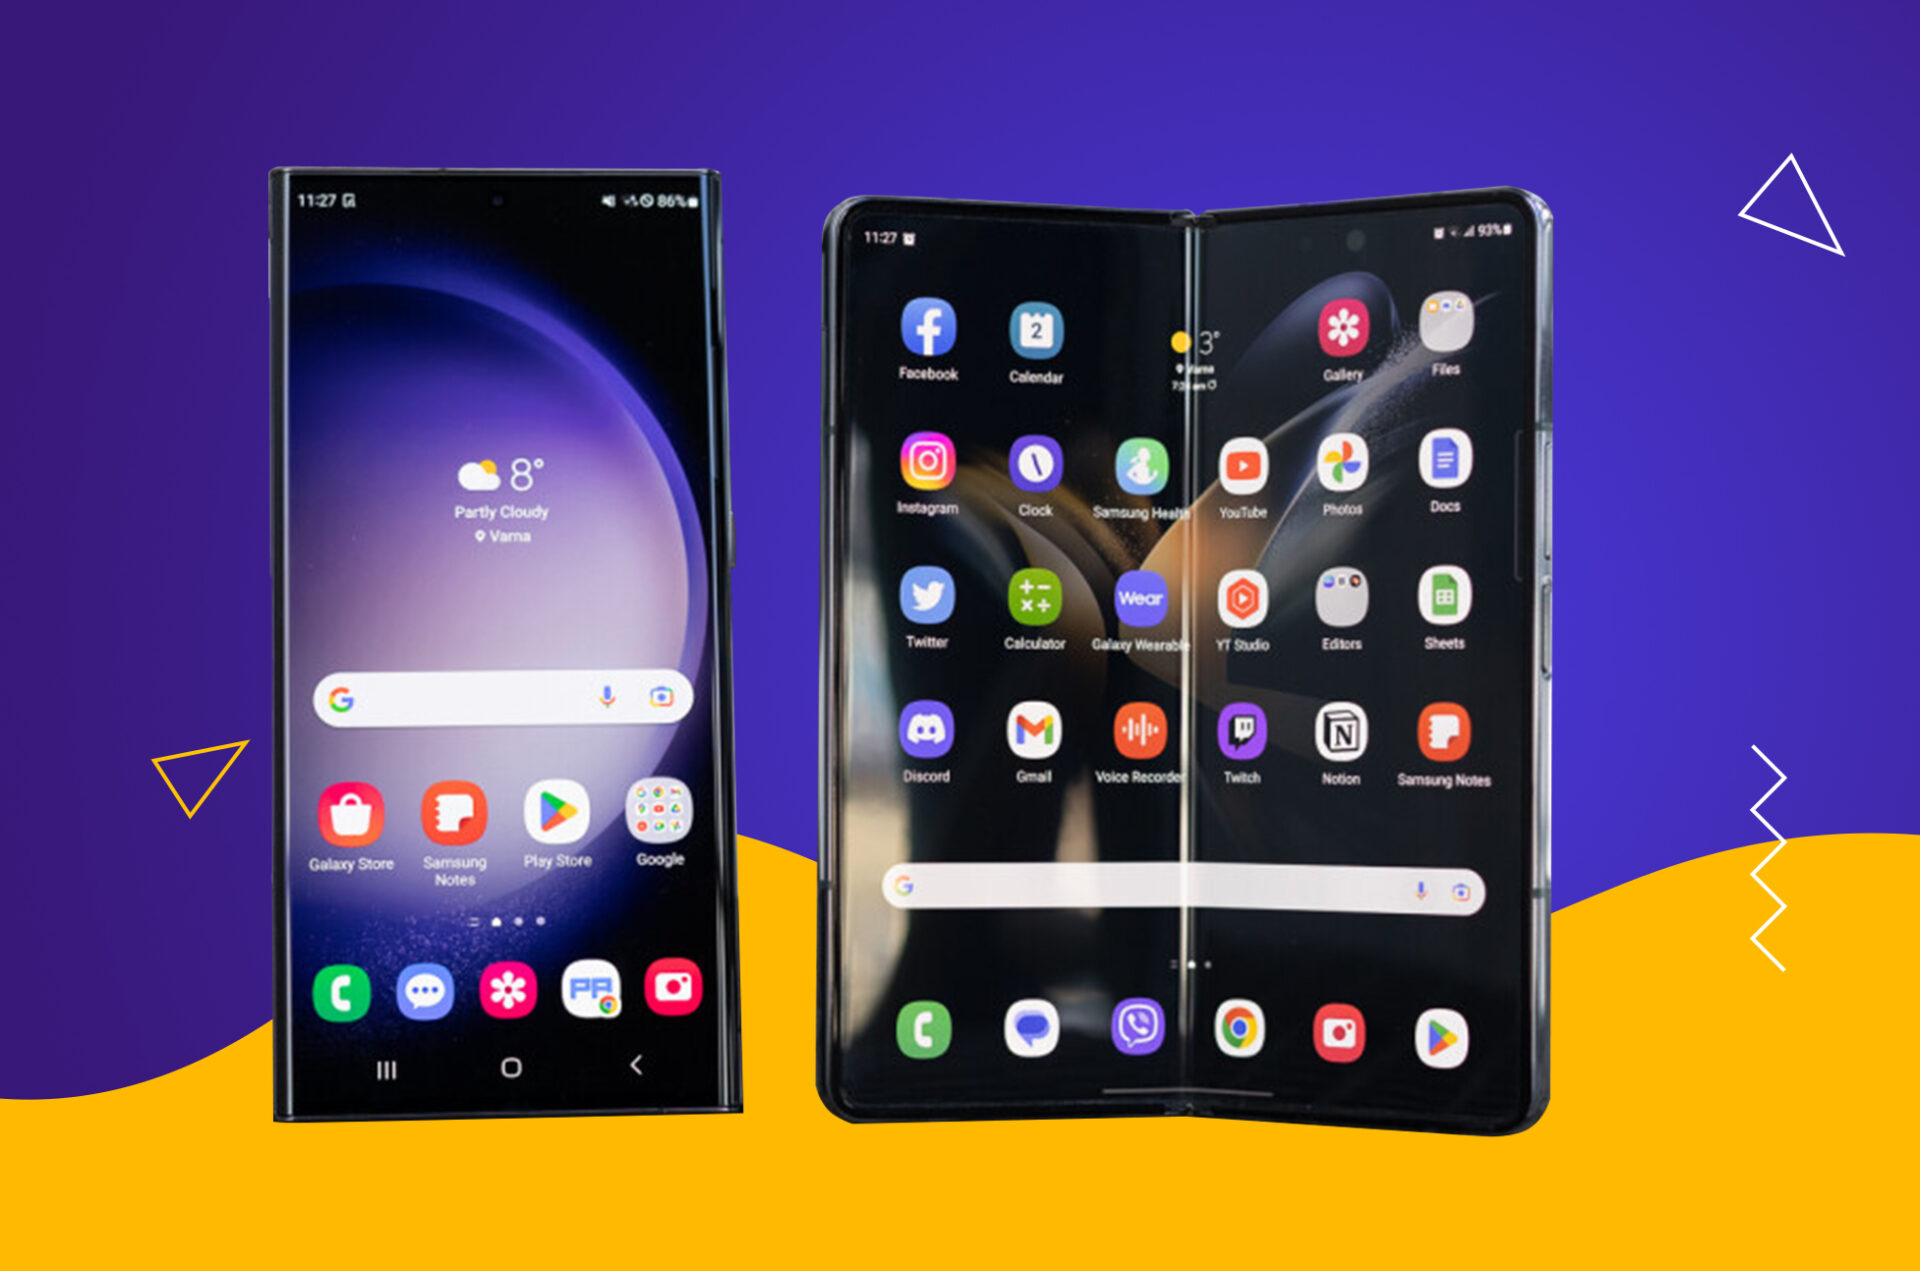
Galaxy Fold 4 vs S23 Ultra: For many years, Samsung has dominated the smartphone market. They keep raising the bar for what mobile technology is capable of with each new release. Two of the most eagerly anticipated smartphones of the year 2022 and 2023 are the Samsung Galaxy S23 Ultra and the Galaxy Z Fold 4, and for a good reason. To assist you in selecting the phone that is best for you, we’ll compare the features and characteristics of these two phones in this article.
Galaxy Fold 4 vs S23 Ultra
Samsung Galaxy S23 Ultra
Samsung Galaxy Z Fold 4
Pros: 1. Less prone to damage 2. Better camera system 3. More conventional design 4. Bigger battery
Pros: 1. Foldable design 2. Incredible screen 3. Still very powerful
Cons:
1. Not as many screen 2. Hard to use with just one hand
Cons:
1. Selfie camera isn’t great 2. S-Pen not included 3. Extremely expensive
Price: $1200
Price: $1800
All major US carriers carry the Galaxy Fold 4 vs S23 Ultra, which is expensive. The Galaxy S23’s 8GB RAM/256GB storage variant costs $1,200, while 12GB RAM/512GB or 1TB storage models cost even more. For 12GB of RAM and 256 GB of storage, the Z Fold 4 costs $1,800. Both phones support 5G (sub-6 and mmWave), so you can get the fastest speeds in your region. Both phones are currently the most potent 5G phones.
Hardware/design
Due to their different form factors, the Galaxy Fold 4 vs S23 Ultra varies most in design.
The S23 Ultra resembles a large smartphone.
The Samsung Galaxy S23 Ultra’s 6.8-inch AMOLED QHD+ display feels vast and looks excellent, owing to its brightness and contrast. Its adjustable refresh rate ranges from 1Hz to 120Hz, making it smooth and clear when needed and more energy efficient when the phone’s screen is idle. It’s one of the most excellent screens for a regular phone, but it’s not as revolutionary as the Z Fold 4.
The Fold 4 includes two significant displays: a smartphone-like outer display that you can use while the phone is folded up and a tablet-like inner display. If you can get accustomed to the Z Fold 4’s thickness, the outer display’s 6.2-inch width makes it simpler to operate one-handed than the S23 Ultra’s.
The Fold’s inner display, which unfolds into a 7.6-inch screen that appears like two phone displays, is its best feature. It’s large and multitasking-friendly, yet delicate.
A foldable phone is half opened. It’s not constructed of Gorilla Glass Victus+ like the out display or the Galaxy S23 Ultra. Thus, it will be less durable. Due to the softer material, the interior display scratches and scuffs easily. Buyers should be aware of this.
Given its massive hinge, the Z Fold 4’s IPX8 dust certification is lower than the S23 Ultra’s IP68. Samsung’s Z Fold hinge design is the greatest yet. Samsung’s S-Pen may take notes, manage applications, draw, and more on both phones. The Z Fold 4 needs you to purchase an S-Pen, whereas the Galaxy S23 Ultra has one that fits perfectly inside the phone. The Galaxy Z Fold 4 needs a nice S-Pen case.
Software/performance
Galaxy Fold 4 vs S23 Ultra. The S22 Ultra utilizes Snapdragon 8 Gen 2, whereas the Galaxy Z Fold 4 uses Snapdragon 8+ Gen 1. On paper, the Gen 2 powering the S23 Ultra wins. However, the chipsets are so powerful that you won’t notice any difference in daily tasks. Thus, both phones can handle everything. Last year, the S22 Ultra ran hotter than the Z Fold 4 during intense workloads. We need to spend more time with the S23 Ultra to know whether this is true with the new chipset, but we’re hopeful the Snapdragon 8 Gen 2 can manage thermals better.
Samsung’s One UI 5, based on Android 13, was added to the Galaxy Z Fold 4 after it debuted with Android 12L. The S23 Ultra starts with One Ui 5.1/Android 13; both phones have major software upgrades. Both phones will be maintained for four major OS upgrades and five years of security patches. Since it launched in 2023, the Galaxy S23 Ultra will get one more OS upgrade than the Z Fold 4.
Cameras
Galaxy Fold 4 vs S23 Ultra. The Galaxy Z Field 4 is the first Samsung foldable with a triple camera system on the rear. The Galaxy Produces more accurate +’s rear camera returns. You can use the outside display as a selfie viewfinder by unfolding the phone, and it takes incredible shots in most lighting circumstances. The Z Fold 4’s 12MP f/2.2 ultra-wide and 10MP f/2.4 telephoto cameras complement the outstanding hardware.
Flex Mode is the Fold 4’s finest feature. The hinge holds most angles so that you can use the phone hands-free anywhere. Afterward, you may use hand gestures to capture photos of yourself, your friends, and your surroundings.
The Galaxy S23 Ultra’s 200MP primary sensor (up from 108MP last year) will shoot enormous photographs. The Galaxy S22 Ultra’s camera was your favorite feature last year, and the S23 Ultra appears to improve on that.
The S23 Ultra takes better portraits than the Z Fold 4 because of its two zoom lenses. The 3X lens provides realistic bokeh, but the 10X optical zoom may let you shoot some of the best smartphone photos.
Overall, dedicated phone photographers will prefer the S23 Ultra, but both phones have superb camera systems that most people will be delighted with.
Battery/charging
Galaxy Fold 4 vs S23 Ultra. The Samsung S23 Ultra’s 5,000mAh battery is similar to last year’s S22 Ultra, but it’s okay. Given how much premium phone like this uses, most ordinary users should be able to go a whole day between charges.
Usage determines battery life, making the Z Fold 4 difficult to evaluate. Despite its 4,400mAh battery, we always felt it was adequate throughout our evaluation. It may be low if you utilize that giant interior screen all day. Its battery life should satisfy most folks.
Both smartphones charge wirelessly at 15W. However, the Galaxy S23 Ultra can charge wired at 45W and the Z Fold 4 at 25W.
Unlocking S23 Ultra and Galaxy and Galaxy Z Fold 4
To carrier unlock your Samsung S23 Ultra and Galaxy and Galaxy Z Fold 4; please follow the procedures listed below:
Anyone who wants a powerful smartphone for everyday life would love both phones. Both gadgets have enough power to satisfy your needs. Thus, your model choice depends on your budget and taste. Galaxy S23 Ultra is cheaper and more straightforward. The Samsung Galaxy S23 Ultra is a good choice if you don’t need a tablet but want a powerful phone. If you want a tablet-like experience with you at all times, the Z Fold 4 may be worth it if you can afford it. If you enjoy multitasking with as much screen real estate as possible or appreciate the fancy element of the folding phone design, the Galaxy Z Fold 4 may be more fun and less conventional. If you have any questions, let us know in the comment section below!
All products, and company names, logos, and service marks (collectively the "Trademarks") displayed are registered® and/or unregistered
trademarks™ of their respective owners.
The authors of this web site are not sponsored by or affiliated with any of the third-party trade mark or third-party registered trade mark owners,
and make no representations about them, their owners, their products or services.
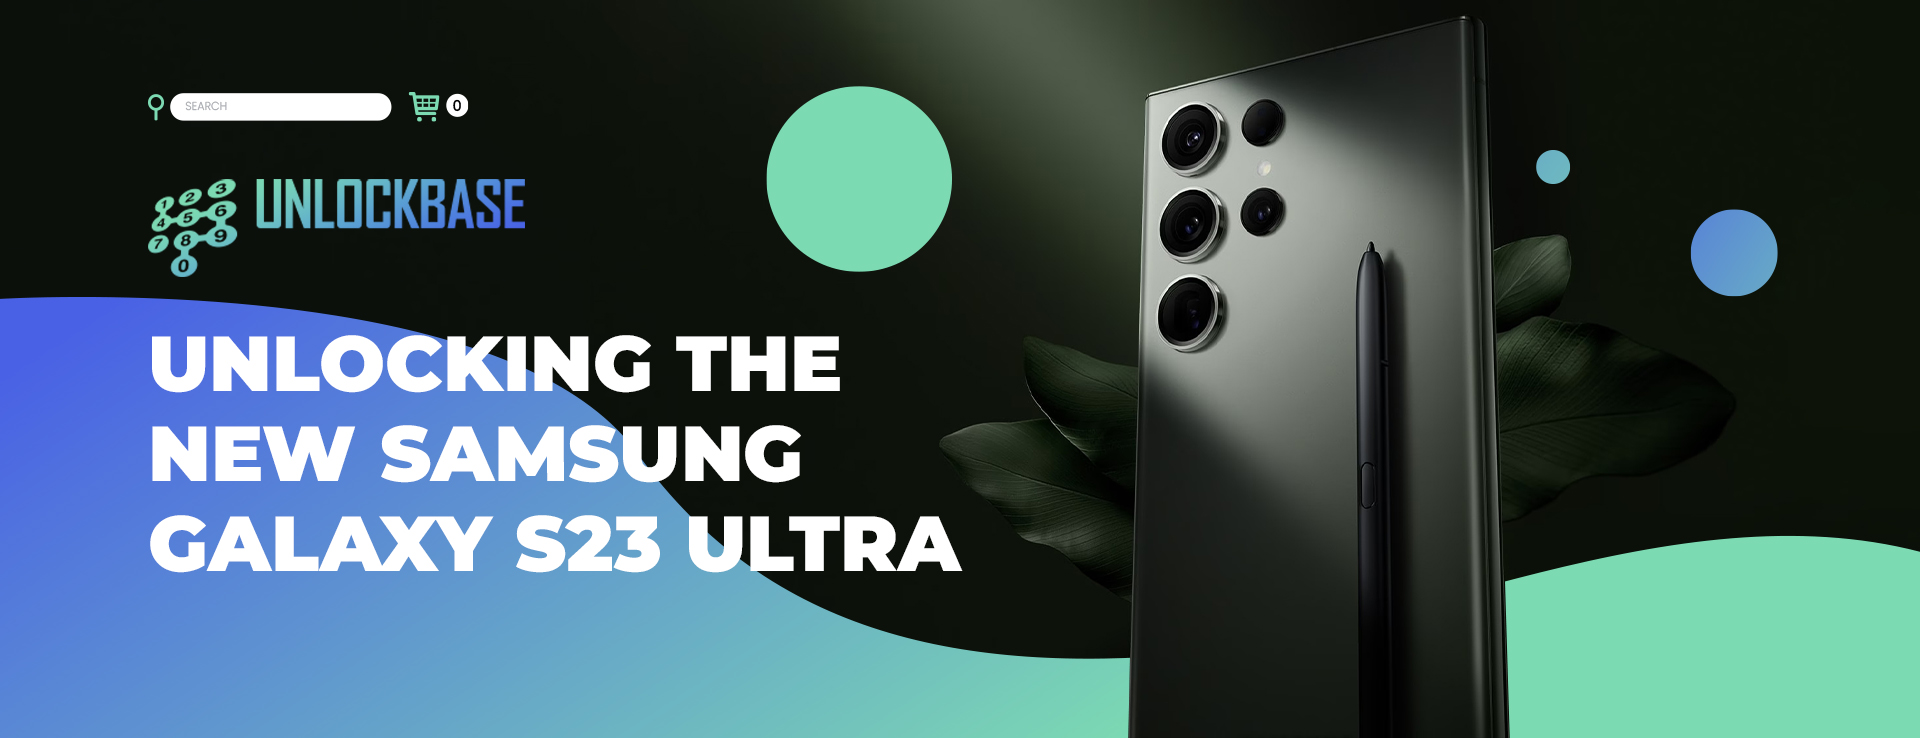
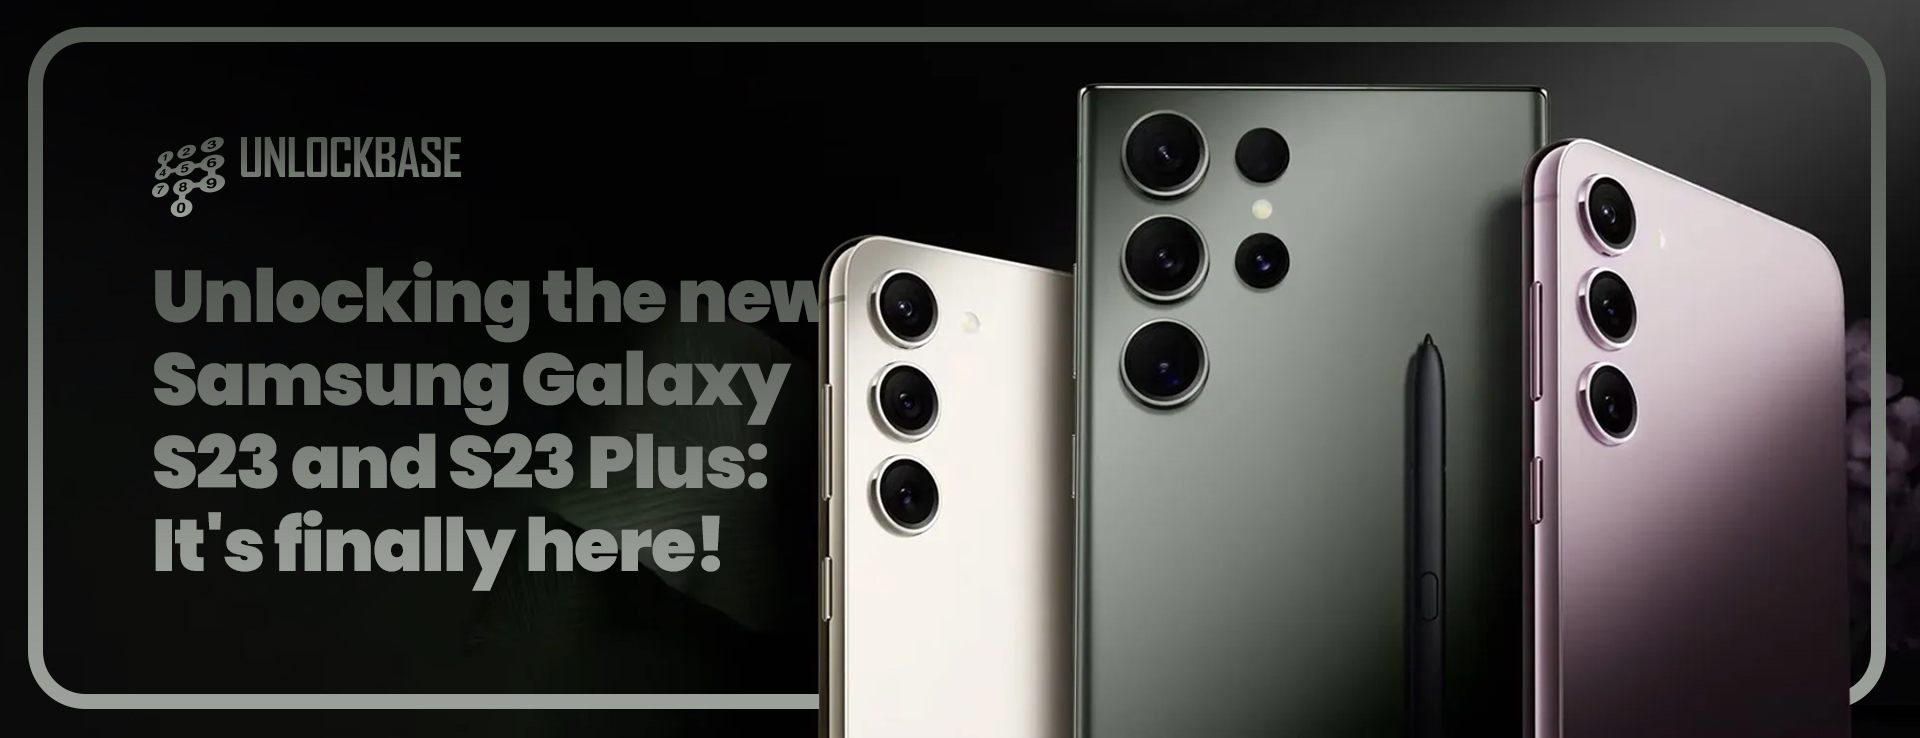
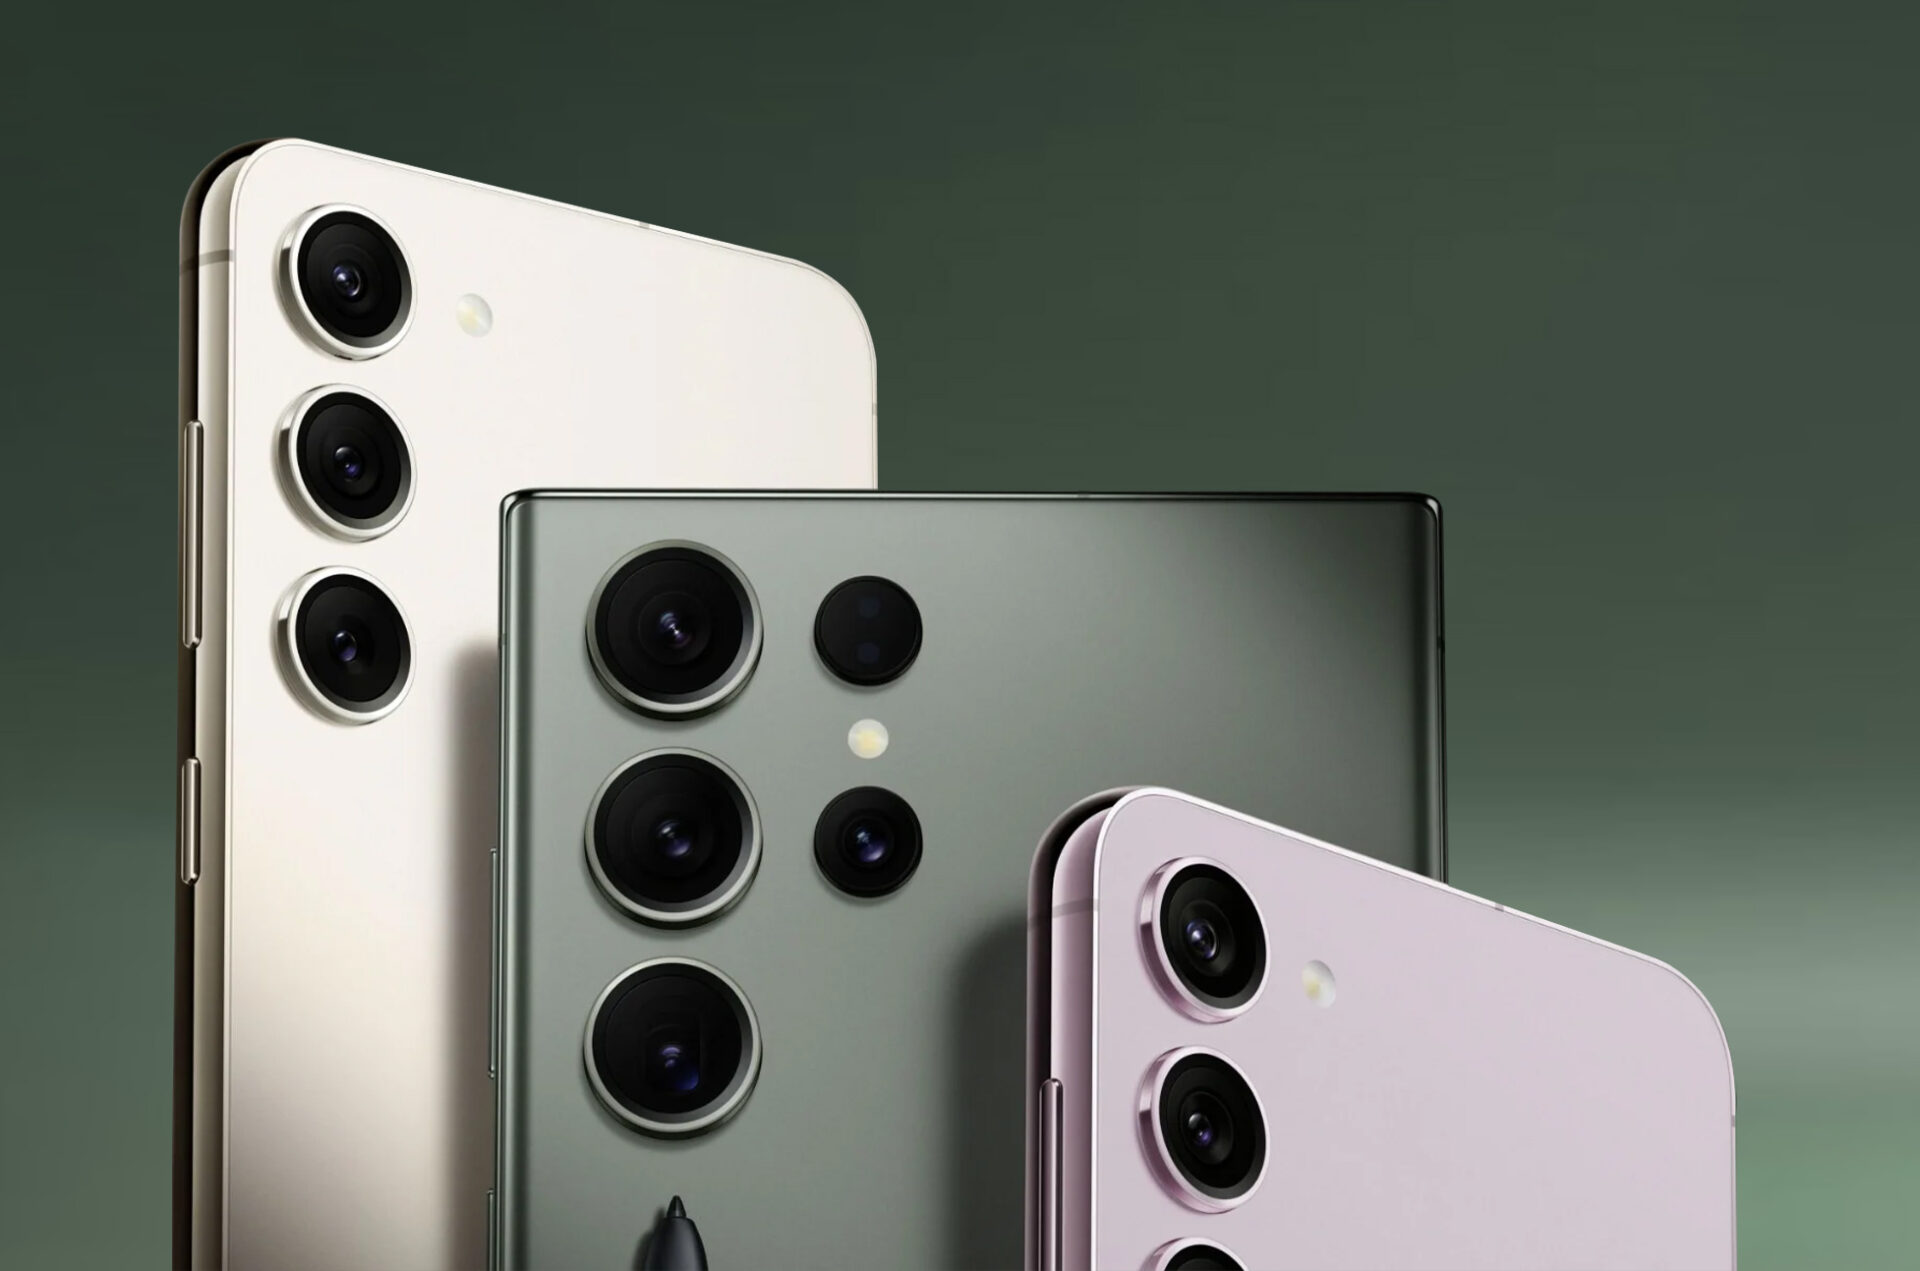
Samsung has always been an innovator in the smartphone market, and the new Samsung S23 Ultra is no exception. The S23 Ultra promises a unique smartphone experience with its robust hardware and cutting-edge features. The announcement of Samsung’s best smartphone to date has finally occurred. The new Samsung Galaxy S23 Ultra is here.
The Samsung Galaxy S23 Ultra, released alongside the standard Galaxy S23 and Galaxy S23 Plus, is the most intriguing handset of the three and the only one to receive exciting enhancements.
Samsung S23 Ultra Camera
The Galaxy S23 Ultra features an incredibly crisp 200-megapixel ISOCELL HP2 sensor. It is also adaptable, as it is capable of 16-in-1 binning for 12-megapixel photos and 4-in-1 binning for high-resolution 50-megapixel photographs. In addition, it offers a particular Expert RAW app for more advanced tools.
In addition, a new Astro Hyperlapse video option is included. In addition, Adaptive VDIS for better video stabilization. The primary camera is accompanied by a 10-megapixel 3x telephoto lens, a 12-megapixel ultra-wide lens with autofocus, and a 10-megapixel periscope lens with a 10-times optical zoom.
Samsung S23 Ultra Build and Display
Additionally, its screen is the largest and sharpest of the three. It features a 6.8-inch Dynamic AMOLED 2x display with a QHD+ pixel resolution, 1,750-nit peak brightness, and an adjustable refresh rate ranging from 1Hz to 120Hz.
The Samsung Ultra variant retains the S Pen and integrated slot from the previous year’s model. Therefore, enthusiasts of stylus input and the numerous S Pen functions should feel at home here.
Samsung S23 Ultra Battery and Performance
The Galaxy S23 Ultra features a supercharged Snapdragon 8 Gen 2 processor, but nearly everything else has been updated compared to its predecessors.
The battery capacity remains the same at 5,000mAh, and charging remains at 45W, which is significantly lower than other premium smartphones we’ve seen today.
Or, you can use the link below to access a comprehensive, illustrated tutorial showing you how to unlock your phone in no time. Relax! Unlocking a Samsung Galaxy S22 is the same as unlocking a Samsung S23 Ultra!
The Samsung S23 Ultra is a premium smartphone with the most advanced technology. The Samsung S23 Ultra is a terrific choice whether you’re a power user who requires a device that can perform demanding tasks or someone who wants a smartphone that can shoot stunning photographs and movies. If you have any questions, let us know in the comment section below!
All products, and company names, logos, and service marks (collectively the "Trademarks") displayed are registered® and/or unregistered
trademarks™ of their respective owners.
The authors of this web site are not sponsored by or affiliated with any of the third-party trade mark or third-party registered trade mark owners,
and make no representations about them, their owners, their products or services.
The Samsung S23 is the company’s most recent and greatest flagship smartphone. One of the most anticipated smartphones this year, thanks to its excellent specifications and novel features, has been in the news recently. The features and benefits of the Samsung S23 will be discussed in further detail in the following blog post.
The newest flagship series from Samsung has just been unveiled for 2023. The brand-new Galaxy S23 and S23 Plus are worth a look.
Samsung also released the Galaxy S23 and S23 Plus simultaneously as the Galaxy S23 Ultra, but this Note hybrid warrants its own discussion. So far, we’ll focus on the first two.
Samsung S23 Plus and S23 Battery and Performance
The 2023 lineup isn’t significantly better than the previous ones. All units sold worldwide will employ Qualcomm’s Snapdragon 8 Gen 2 processor instead of the in-house Exynos chips previously used.
Thanks to Samsung’s improvements, an extra 200mAh of battery capacity has been added. In terms of battery capacity, the Galaxy S23 now has 3,900mAh, while the Galaxy S23 Plus has 4,700mAh. While both still support wireless charging, their fast wired charging capabilities differ at 25W and 45W, respectively.
Samsung S23 Plus and S23 Build and Display
The screen has also been upgraded, however, it looks very similar to older models. Each features a Super AMOLED 2X display with a resolution of FHD+ and a refresh rate of between 48 and 120 hertz. The Plus edition is 6.6 inches in size, whereas the vanilla is only 6.1. In addition, both are the pioneers in adopting Corning’s latest Gorilla Glass Victus 2. Recycled materials are used for the display and the back panel as well.
Additionally, it boasts a new function called Vision Booster, which employs a specialized ambient light sensor to modify the display’s color and contrast to better suit the user’s immediate surroundings.
Samsung S23 Plus and S23 Camera
The updated 12-megapixel front-facing camera, which now records in Super HDR at 60 frames per second, is accessible through a hole in the screen.
Similarly, the 50-megapixel camera on the back can now record 8K video at 30 frames per second. In addition to the 3x optical zoom sensor and ultra-wide lens (10 megapixels), there is a 12-megapixel ultra-wide lens.
In addition to taking pictures at up to 50 megapixels in size, the Camera RAW app now does so at full resolution.
Samsung S23 Plus and S23 Price
The 8GB/128GB and 8GB/256GB versions of the Samsung Galaxy S23 cost $799 (128 GB), and $859 (256GB). The 8GB/256GB version of the Galaxy S23 Plus costs $999 while the 8GB/512GB version costs $1119
You can save on top of the value of your old equipment by trading it in. In addition, you may save with our e-voucher bundle, which includes a 50% price cut on the Galaxy Buds 2 Pro and a 30% price cut on the Galaxy Watch 5 Series. In addition, purchasers will receive double the average amount of Samsung Rewards points and a year’s worth of Samsung Care+ coverage at no additional cost.
Or, if you prefer, you can use the link below to access a comprehensive, illustrated tutorial that will show you how to unlock your phone in no time. Relax! Unlocking a Samsung Galaxy S22 is exactly the same as unlocking a Samsung S23 or S23 Plus.
If you’re looking for a top-tier smartphone, go no further than the Samsung S23. The Samsung S23 is an excellent choice for anyone searching for a high-quality smartphone, whether they are tech enthusiasts, professionals, or anyone in between.
The Samsung S23 will more than provide for your every requirement and will far outlive your wildest hopes because of its cutting-edge camera system, lightning-fast processing, and massive battery life. If you have any questions, Let us know in the comment section below!
All products, and company names, logos, and service marks (collectively the "Trademarks") displayed are registered® and/or unregistered
trademarks™ of their respective owners.
The authors of this web site are not sponsored by or affiliated with any of the third-party trade mark or third-party registered trade mark owners,
and make no representations about them, their owners, their products or services.
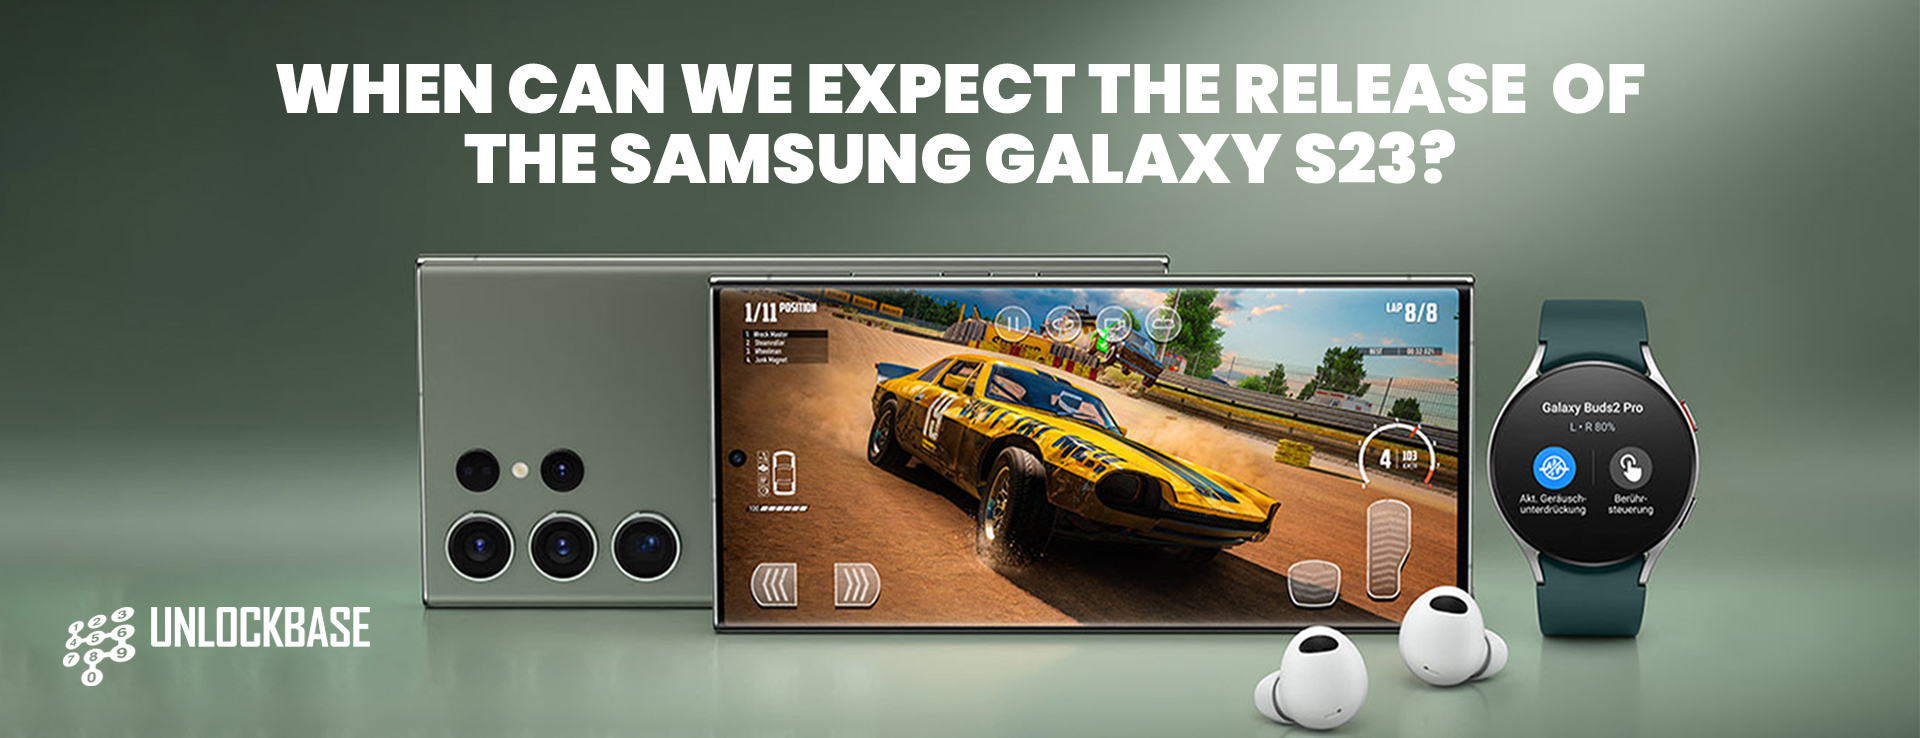
Samsung Galaxy S23 release date? One of the most eagerly awaited smartphones of the year is the Samsung Galaxy S23. Many individuals are unsure of when they will be able to get the most recent and greatest Samsung product due to online rumors and leaks.
The Samsung Galaxy S23 release date has not yet been received an official date. But based on past release trends, it is anticipated to be made available in the first quarter of 2022. The precise day is still up in the air and might change.
Samsung S23 Release Date
Samsung Galaxy S23 release date? The Samsung Galaxy S23 series’ release has been eagerly awaited for months. There are many established expectations for the new flagships due to the fact that Samsung’s Galaxy S line has been one of the best-selling smartphone lines for several years. The release date for the Samsung Galaxy S23 is one aspect that is no longer the focus of heated speculation. Although the date has not been formally announced, it is already beyond a reasonable doubt.
While the enticing reservation page doesn’t expressly mention that the Galaxy S23 series is scheduled to be introduced, we know a phone (or phones) will be launched. The next Samsung Galaxy Unpacked event has been planned for Wednesday, February 1, 2023, at 1:00 PM ET. There is little question that this will be the Galaxy S line’s following model.
In three of the past four years, Samsung has regularly introduced its newest Galaxy S phones in the first part of the year, notably in February. The COVID-19 epidemic may have been the reason why the Galaxy S21 series was the exception in 2021.
What to anticipate with the Galaxy S23?
Samsung Galaxy S23 release date? It’s anticipated that the Samsung Galaxy S23 Ultra would include a 6.8-inch Dynamic AMOLED screen with a 120Hz adaptive refresh rate and a Qualcomm Snapdragon 8 Gen 2 processor. A 5000mAh battery and a quad camera system on the rear are reportedly included in the specifications.
High refresh rate (120Hz) – 5G ready – High screen-to-body ratio (89.87 %) – Supports wireless charging – High pixel density screen (501 PPI)
Will the Galaxy S23 be sold when it is launched?
Samsung Galaxy S23 release date? On the day the Galaxy S23 smartphones are launched, it’s nearly a guarantee that you won’t be able to buy any of them. The newest flagship phones from Samsung have recently been unveiled during Galaxy Unpacked events and made immediately pre-orderable. Before a public release date, there would be a wait of a few weeks. On this day, pre-orders will be fulfilled and the phones will be open for immediate purchase.
Will the Galaxy S23 line be marketed internationally?
Samsung Galaxy S23 release date? There is no reason to think that the Galaxy S23 series won’t be offered worldwide. The Galaxy Unpacked event will be broadcast worldwide. The Galaxy S23 phones will be powered by Snapdragon chips “globally,” according to a deal that Samsung and Qualcomm announced; whether this implies that there will be an Exynos variant or not is to be determined, but it strongly suggests that the next flagships will be accessible in some way to all of the same markets as the Galaxy S22 series.
When the phones will be accessible in each area is still unknown. It is unlikely that there will be a significant difference in the Galaxy S23 release date between markets like the USA, the UK, and Australia.
If you obtained a Samsung Galaxy S23 before it was officially released but it is carrier-locked, you may want to consider unlocking it
If you acquire a carrier-locked Samsung S23, you might want to think about unlocking it. You can use an unlocked phone on any carrier’s network, expanding your options for service plans and foreign travel.
Samsung Galaxy S23 release date? There will undoubtedly be more details about the Samsung Galaxy S23 as the launch date draws near. Fans of the S series can anticipate another top-notch smartphone from Samsung in the time. Keep checking back for additional information about the Samsung Galaxy S23’s release. If you have any questions, Let us know in the comment section below!
All products, and company names, logos, and service marks (collectively the "Trademarks") displayed are registered® and/or unregistered
trademarks™ of their respective owners.
The authors of this web site are not sponsored by or affiliated with any of the third-party trade mark or third-party registered trade mark owners,
and make no representations about them, their owners, their products or services.
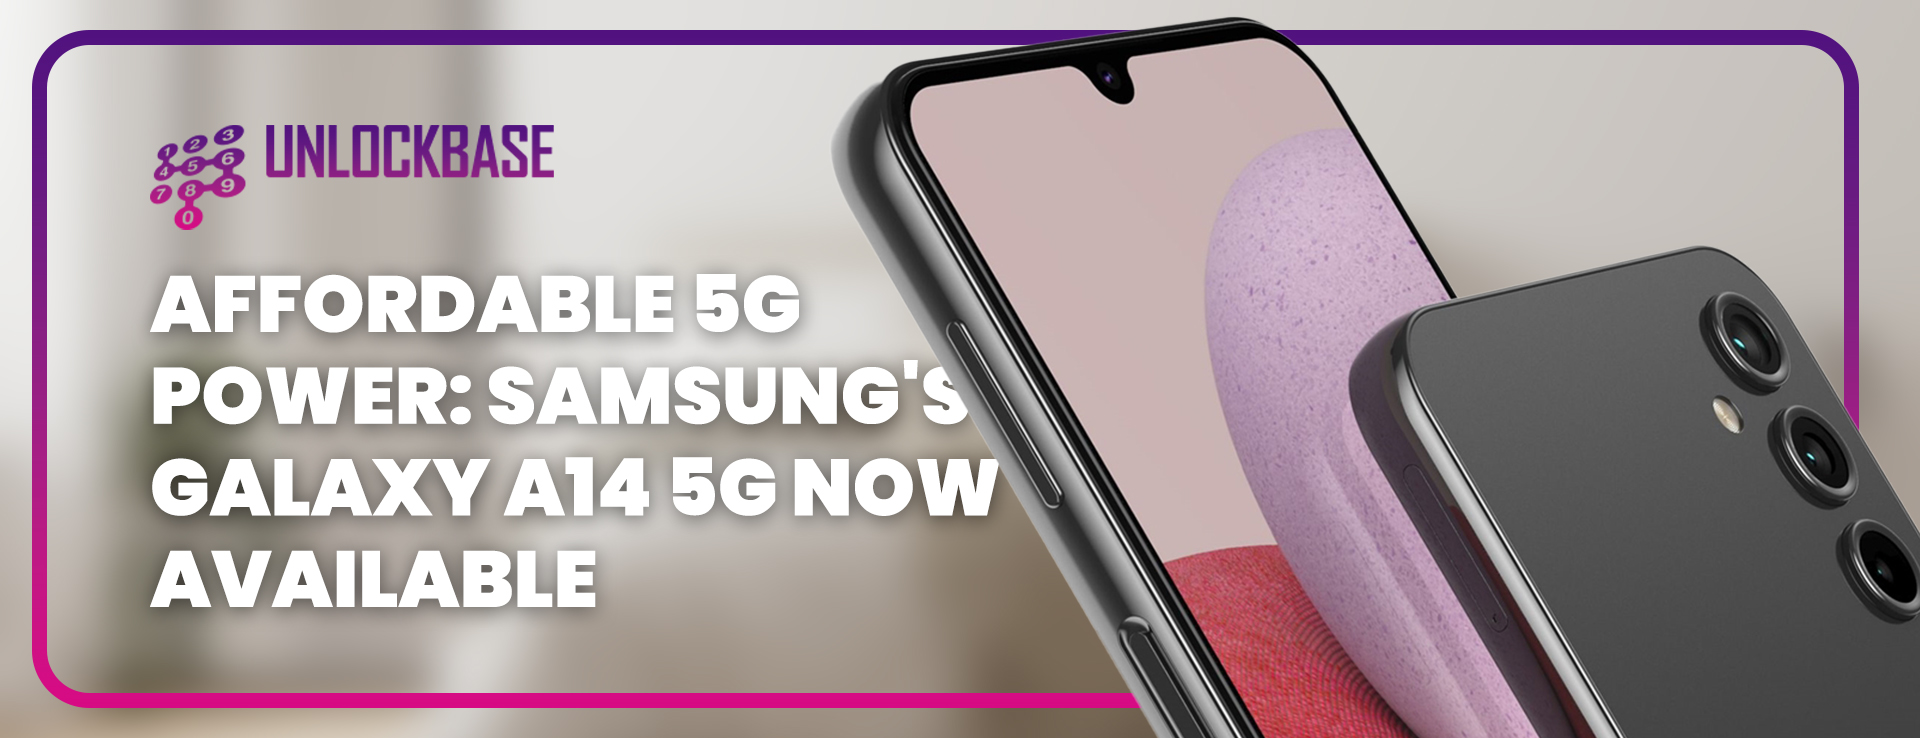
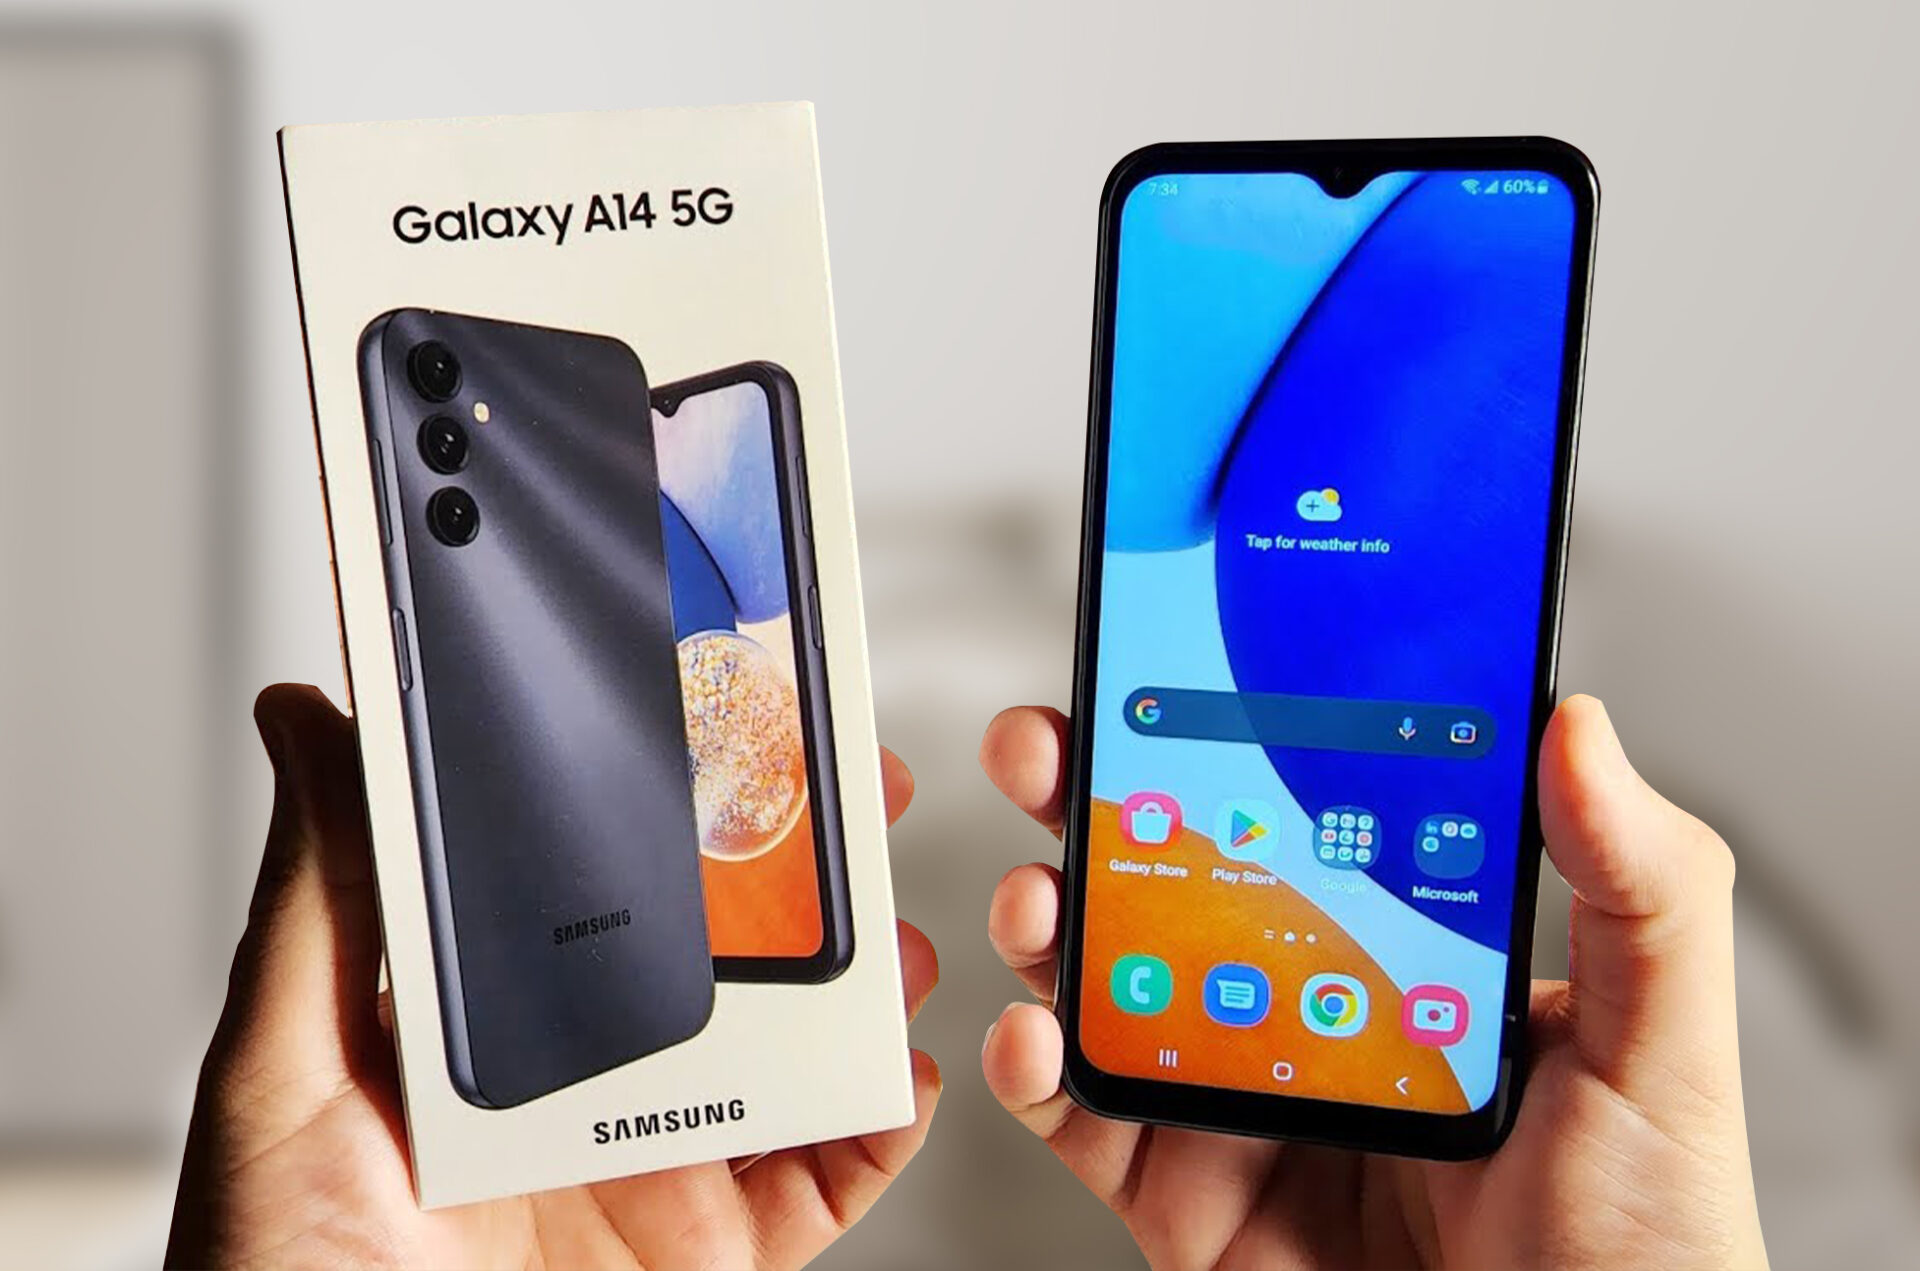
The future of mobile communication is 5G technology, and it’s wonderful to see that more and more accessible alternatives are already being made. The Samsung Galaxy A14 5G is one such choice, providing a high-speed 5G connection at a cost that is affordable for many customers.
Samsung is starting its phone releases for 2023 right away, even though we’re all anxiously expecting the debut of the Galaxy S23 series in just a few weeks. The brand’s newest ultra-affordable smartphone, the Galaxy A14 5G, was revealed at CES last week and appears to be every bit as remarkable and functional as its predecessor.
As we enter a new year, it is now available on store shelves, offering a great choice for buyers on a budget.
Specs for the Samsung Galaxy A14 5G
Dual standby, dual SIM
6.6-inch FHD+ IPS screen with a 399-pixel-per-inch resolution.
The internal storage of 128GB, extendable with microSD card by 1TB
Front camera with 13 megapixels
2-megapixel macro, 2-megapixel depth sensor, and 50-megapixel (PDAF) rear cameras
fingerprint scanner positioned on the side
5G, 4G LTE and HSPA+
Dual-band WiFi 802.11 a/b/g/n
5.2 Bluetooth
GPS, GLONASS, GALILEO
Type-C USB
Measurements are 167.7 x 78 x 9.1 mm.
Weight: 202g
Colors: black and burgundy
Non-removable 5,000mAh battery, 15W charging
The Samsung Galaxy A14 5G, which was only just introduced, is run by the reliable MediaTek Dimensity 700 octa-core CPU. The variant we’re getting here has 6GB of RAM and 128GB of expandable storage.
We have a little bigger 6.6-inch display on the front compared to everyone else. Additionally, it managed to boast an appropriate FHD+ pixel resolution and 90Hz refresh rate, unlike other Samsung budget phones.
The 13-megapixel selfie camera is located in the typical teardrop notch at the top of the screen. The back features a simple pattern that comes in the eye-catching hues of Black and Burgundy. Additionally, it has two 2-megapixel cameras that serve as a macro and a depth sensor in addition to a brilliant 50-megapixel main camera.
Samsung Galaxy A14 5G: Pros and Cons
Samsung Galaxy A14 5G: Pros
The Samsung Galaxy A14 5G has 5G connectivity and is one of the most reasonably priced 5G smartphones available, making it a perfect choice for those who wish to take advantage of 5G networks for quicker download and upload rates.
Large Full HD+ Display: Samsung Galaxy A14 5G’s 6.5-inch Full HD+ display is ideal for streaming videos, online surfing, and gaming. The 90Hz refresh rate also helps to a smooth and better graphical experience.
The Samsung Galaxy A14 5G’s triple camera system, which consists of a 50MP primary camera, a 2MP macro camera, and a 2MP depth sensor, should be able to take good pictures in most lighting settings.
Samsung Galaxy A14 5G’s 5,000mAh battery, which supports 15W wired fast charging, should last all day under moderate use.
The Samsung Galaxy A14 5G is an excellent choice for individuals on a tight budget because it is a cheap 5G smartphone.
Samsung Galaxy A14 5G: Cons
The phone only comes with 64GB of storage, which may not be adequate for some users. However, a microSD card allows for storage expansion of up to 1TB.
Compared to a glass or metal body, the phone’s plastic body may not be as upscale.
The phone only has 4GB of RAM, which some users may find to be insufficient and may result in sluggish multitasking.
Conclusion
All things considered, the Samsung Galaxy A14 5G is a fantastic budget-friendly smartphone that provides a 5G connection at a reasonably low cost. It includes a large Full HD+ display, a strong CPU, and a triple of cameras that ought to be capable of taking good pictures in the majority of lighting situations. It also allows quick charging and has a battery that lasts a long time.
The Samsung Galaxy A14 5G is unquestionably a smartphone to take into account if you’re looking for a reasonably priced device that can utilize 5G networks. If you have any questions let us know in the comment section below!
All products, and company names, logos, and service marks (collectively the "Trademarks") displayed are registered® and/or unregistered
trademarks™ of their respective owners.
The authors of this web site are not sponsored by or affiliated with any of the third-party trade mark or third-party registered trade mark owners,
and make no representations about them, their owners, their products or services.
How to fix firmware upgrade encountered an issue? Firmware is the software that controls the operation of a device, and a firmware upgrade is a process that involves updating the firmware to a newer version. While firmware upgrades are typically designed to improve the performance of a device or add new features, there is always the possibility that something could go wrong.
Steps to prevent Firmware Upgrade Issues
How to fix firmware upgrade encountered an issue? If you encounter an issue while attempting to upgrade the firmware on your device, here are some steps you can take to try to fix the problem:
Make sure you are using the correct firmware file: Before you start the firmware upgrade process, double-check that you are using the correct firmware file for your device. Using the wrong firmware file can cause issues during the upgrade process.
Check for updates to the firmware upgrade process: Sometimes, issues with firmware upgrades can be caused by problems with the upgrade process itself. If this is the case, the manufacturer of your device may have released an update to the firmware upgrade process that resolves the issue. Check the manufacturer’s website for any available updates.
Try a different method of upgrading the firmware: There are typically multiple ways to upgrade the firmware on a device. If the method you are using is not working, try a different method. For example, if you are using a computer to upgrade the firmware, try using a different computer or try upgrading the firmware directly from the device itself.
Check for hardware issues: In some cases, hardware issues can cause problems during the firmware upgrade process. If you suspect that a hardware issue may be causing the problem, try performing a hardware diagnostic test or contacting the manufacturer for support.
How to fix firmware upgrade encountered an issue? Restore the device to its factory settings: If all else fails, you may need to restore the device to its factory settings and start over. This will erase all of the data on the device, so be sure to back up any important files before proceeding.
How to fix firmware upgrade encountered an issue
How to fix firmware upgrade encountered an issue?Using Kies to fix a problem with a firmware update
How to fix firmware upgrade encountered an issue? You can try to fix the “firmware upgrade encountered issue” error by following the instructions in the error message and using Kies’ Firmware upgrade and initialization feature. Here are the steps you need to take.
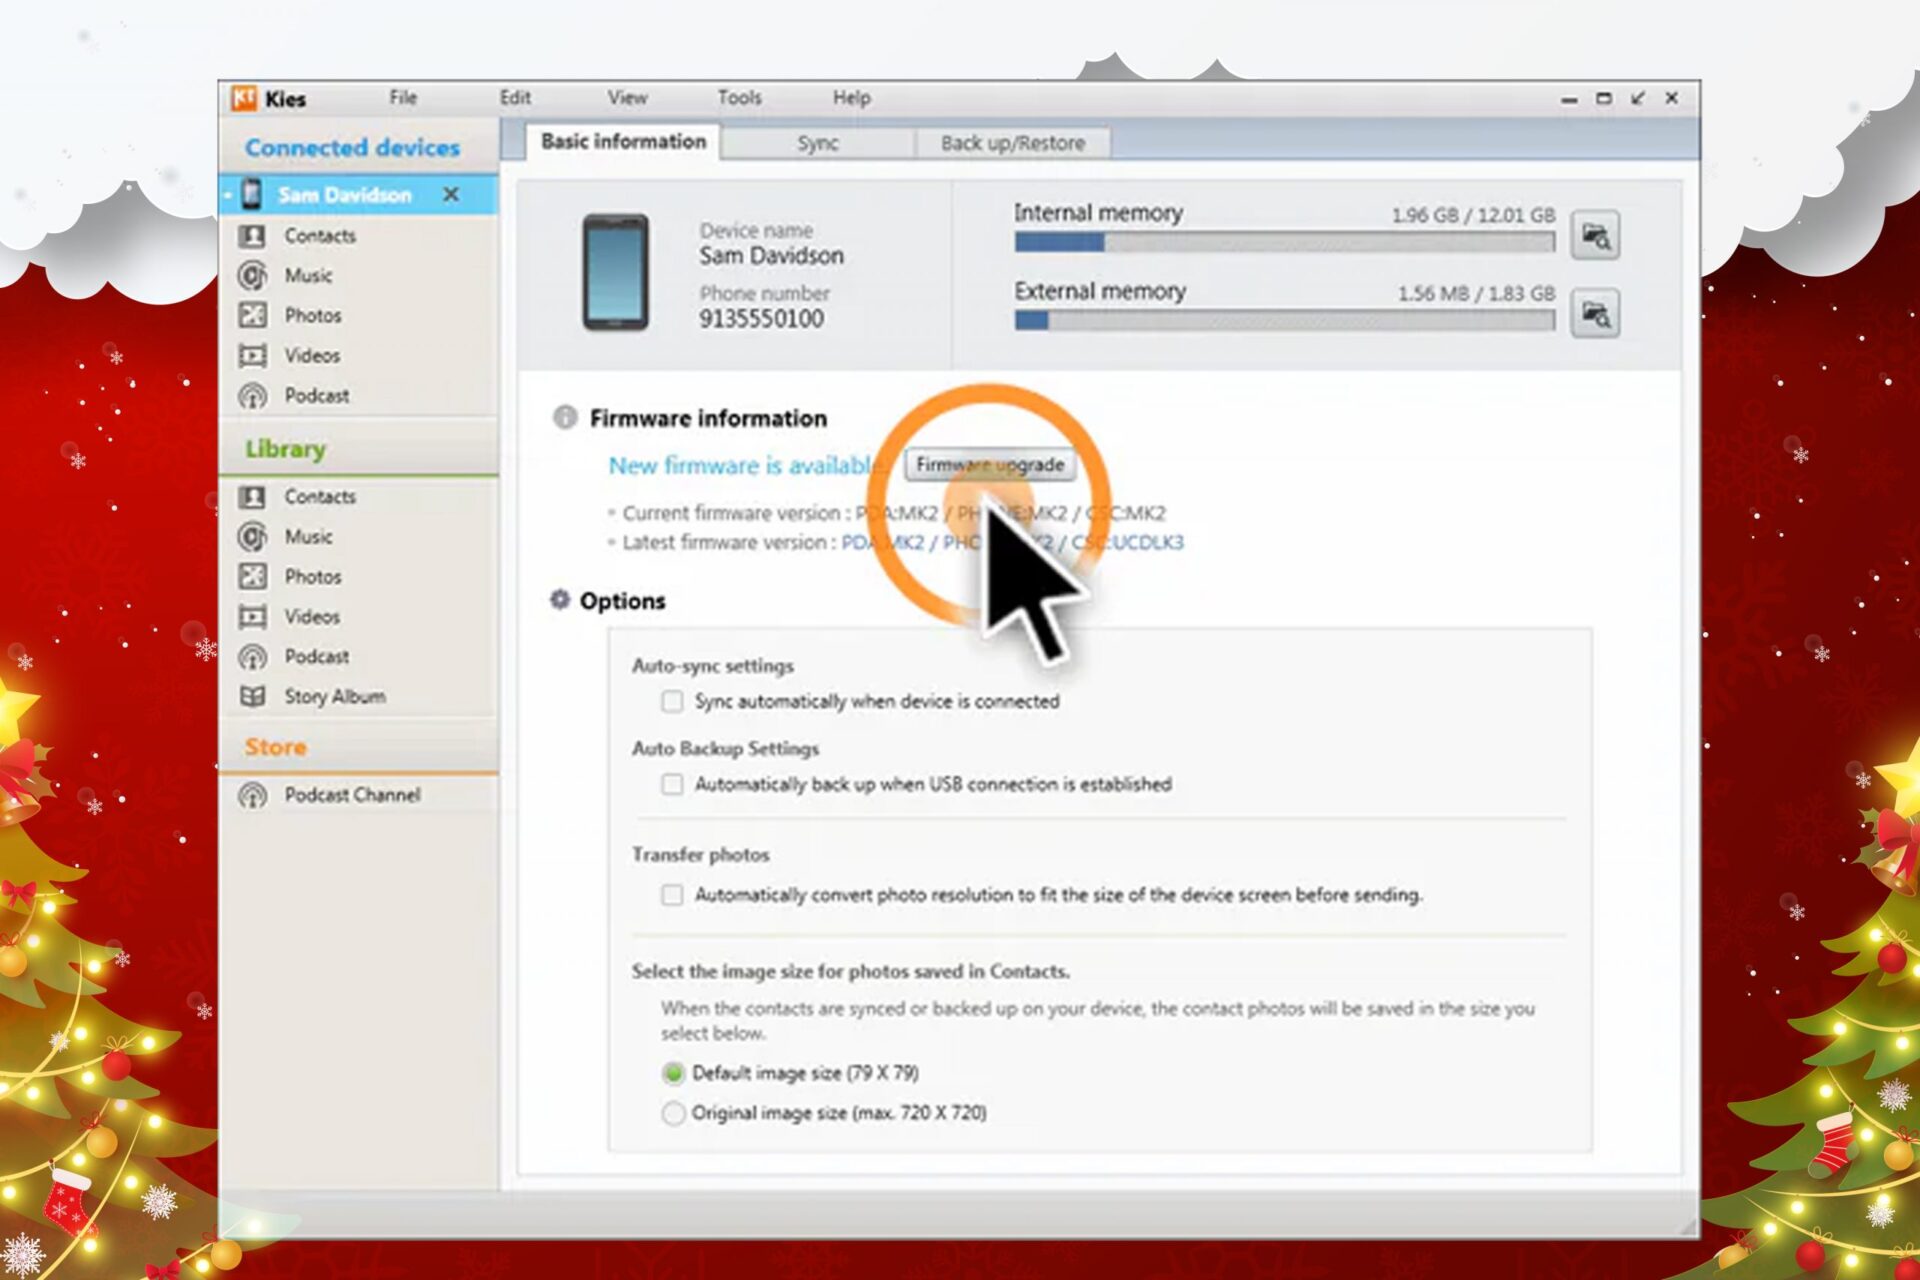
Step 1: Download Kies to your computer and set it up. Start Kies and select Tools > Firmware Upgrade and Initialization from the menu.
Step 2: Look at your phone’s model and serial number (S/N).
If your phone’s back cover comes off, you can take out the battery to find out the model name and S/N. If you registered your device on Samsung.com, you can use your Samsung account to sign in and get the info. You can also find the information on the phone’s box.
Step 3: On Kies, type in your Samsung model name and serial number.
Step 4: Kies will tell you that the firmware upgrade and initialization process will delete all of your data and settings and update your phone to the latest firmware version. Click “OK” to move on.
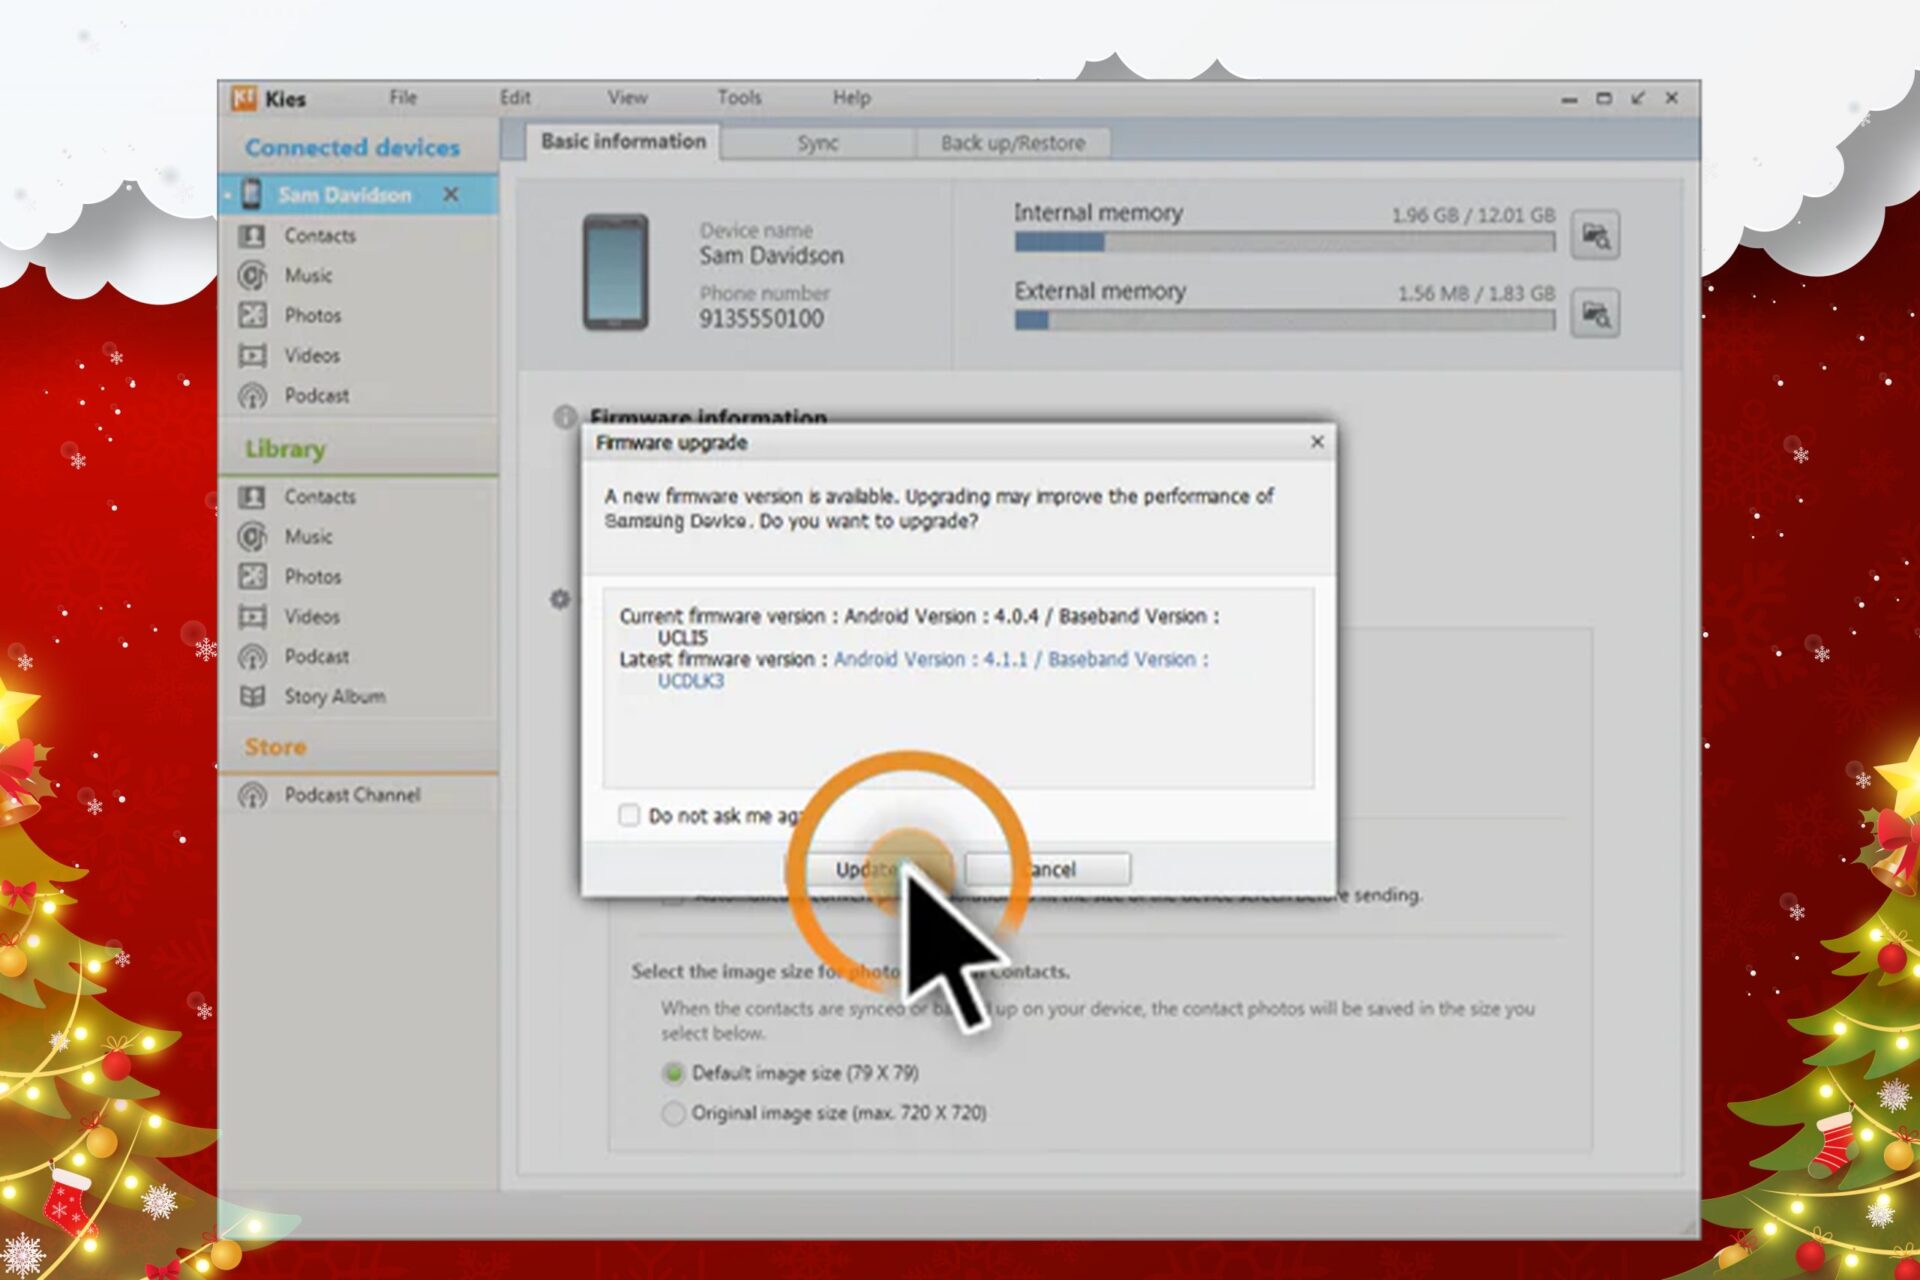
Step 5: The program will start to download the files needed to update the firmware. This window will appear after the firmware has been downloaded.
Step 6: To put your Samsung phone into recovery mode, follow the instructions in the window. Check the box, and then click “Start upgrade.”
Step 7: Be patient until you see “Emergency recovery of firmware completed.” Please DON’T take your phone away from the computer while the process is going on.
Now, the “firmware upgrade encountered issue” error should be gone. But your device will also lose all of its data and settings. You can fix the “firmware upgrade encountered issue” error without Kies if you don’t want to lose important data or find that upgrading the firmware with Kies is too difficult.
How to fix firmware upgrade encountered an issue? If you follow these steps and are still unable to fix the issue, it may be necessary to seek further assistance from the manufacturer or technical support professional.
Firmware Reset, Update, or Upgrade will not Unlock the Phone
How to fix firmware upgrade encountered an issue? Because the lock on your phone is based on hardware, any attempt to carrier unlock it by resetting, updating, or upgrading the software will be unsuccessful. If you want to unlock your phone you can follow this article: https://www.unlockbase.com/blog/how-to-unlock-network-locked-sim-card-inserted/
Conclusion
How to fix firmware upgrade encountered an issue? Remember to always be cautious when attempting to upgrade the firmware on your device, as it is a complex process that can potentially cause problems if not done correctly. It is always a good idea to thoroughly research the process and make sure you are using a reputable source for the firmware file before proceeding.
Additionally, it is always a good idea to back up your data before attempting to upgrade the firmware, in case something goes wrong and you need to restore the device to its factory settings.If you have any question, please let us know in the comment section below!
All products, and company names, logos, and service marks (collectively the "Trademarks") displayed are registered® and/or unregistered
trademarks™ of their respective owners.
The authors of this web site are not sponsored by or affiliated with any of the third-party trade mark or third-party registered trade mark owners,
and make no representations about them, their owners, their products or services.
The Samsung Galaxy S22 series has some of the top Android phones. As with every smartphone, Samsung Galaxy S22 Ultra Problems and issues that will hopefully be solved in future software upgrades or have solutions for now. We look at Samsung Galaxy S22 issues and how to solve them.
Steps to solve Samsung Galaxy S22 Ultra Problems
S22 Fast charging not functioning
Fast or wireless charging is one of the typical Samsung Galaxy S22 Ultra Problems
Fixes
Samsung Galaxy S22 Ultra Problems: Samsung Galaxy S22 phones lack a charger. Using an older Samsung charger or a third-party wired or wireless charger causes the issue. To reach the maximum fast charging rate on the Galaxy S22 series, you need a USB PD PPS adaptor. For the best Galaxy S22 quick chargers.
Galaxy S22 fingerprint sensor malfunctioning
Galaxy S22 fingerprint scanner difficulties have been reported. The scanner often fails to identify fingerprints.
Fixes
Samsung Galaxy S22 Ultra Problems: The Galaxy S22’s screen protector is likely to blame. If you can go without a screen protector, the fingerprint scanner should function. Otherwise, make sure screen protectors are compatible with the sensor by reading reviews. TPU or hybrid screen protectors are better than tempered glass.
If you have fingerprint scanner troubles after removing or replacing the screen protector, erase any existing fingerprints and re-setup. Try repeating the same finger.
Enable touch sensitivity in Settings > Display. If yes, activate Accidental touch prevention. Battery drain may rise.
Samsung’s Google Messages missing features
Samsung Galaxy S22 Ultra Problems: Samsung’s Google misses features Samsung has a customized version of Google Messages for the Galaxy S22, even if the name and Google Play Store URL are the same. The Galaxy S22 messaging software lacks the ability to read iPhone emoji text replies and transmit high-resolution photographs with a Google Photos link.
Fixes
Open Google Play and search for Google Messages. Disable auto-update by tapping the three dots in the upper right corner. Clear data and cache in Google Messages’ settings. Download Messages APK manually. Install the phone’s apk file. Google Messages should now load normally. If you update the app via the Play Store, the Samsung skin will return.
App-freezing
Some Galaxy S22 customers experience frozen applications or sluggish performance.
Fixes
Is another app creating the issue? Check whether the problem persists in Safe Mode. If not, a new or upgraded app is to blame. Uninstall recently installed or updated programs to restore performance. Wipe the cache partition.
Clear app cache and data. Find the malfunctioning app in Settings > Apps. Clear cache and data in Storage. Reinstall the app if nothing works.
Android Car problems
Samsung Galaxy S22 Ultra Problems: Samsung Galaxy S22 users have trouble with Android Auto. Android Auto takes a few minutes to display on a car’s blank screen. The Galaxy S22 has a problem with Android Auto Wireless.
Fixes
Smart Switch may cause Android Auto connectivity difficulties on the Galaxy S22. Uninstall and reinstall the app from Google Play. Settings > Apps > Android Auto > Force Stop. Clear cache and data from Storage.\
Restart the setup procedure. Delete the phone-car connection and reconnect Android Auto. If you can’t connect to Android Auto Wireless, wire the Galaxy S22 first. Some users discover Android Auto Wireless works after a wired connection.
The phone should detect a wired connection and alter the setting. If it doesn’t work, press the Android System notice and choose Transferring files/Android Auto.
Get support > Send feedback > Error reports.
Galaxy S22 notification issues
Certain app notifications don’t appear unless Samsung Galaxy S22 customers open them.
Fixes
The Galaxy S22’s battery settings may delay notifications. Tap the three vertical dots in Settings > Apps. Tap Special access then Optimize battery use. Uncheck applications that aren’t sending alerts. If you don’t see all the apps, press All in the Apps not optimized area.
Tap Clear cache and Clear data in WhatsApp’s storage settings. This will remove your conversations and need a new login. If rebooting the app doesn’t help, delete and reinstall it
Galaxy S22, S22 Plus, and S22 Ultra camera difficulties
Samsung Galaxy S22 camera issues exist. Some users can’t access camera settings (clicking on the gear icon on the viewfinder). It opens briefly and then closes. Other users see “camera failed”
Fixes
If you can’t access camera settings, update a Developer option. Settings > Developer Options look for Don’t keep activities. Everything should function if you disable that setting.
Clear data and cache under Settings > Apps > Camera > Storage.
Conclusion
Samsung Galaxy S22 Ultra Problems: You may just do a factory reset on your Galaxy S22 if everything else fails. firstly, switch off your phone. When the Android logo displays, hold down the volume up and power keys while continuing to keep them down. To browse this menu, use the volume down button. Scroll down to Factory reset/Wipe Data.
To choose the option that is highlighted, press the power button. Finally, choose Yes – erase all user data using the volume button. Re-press the power button to confirm your choice. In order to choose Reboot system now, tap the power button. What issues with the Galaxy S22 have you had? Please share your thoughts in the section below.
All products, and company names, logos, and service marks (collectively the "Trademarks") displayed are registered® and/or unregistered
trademarks™ of their respective owners.
The authors of this web site are not sponsored by or affiliated with any of the third-party trade mark or third-party registered trade mark owners,
and make no representations about them, their owners, their products or services.