Are you getting a weak signal from your Smart Bro Prepaid Home WiFi? There’s a way to fix it!
Boost the signal by adding antenna correctors and outdoor antennas!
This will also work on the PLDT Prepaid Home WiFi. It is essentially the same modem, just a different brand. Be warned: doing this notification will surely VOID your warranty. It is up to you whether to proceed or not.
Disclaimer: We are not responsible if things go wrong.
Also, your mileage may vary. In my case, this modification boosted my signal indoors. But it may or may not be the same for you, it depends on your area. There are a number of factors that may affect wifi signal strength; (1) thick walls, (2) microwave oven, and (3) actual distance from the router/modem.
There is also a video version of this guide. Watch below:
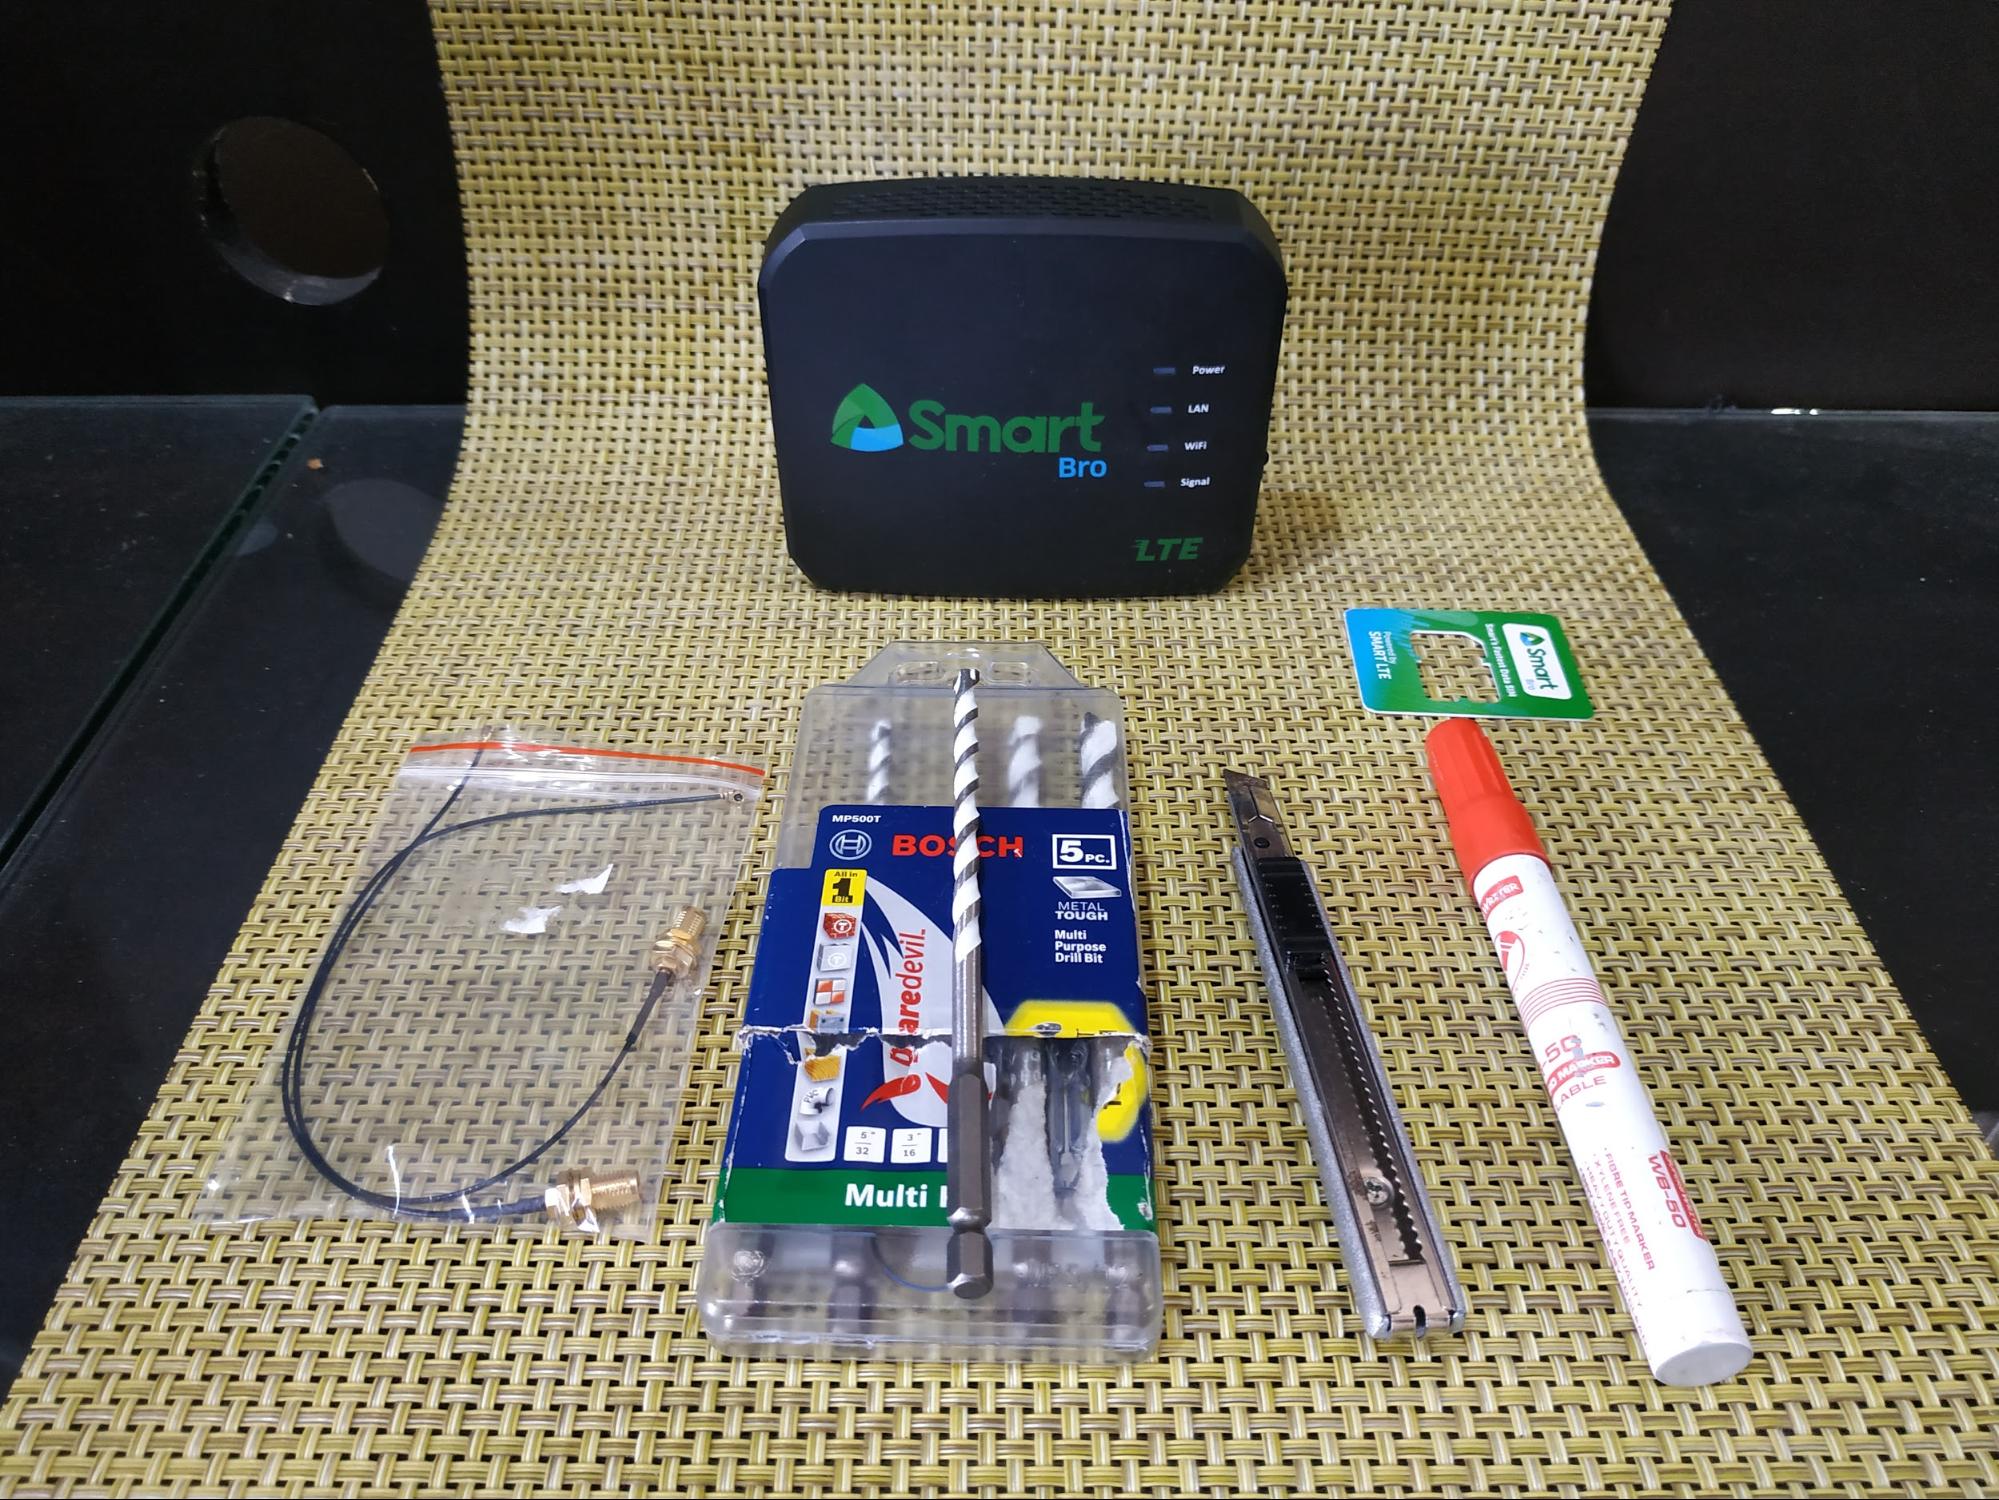
Things you need to buy/required for this modification:
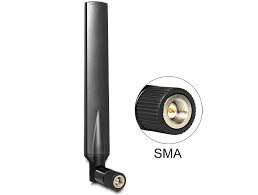
Antenna SMAWiFi Pigtail Cable IPX to SMA (₱99.00 on Lazada)
1/4 and 3/16 drill bit. (I used multi-purpose)
Drill
Marker (any color will do, as long as you can easily see it).
Ruler
Thin plastic (like a guitar pick or gift card).
Box cutters
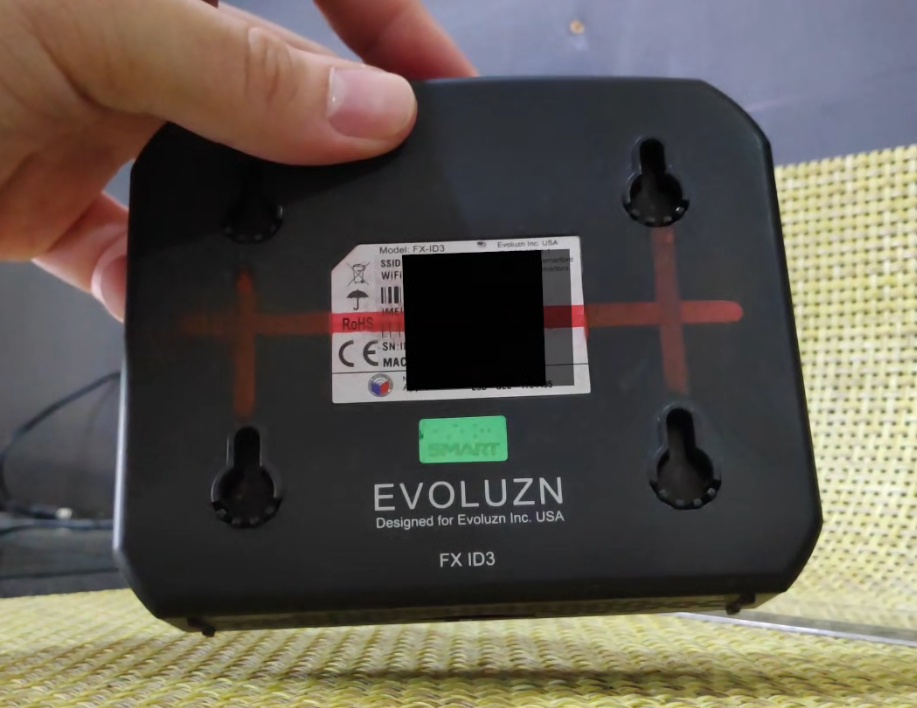
Use the ruler and marker to write lines on the back of the modem as shown in the picture.
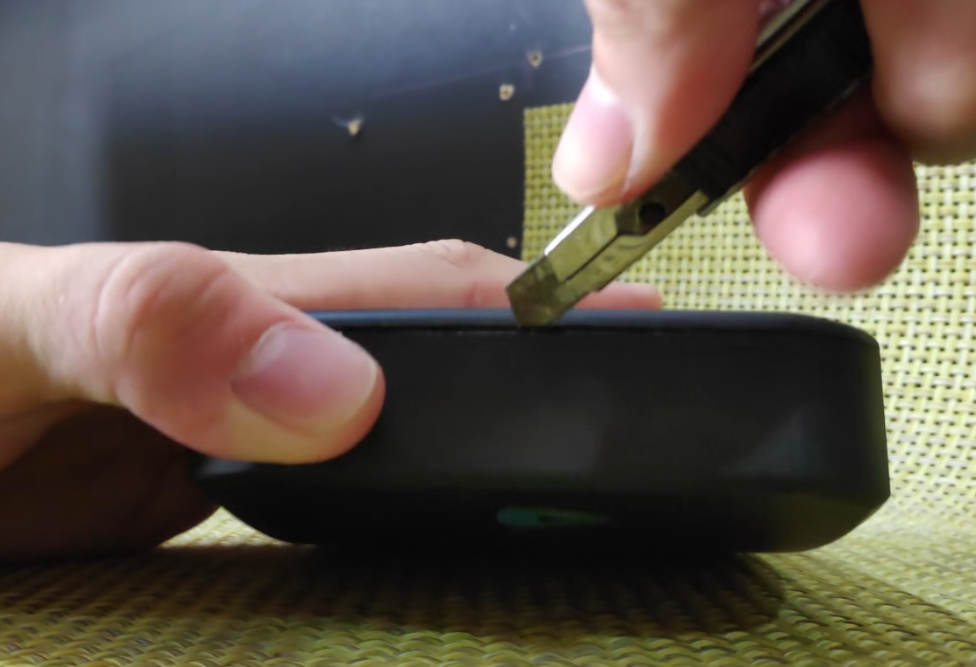
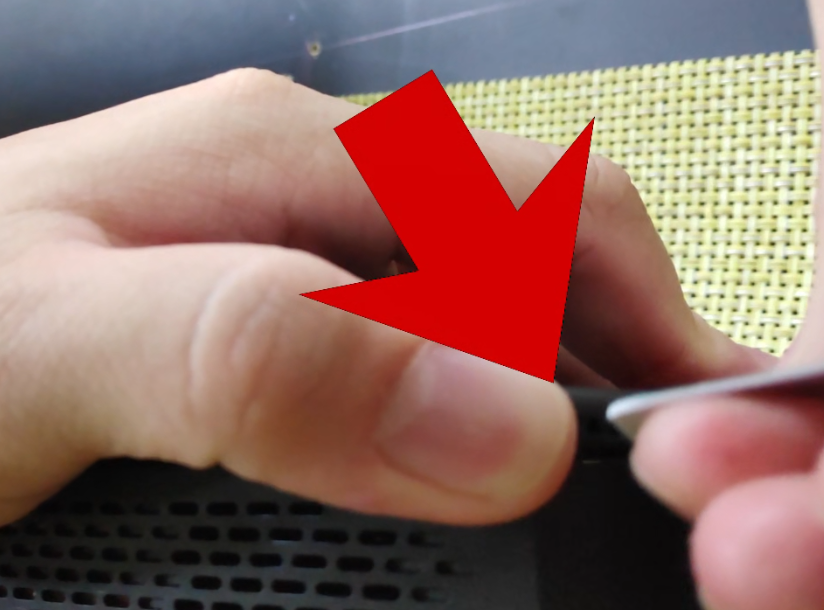
Take the box cutter and slowly insert it into the left side modem, when doing so, make sure it face down at a 45-degree angle. Insert the cutter in the middle to avoid damage to the internal antennas, just in case you want to use it again the future.
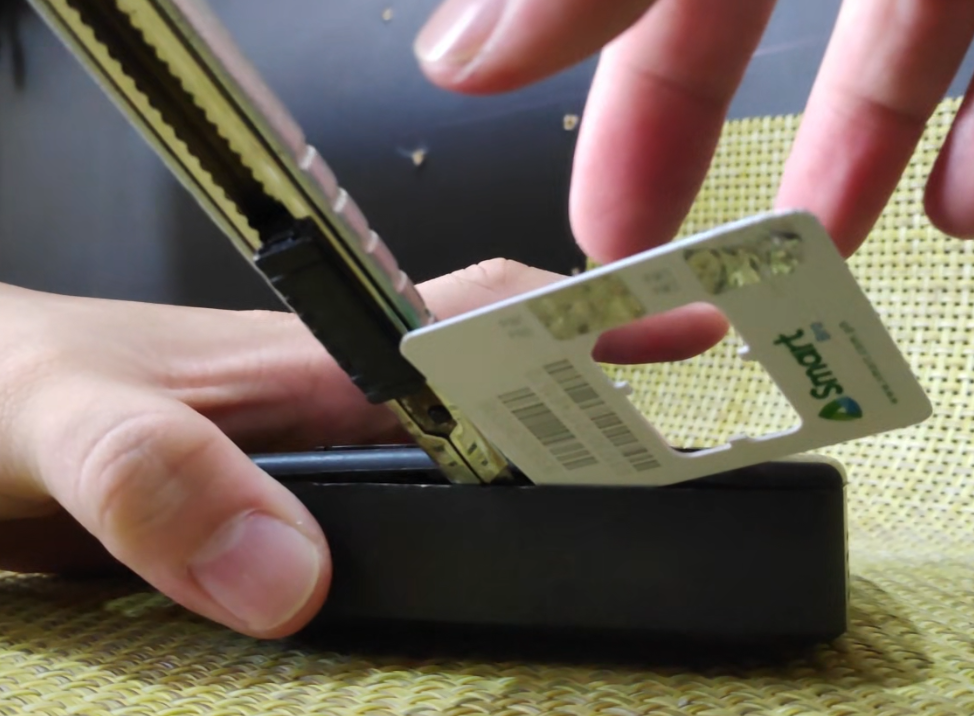
Once the cutter is inserted. Grab a thin plastic (guitar pick, gift card, etc), and insert it next to the cutter.
Once both the cutter and thin plastic are both inserted, slide the thin plastic throughout the perimeter of the modem. If you’re having trouble sliding the plastic through, yank out the cover a little bit to ease the plastic through.
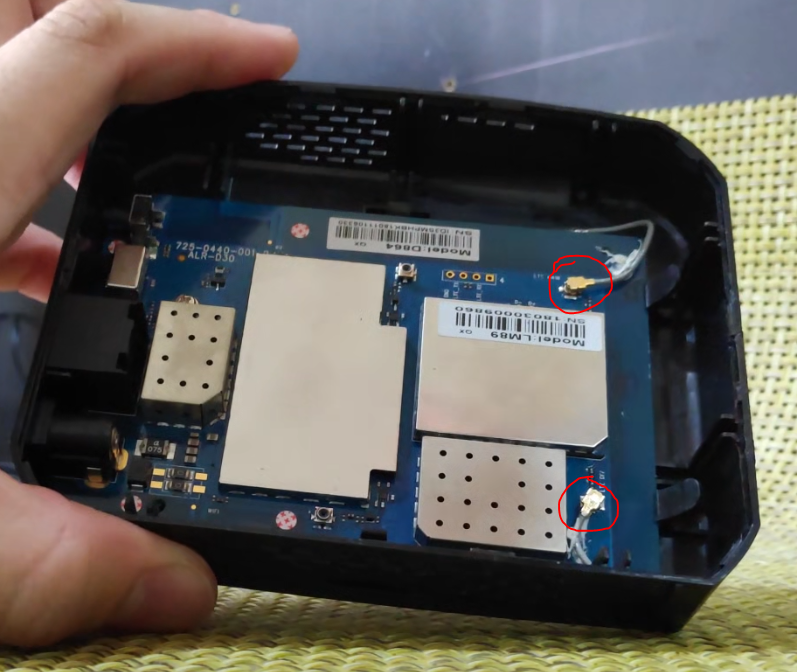
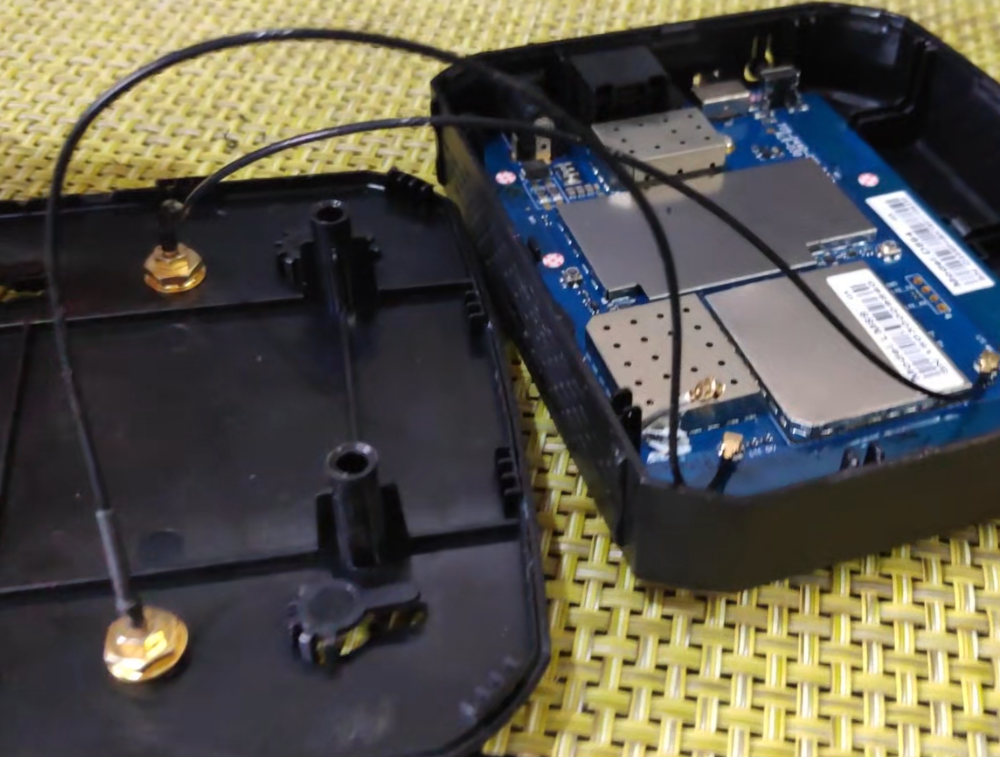
Once the cover is off, disconnect the two antennas (circled in red) gently.
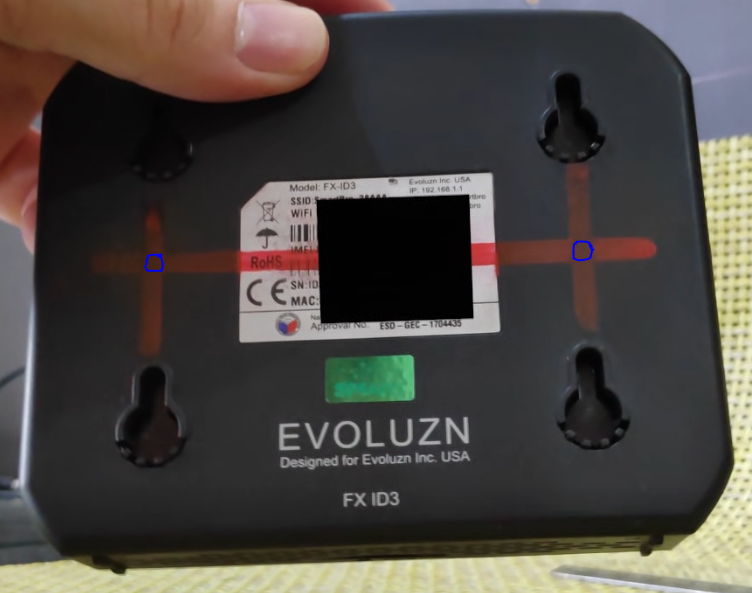
Drill two holes (circled in blue). Start out with the 3/16 bit on each, then finish them off with the 1/4 bit also on both.
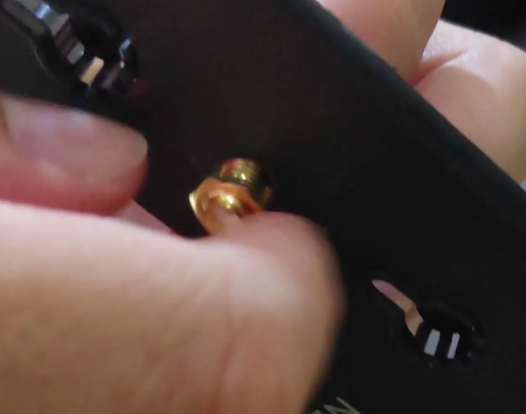
Loosen the nut on the SMA to u.FL connector and install each one onto the holes.
Insert each SMA connectors on each hole. Don’t forget to install the nuts afterward.
Connect u.FL connectors onto the motherboard (where you disconnected the internal antennas from back in step 5). It doesn’t matter which one is which you connect them to.
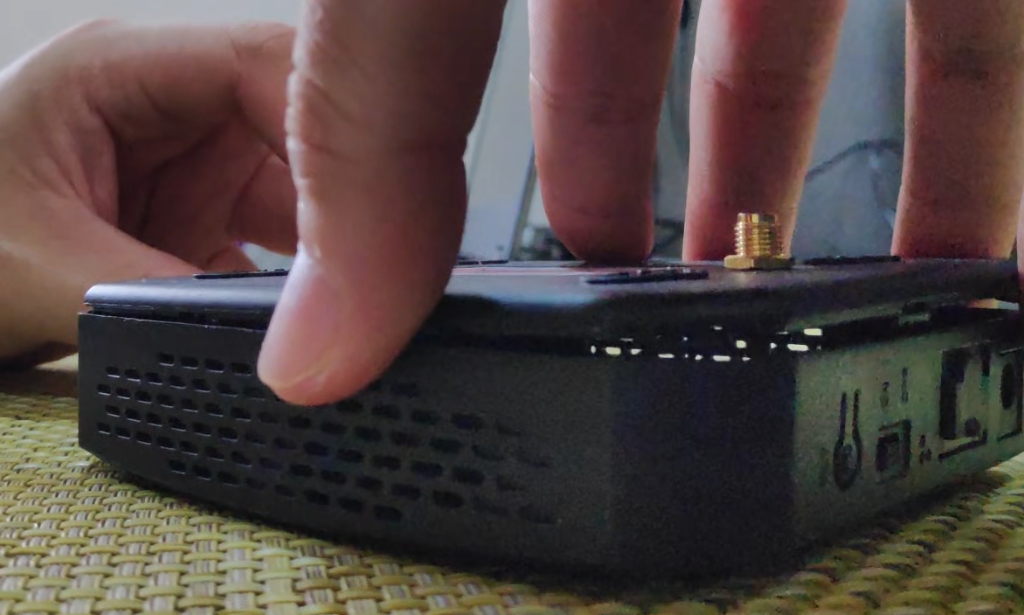
Put the cover back, and snap it in place.
Connect the antennas.
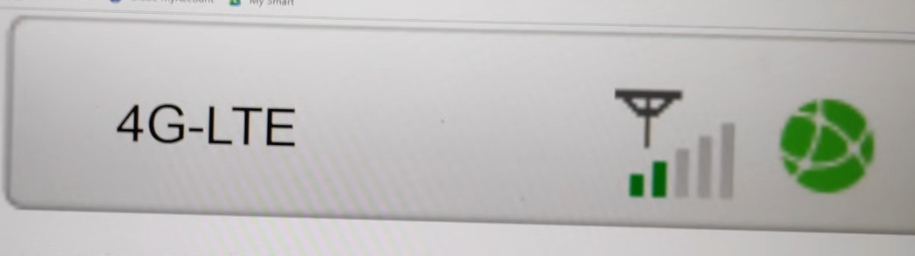
Turn on the modem and see the improved reception. Your mileage may vary, depending on your area.
Before:
After:
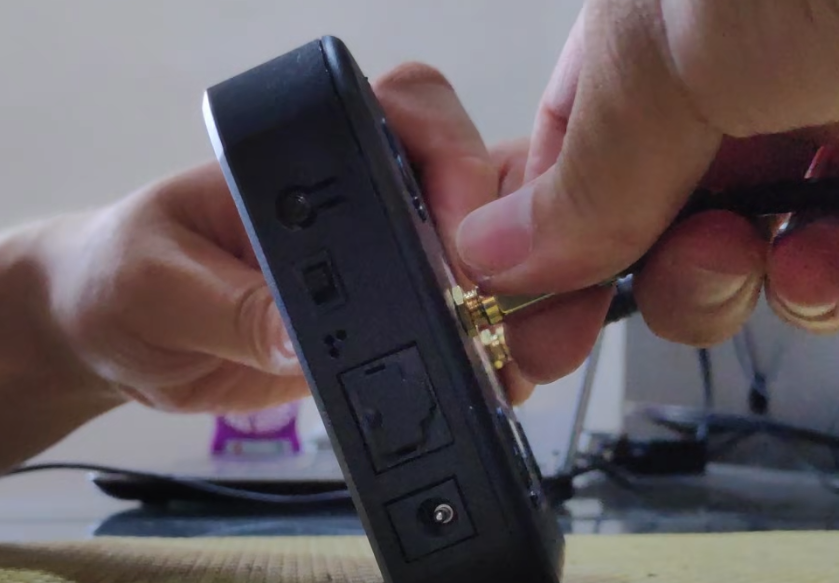
If you want to use this without the outdoor antenna, you could purchase an external SMA antenna (as shown in the picture below) and hook it up to the modem, or open the modem again, and connect back the internal antennas.
There you go! Your very own DIY external antennas for a better wifi signal strength!
If you don’t want to go through the hardware DIY, you can ask your internet service provider if your Wifi Modem has the capability of connecting to a “range extender.” Range extenders look like small wifi boxes with external antennas and you can install as many as you can to areas where you have poor wifi strength or none at all.
Range extenders, as the term defines, ‘ extend’ your wifi’s range. You can easily purchase one from any store near you, but for the convenience they offer, they might come a little bit pricey.
All products, and company names, logos, and service marks (collectively the "Trademarks") displayed are registered® and/or unregistered
trademarks™ of their respective owners.
The authors of this web site are not sponsored by or affiliated with any of the third-party trade mark or third-party registered trade mark owners,
and make no representations about them, their owners, their products or services.
This guide will help you unlock your Evoluzn FX-PR3L; which will allow you to use any SIM cards, provided that both the device and network (carrier) use the same frequencies. Note that this does not require disassembling the device. This guide will work up and beyond firmware V13.
For those who want a video version of this guide, please watch below.
Download Software to Unlock the Smart LTE Pocket WiFi (Evoluzn FX-PR3L)
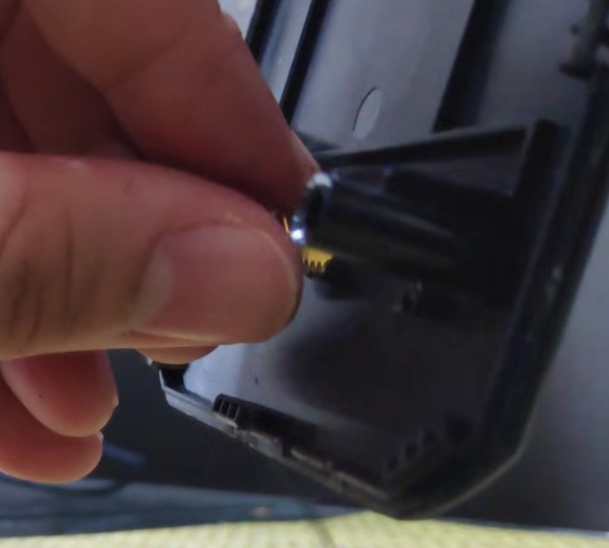
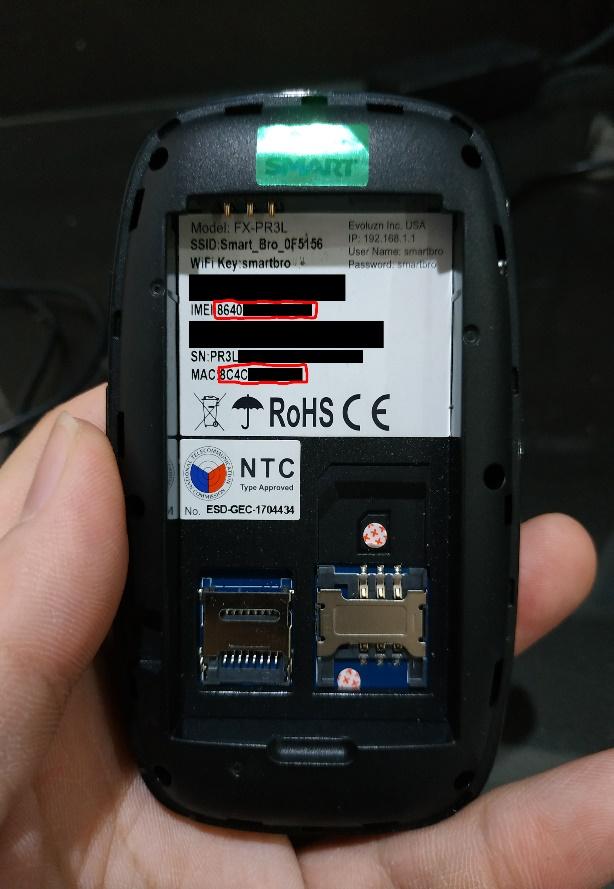
Write down or take a photo of the IMEI and the MAC address of your device, you will need this later. To see the IMEI and the MAC address, remove the back cover of the device and lightly remove the battery. You will see them in the battery’s housing, like the one pictured below:
Download and extract the files you will need in order to do this tutorial. This contains six folders, Starting from “Step 1” all the way through “Step 6″.
Installing the WTPTP Driver.
Step 1 is a basic installation of the WTPTP Driver in your computer.
On your computer, navigate to the “Step 1” folder.
Launch ‘DrvInstaller” if you are on a computer with 32-Bit/x86 Windows, or “DrvInstaller_x64”, if you are on a 64-Bit/x64 Windows. (If you don’t know. Press Windows + R and type in “msinfo32”
If prompted with “Do you want to allow this app from an unknown publisher to make changes to your device?”. Click “Yes”.
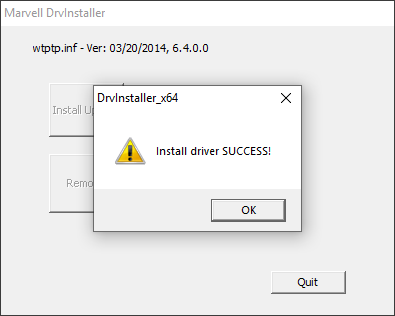
Click on “Install Update”
Once done, you should see this dialog box saying that the driver installation is a success. If you see any error, click on “remove” and then click on “install update” again. If that doesn’t solve it, try to reboot your computer and re-do the whole process.
Close by pressing “Quit”.
Flashing the FX-PR2L firmware.
Step 2 involves flashing a different firmware on the device. This is necessary for us to successfully unlock it. Don’t worry, we are going to flash the original firmware back once the unlock process is complete.
Remove and disconnect everything on your Evoluzn FX-PR3L device. If it’s connected via USB, disconnect. Remove both SIM and battery.
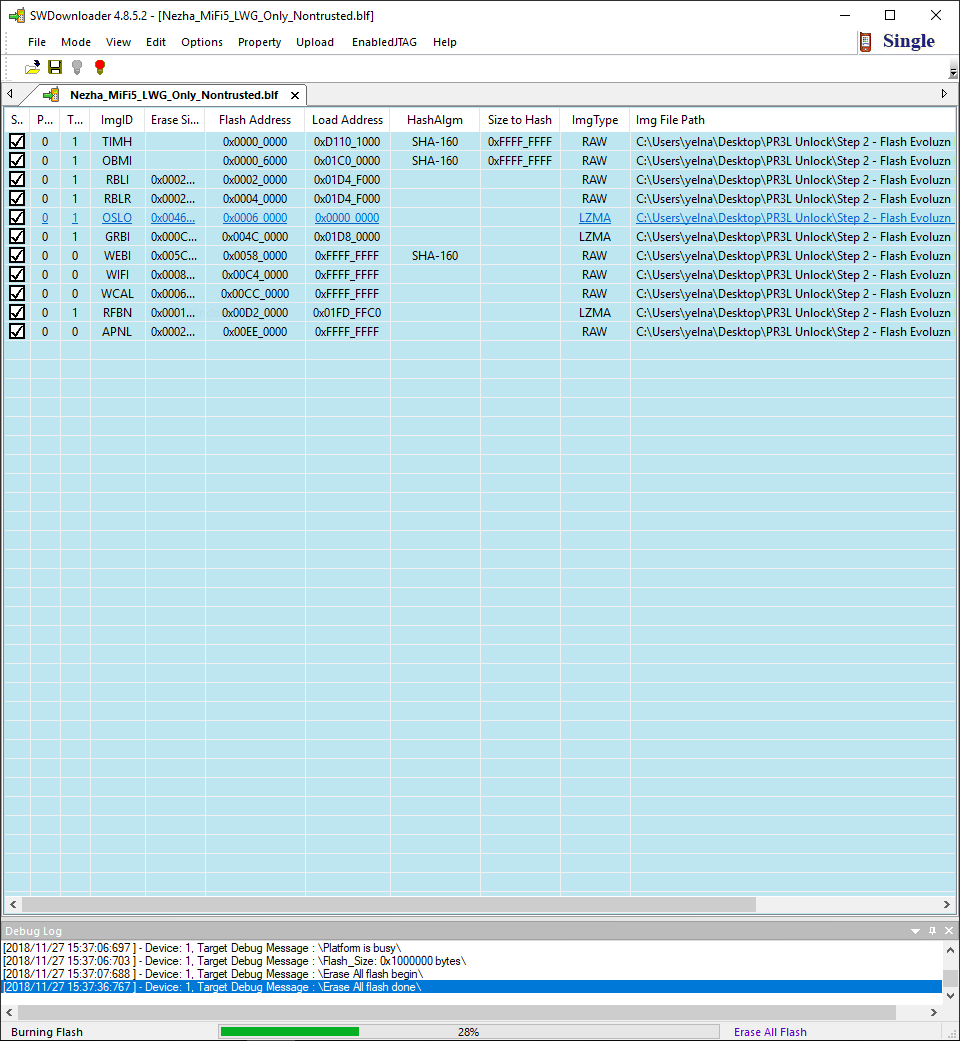
Go to the “Step 2” folder, and run the “SWDownloader” program.
Click on “File”, then “Open”.
Navigate to the “SWD” folder, (if you don’t see it, it’s located on the “Step 2” folder).
Then select “Nezha_MiFi5_LWG_Only_Nontrusted.blf” file.
Click on the green lightbulb icon.
Connect the FX-PR3L Pocket WiFi via micro USB cable and plug it into the computer’s USB port.
As fast as you can, insert the battery, then hold the power button. Until you see “welcome to Smart”, then the arrow button.
You should see flashing green progress bar on the bottom of SWDownloader.
Once done, there should be a dialog box, saying so. Press “OK”.
Quit out of “SWDownloader”, by clicking X on the top right.
Disconnect the micro USB cable, and remove the battery.
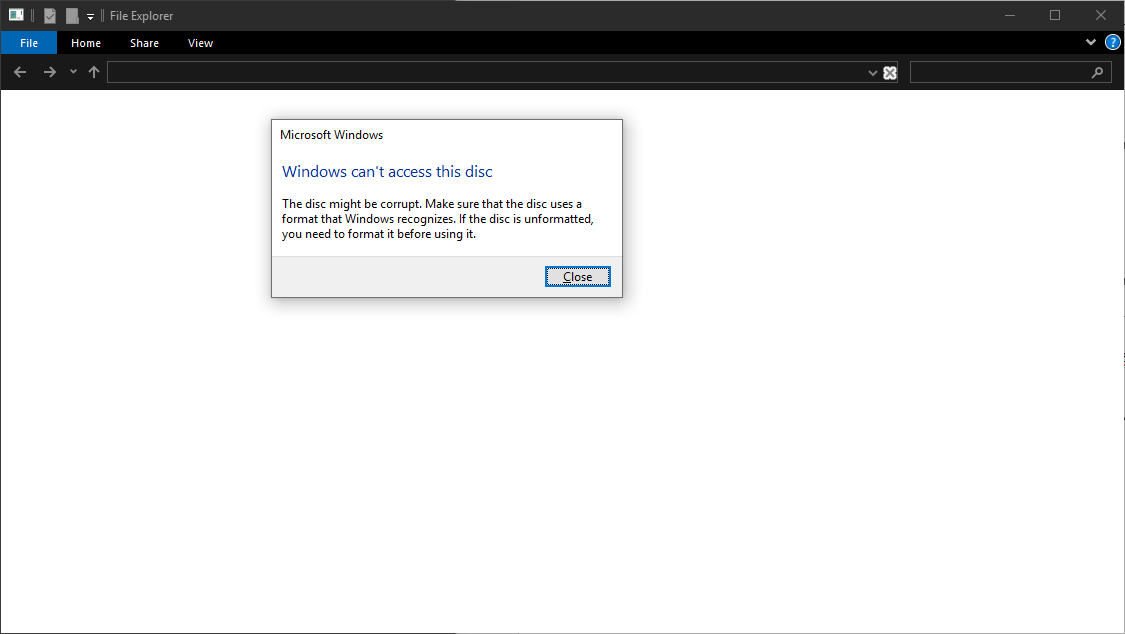
Reinstall the battery, turn it on, and plug the cable back in. On the device, it only shows a white screen. But that’s ok.
When you see a dialog box that says the disk can’t be read, just click “Close”.
Installing the Marvell Drivers
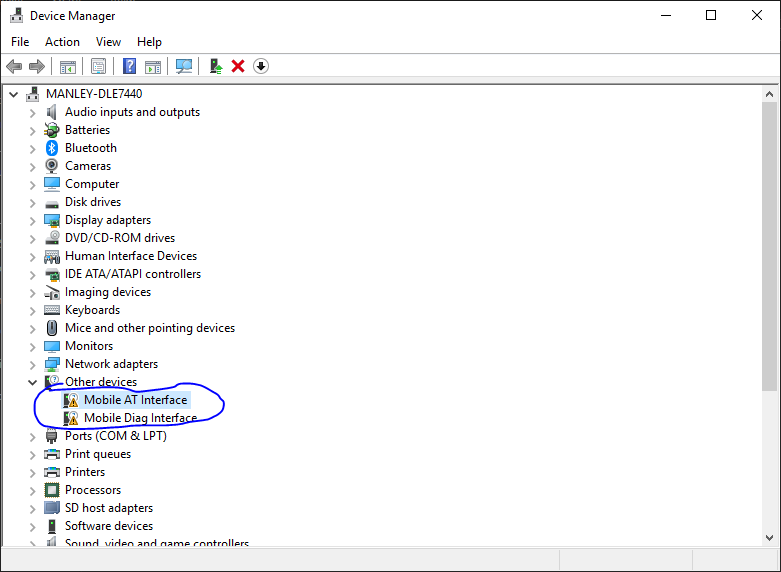
Open “Device Manager” (Press CTRL+R) then type “compmgmt.msc”. then click on “Device Manager” on the left pane.
Double click on “Mobile AT Interface” (under “Other devices”), and click on “Update Driver”.
Click on “Browse my computer for driver software.”
Click on “Let me pick from a list of available drivers on my computer.”
Double click on “Show All Devices”.
Click on “Have Disk…”
Click on “Browse”.
Navigate to the “Step 3” folder, and double-click on “MSUBSer”
Click “OK”.
Click on “Marvell AT Interface”, then click on “Next”.
It should tell you that you the driver has been successfully installed. Click “OK”.
Do the same steps above for the “Mobile Diag Interface”. But choose “Marvell DIAG USB Device Version: 2.0.0.1 [10/11/2012]”.
Close out of Device manager.
Rewriting the IMEI, MAC, and Serial to the FX-PR3L Pocket WiFi.
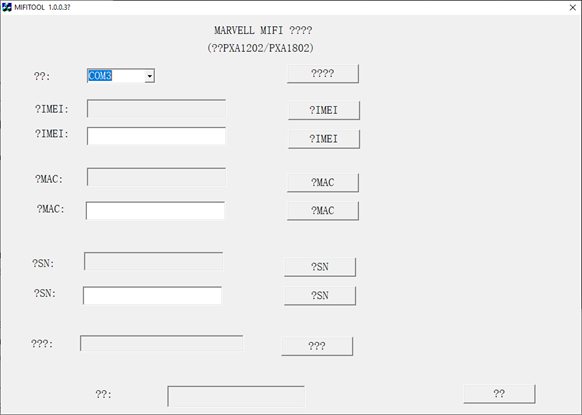
Navigate to “Step 4” folder. Then run ‘MIFITOOL1.0.0.3.”
Click the first bottom “????”. This should locate where your Pocket WiFi is. For me, it’s located on COM3, but yours may vary.
Click on the first “?IMEI” button.
Type your IMEI number from that picture you took or wrote down earlier.
Press the second “?IMEI” button, twice (just to be sure).
Press the first “?IMEI” button again, to ensure the IMEI you entered has been written.
Click the first “?MAC” button.
Type in the MAC address from the picture you took or wrote down earlier.
Click on the second “?MAC” button, twice (just to be sure).
Click on the first “?MAC” button, to ensure the IMEI you entered has been written.
Type in the serial number you wrote down or took pictures of earlier.
Click on the second “?SN” button, twice (just to be sure).
Don’t bother clicking the first “?SN” button, as it will freeze up the program.
Close out of the MiFi Tool by clicking X on the top right, or by clicking the very last button “??”.
Flashing the FX-PR3L V9.0 firmware.
Disconnect the micro USB cable.
Connect to the Pocket WiFi via WiFi.
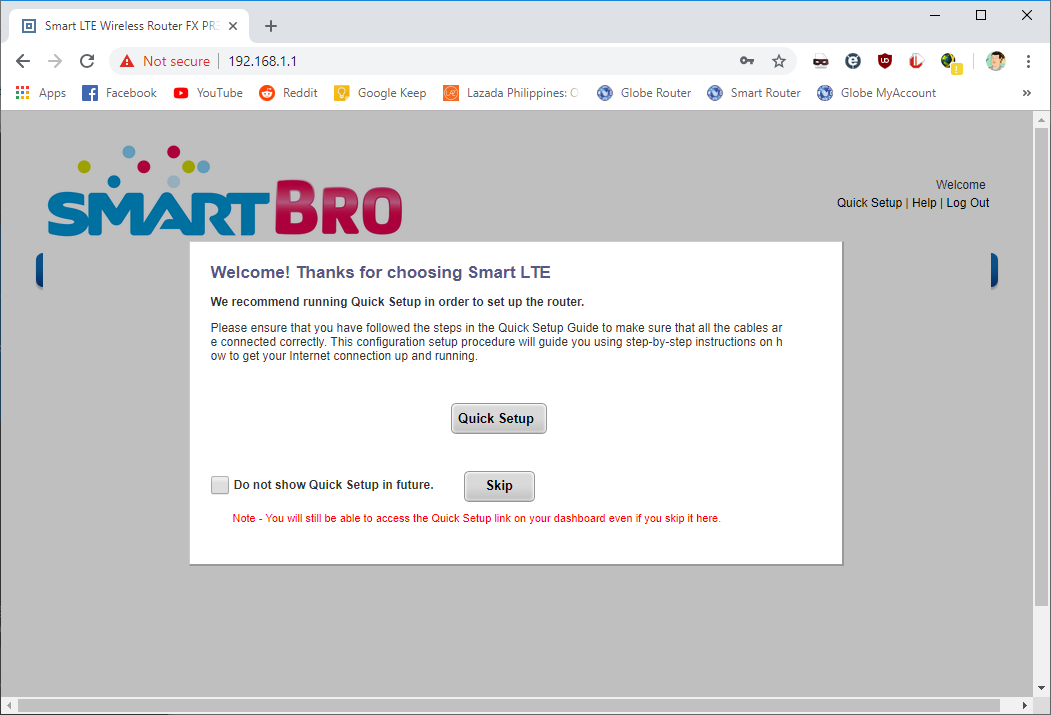
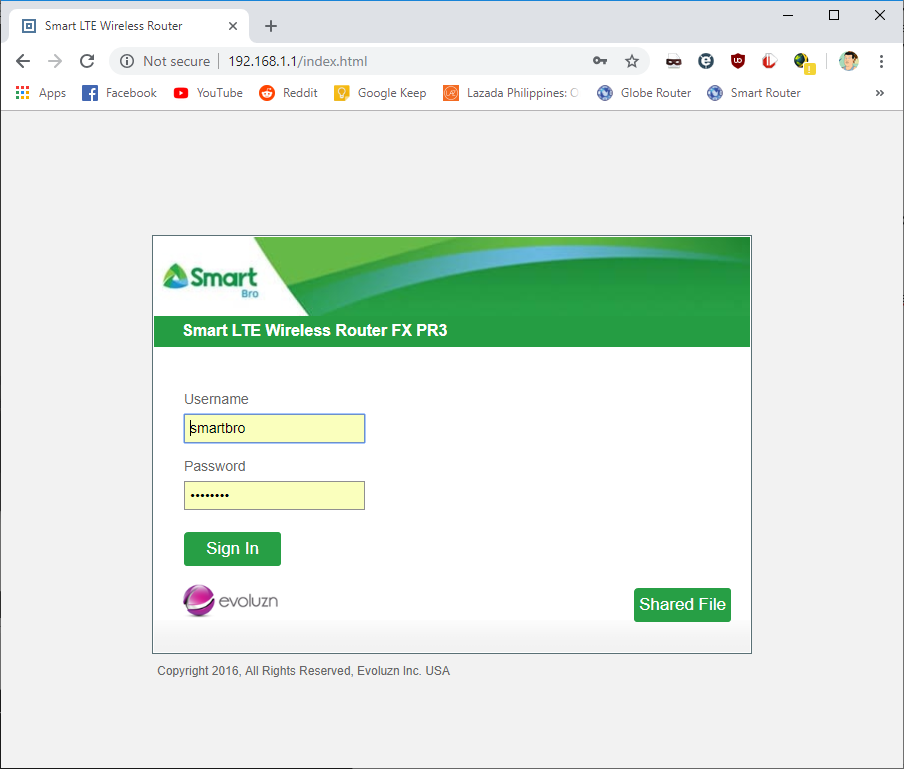
Open the browser, and go to 192.168.1.1.
Type in “smartbro” for both user and password.
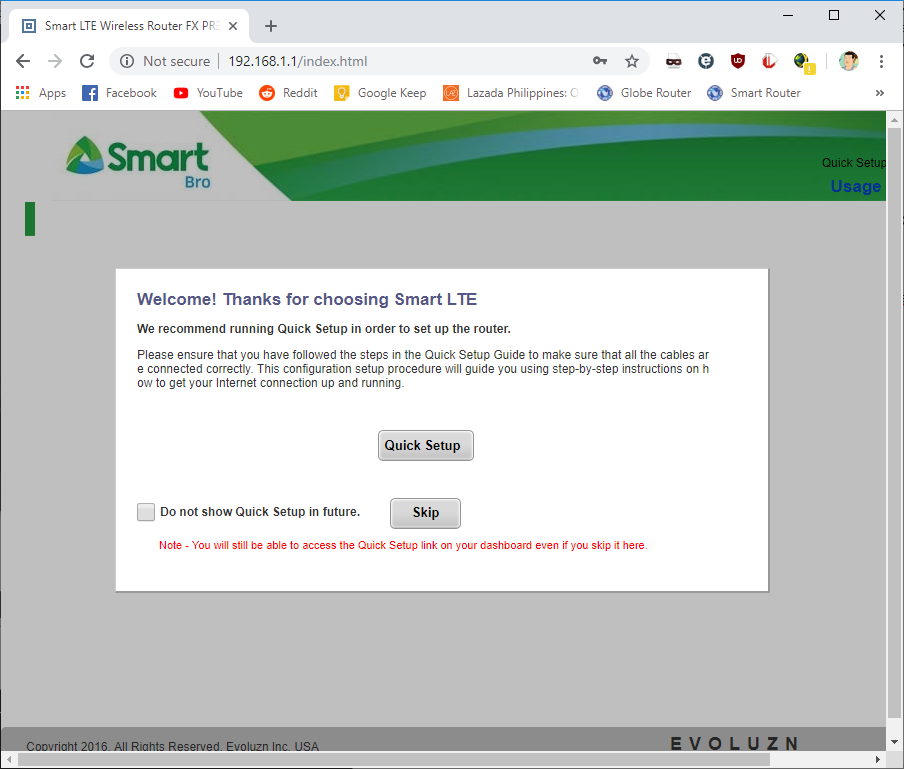
Click “Skip”.
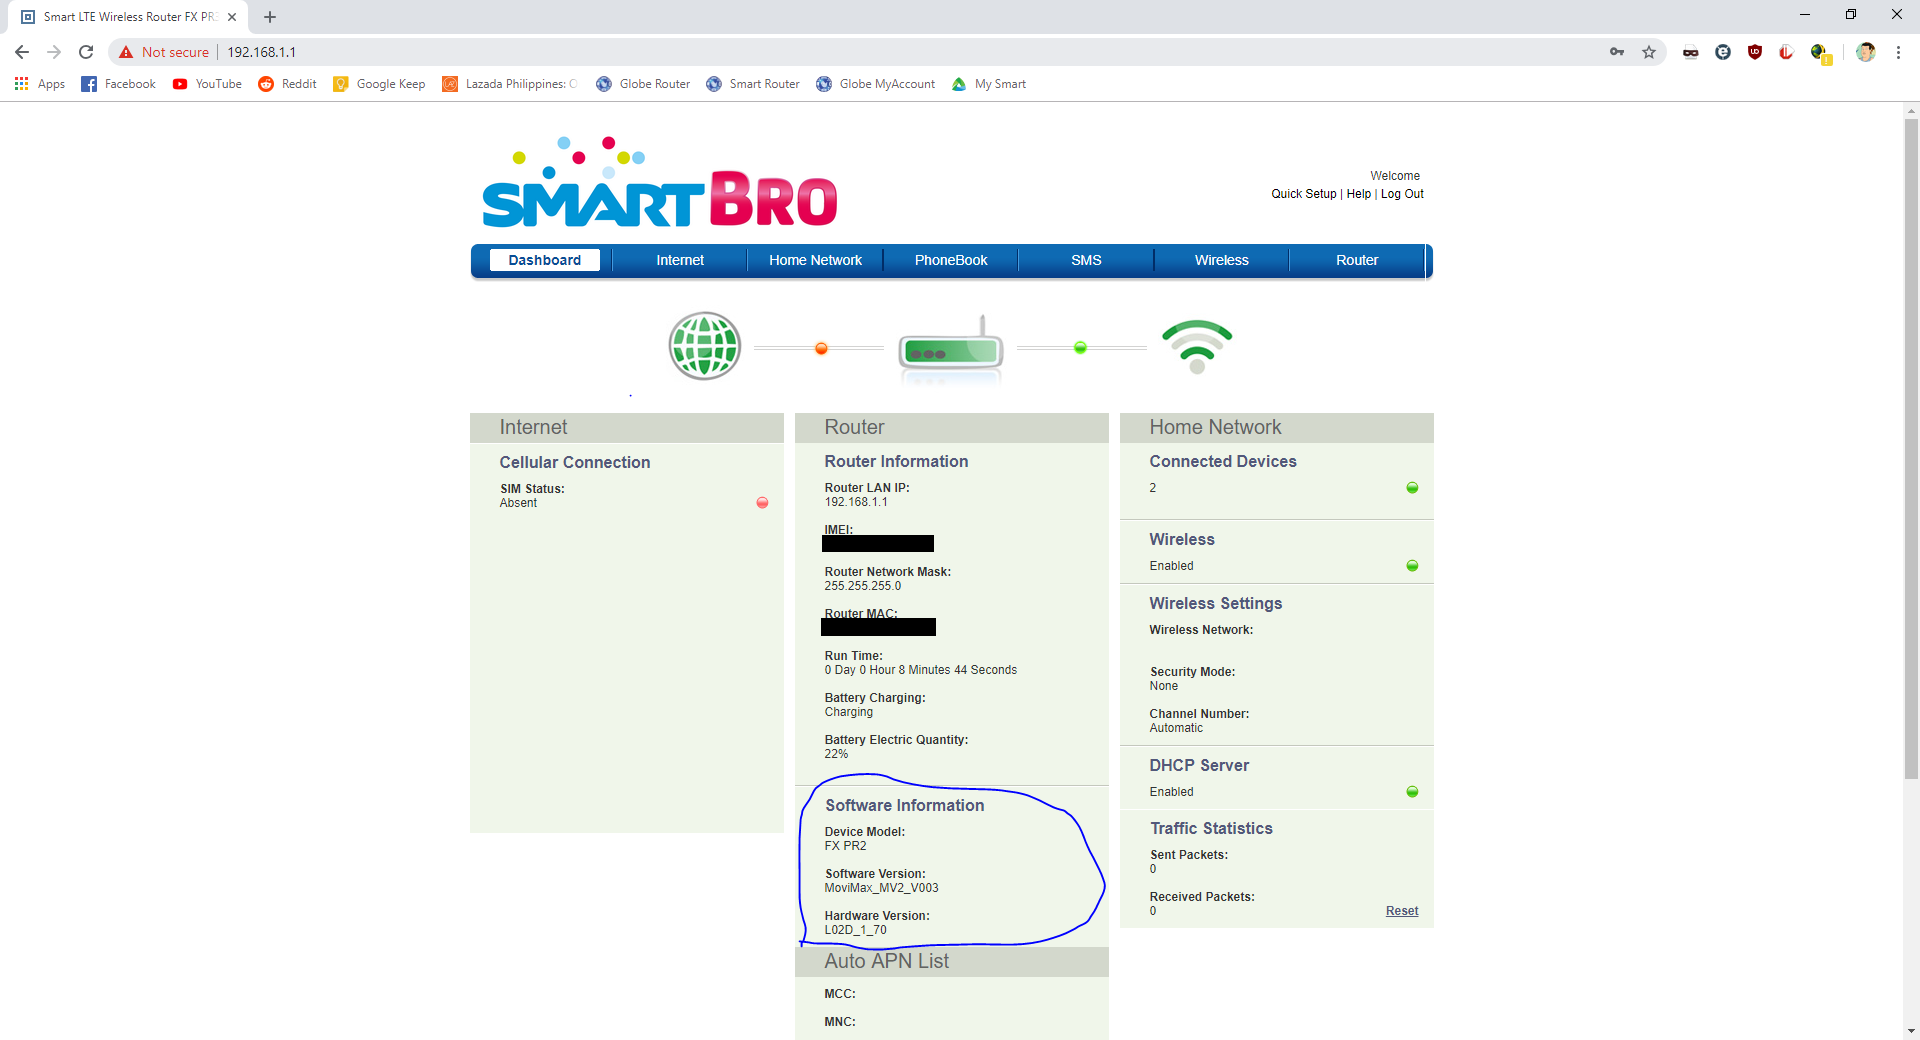
Click on “Software Information”.
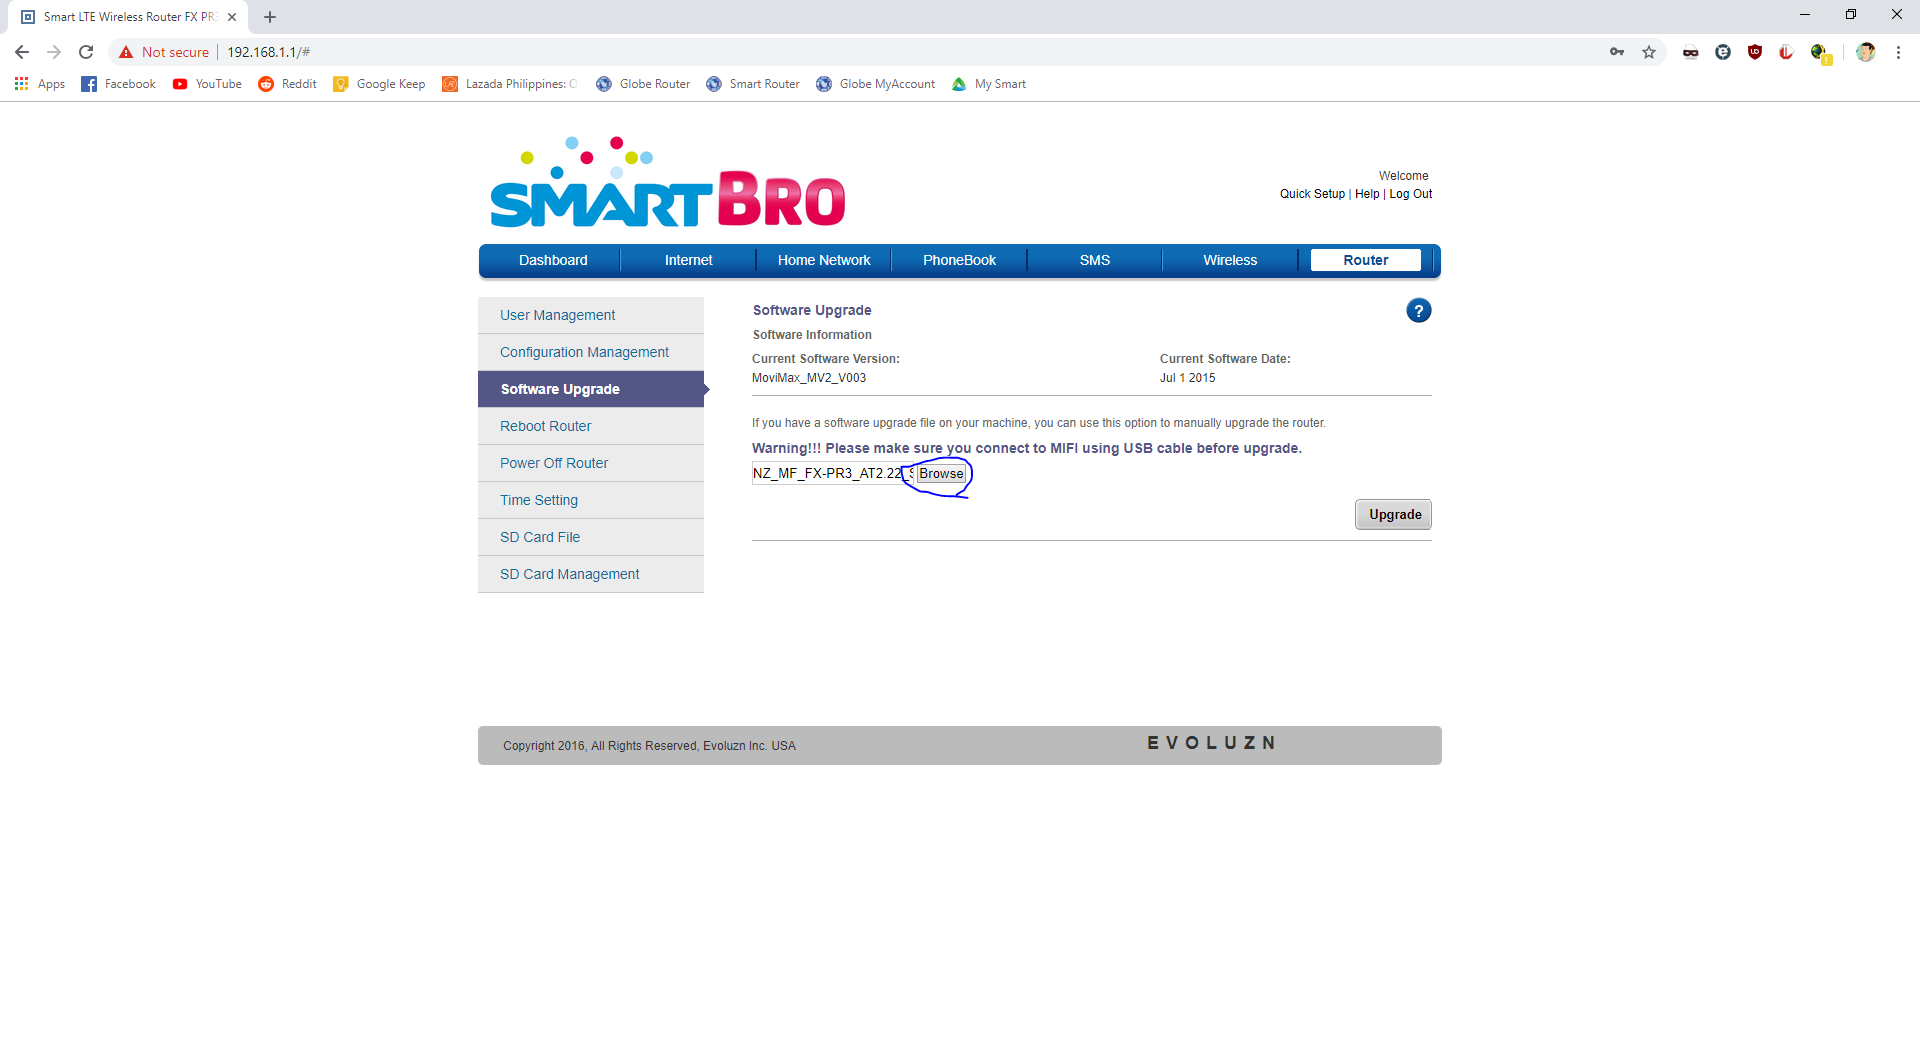
Click “Browse”.
Navigate to “Step 5” folder, and select “NZ_MF_FX-PR3_AT2.22_SB_V09.bin” file.
Click “Upgrade”.
It will now flash the FX-PR3L V9.0 firmware, and Pocket WiFi will reboot once done.
Entering the unlock code
Remove cover, remove the battery, insert a SIM (any SIM but none from Smart, Sun, and TNT).\
Insert SIM and battery. Put cover. Turn the Pocket WiFi on.
It should say “PH-NET PIN”.
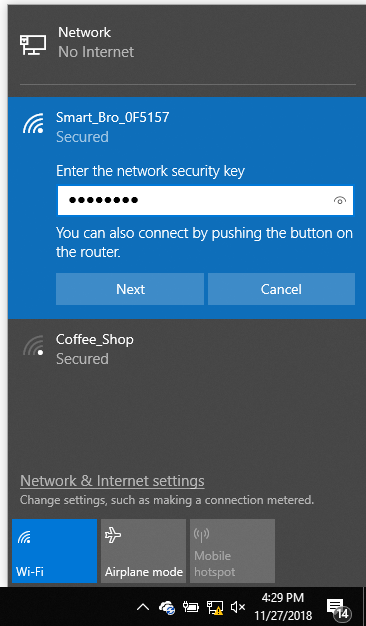
Connect to Pocket WiFi via WiFi. The password is “smartbro”.
Open the browser, and go to 192.168.1.1.
Type in “smartbro” for both user and password.
Click “Skip”.
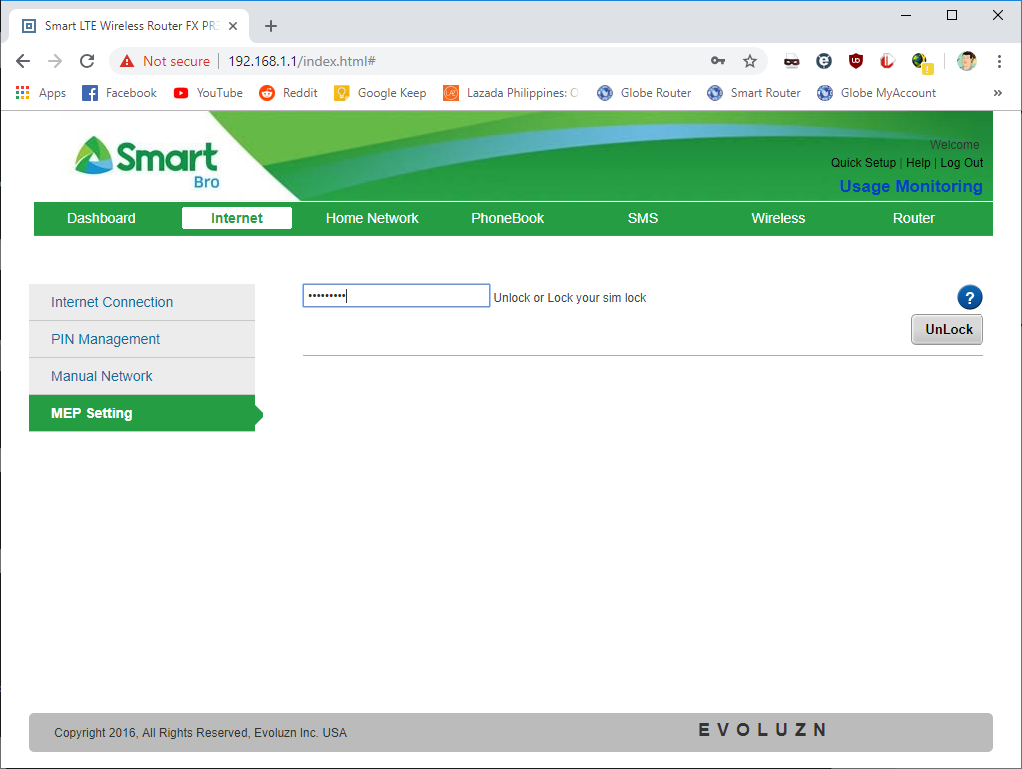
Under “Cellular Connection”, click on “required”.
Type in “@2N@t1Tr3”.
Click on “UnLock” once. UnLock should now turn into “Lock”.
The Pocket WiFi should now reboot.
Congratulations! Your PocketWiFI is now unlocked!
You can now change and customize its network name (SSID) and password. If you want to update the firmware, download the “Smart Bro Pocket WiFi” app. It should automatically download the latest firmware when signed into the app. Updating the software doesn’t change the unlocked status of your device. We uploaded the latest firmware, firmware V14, and the unlock still persists.
Any questions? Feel free to fire away on the comments section below!
All products, and company names, logos, and service marks (collectively the "Trademarks") displayed are registered® and/or unregistered
trademarks™ of their respective owners.
The authors of this web site are not sponsored by or affiliated with any of the third-party trade mark or third-party registered trade mark owners,
and make no representations about them, their owners, their products or services.