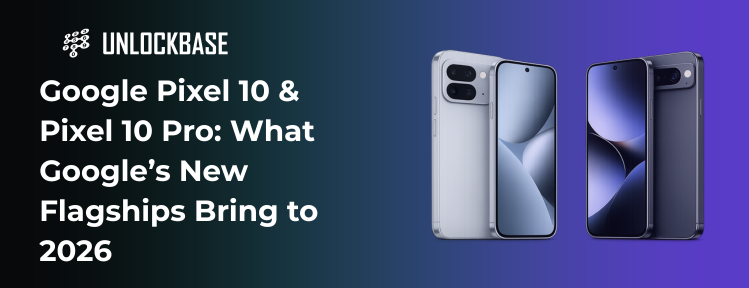
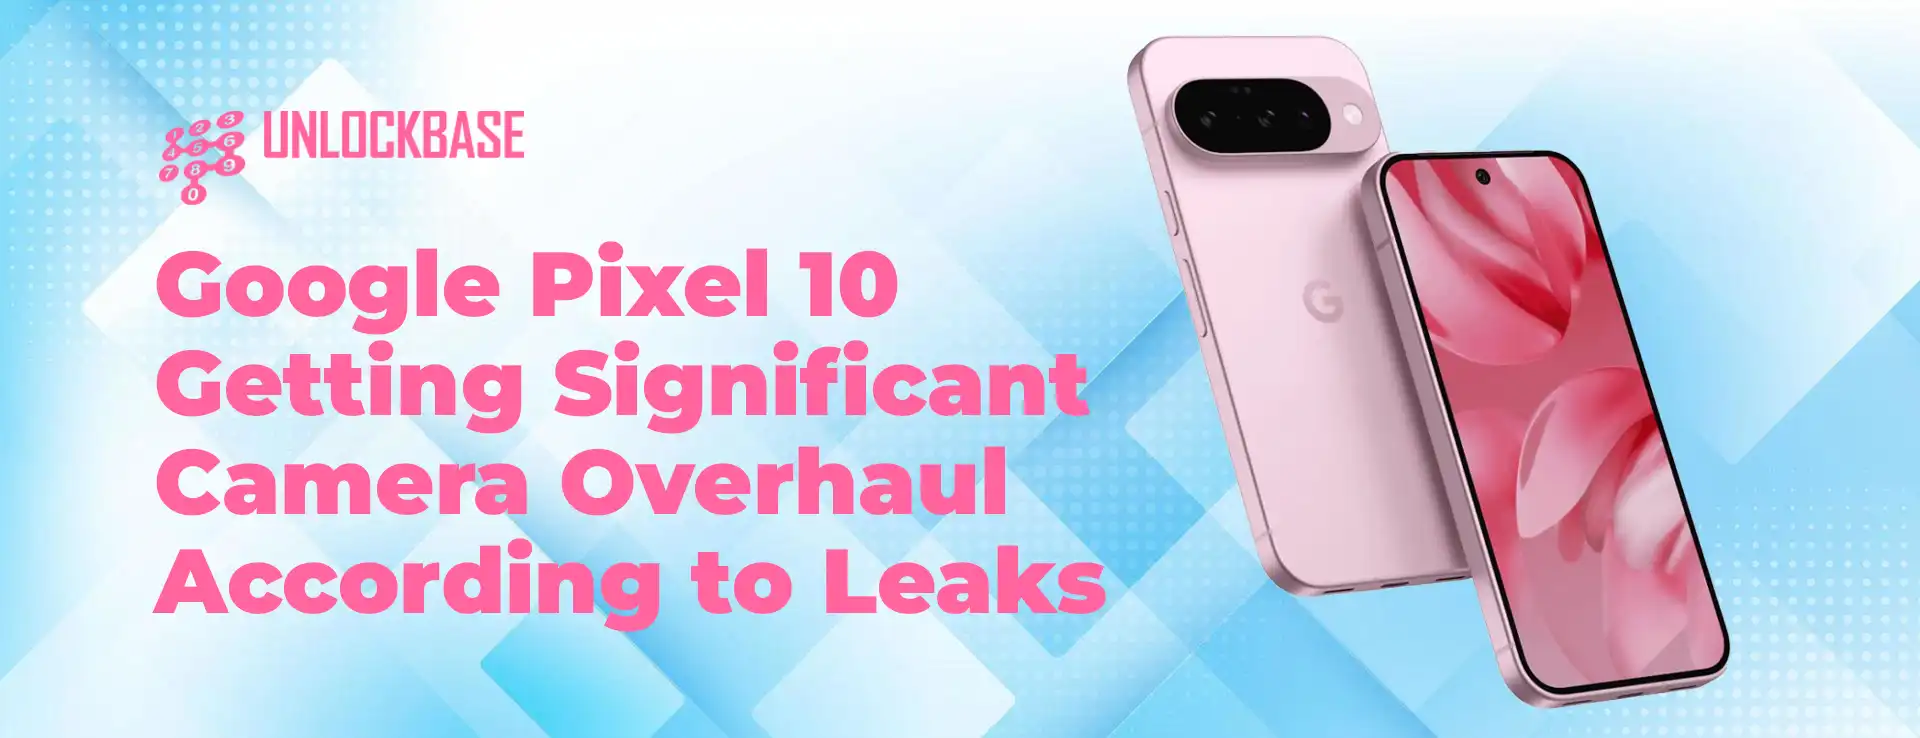
The Google Pixel 10 series arrives in 2026 at a time when artificial intelligence is no longer just a feature—it defines the smartphone experience. With the Pixel 10 and Pixel 10 Pro, Google continues to push its AI-first strategy, positioning its flagship devices as intelligent tools rather than just powerful hardware.
This year’s lineup reflects a clear direction: tighter integration between hardware, software, and machine learning. As the Android ecosystem evolves, the Pixel 10 series stands out by focusing on real-world usability driven by AI enhancements.
Google Pixel 10 Series in 2026
The Google Pixel 10 plays a central role in Google’s broader ecosystem strategy. Unlike many competitors that emphasize hardware specifications alone, Google builds its flagship identity around software intelligence.
In 2026, the Pixel series competes directly with Samsung and Apple by offering:
A clean, stock Android experience
Deep AI integration across system features
Fast updates and long-term software support
The Google flagship 2026 approach prioritizes usability over complexity. Instead of adding layers of customization, Google focuses on making everyday interactions smarter and more efficient.
This AI-first positioning sets the Pixel 10 apart in a crowded flagship market.
Key Features and Improvements
The Pixel 10 series introduces refinements across design, performance, and software. While not a radical redesign, the updates aim to improve consistency and efficiency.
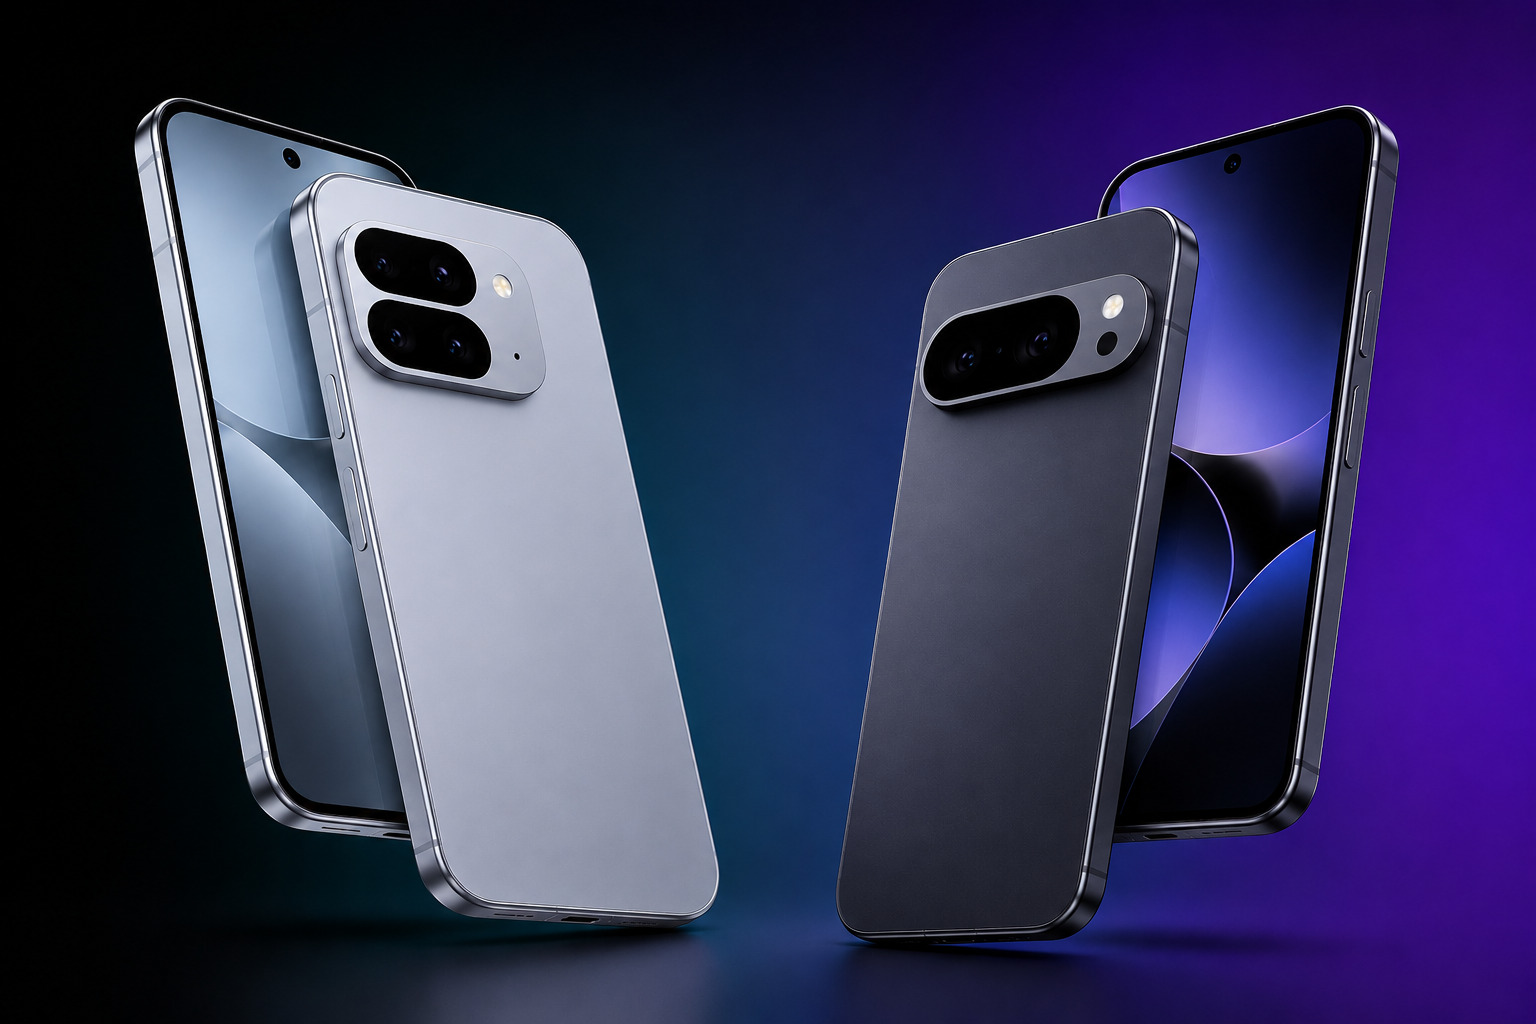
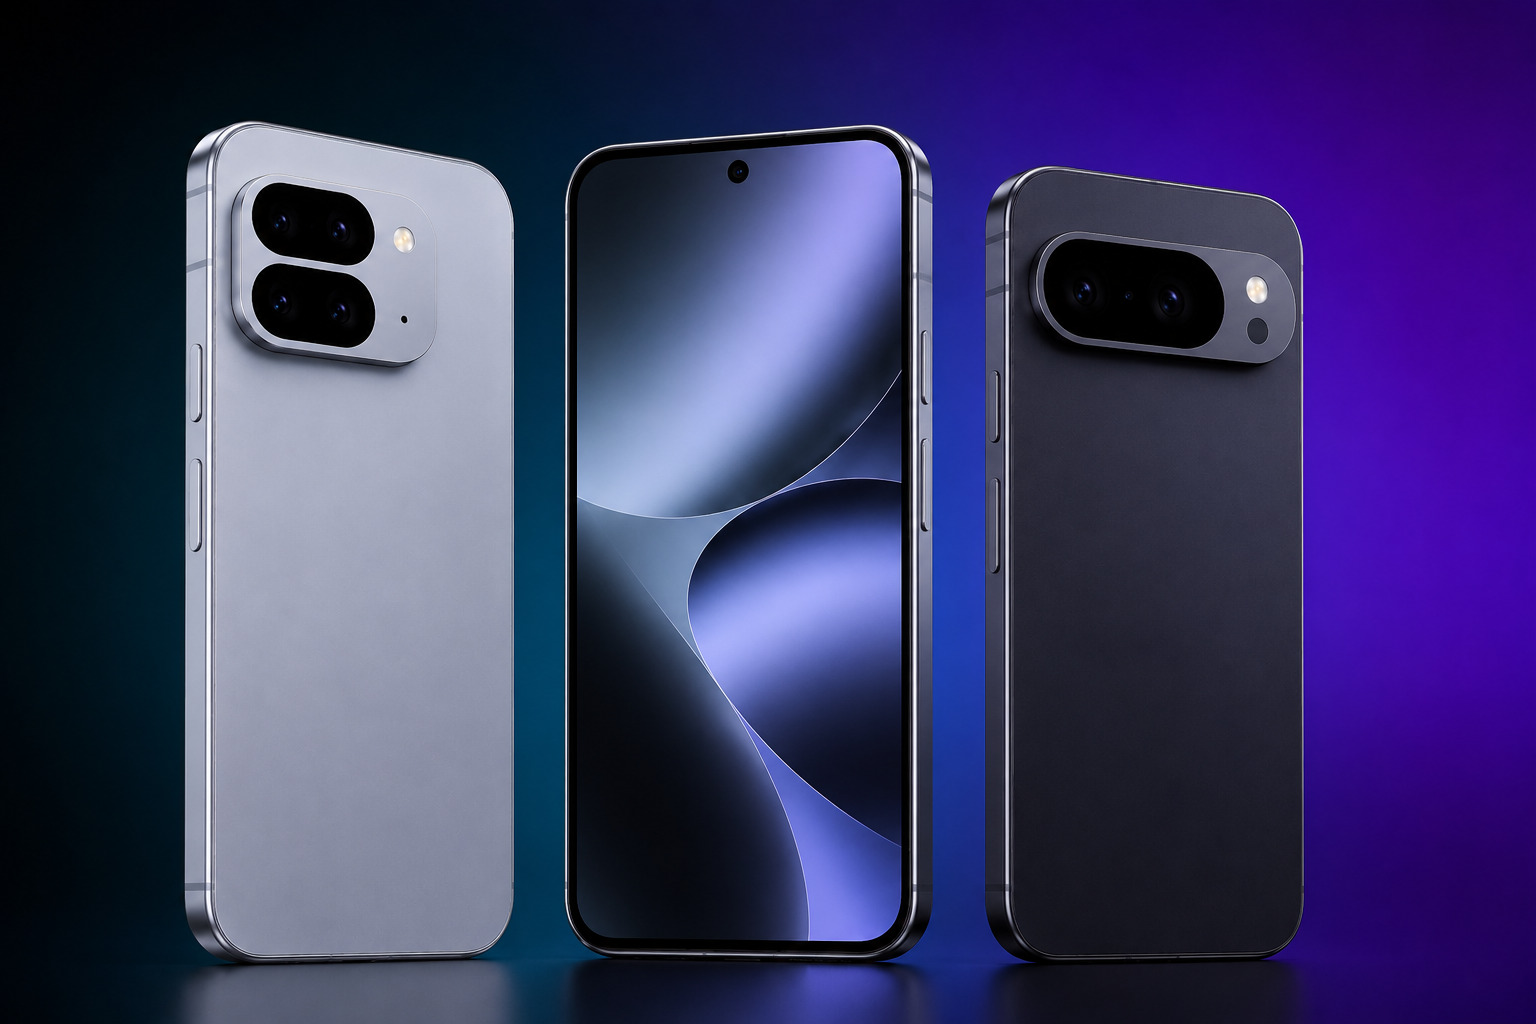
Design & Display Updates
The Google Pixel 10 continues Google’s recognizable design language with subtle refinements. The device maintains a clean aesthetic while improving durability and ergonomics.
Display quality remains strong, with:
High refresh rate OLED panels
Improved brightness for outdoor visibility
Smooth touch responsiveness
In daily use, the display feels fluid and reliable, supporting both entertainment and productivity.
AI & Software Enhancements
AI remains the defining feature of the Pixel lineup. The Google AI phone features in the Pixel 10 go beyond isolated tools and integrate into the entire system.
Users benefit from:
Smarter voice interactions
Context-aware suggestions
Enhanced real-time translation
Improved photo and video processing
These features aim to reduce friction in everyday tasks. Instead of requiring manual adjustments, the device anticipates user needs and responds accordingly.
The Pixel 10 Pro expands on these capabilities with additional processing power, but the core experience remains consistent across both models.
Camera Capabilities
Camera performance has always been a Pixel strength, and the Pixel 10 continues this tradition.
The Pixel 10 Pro features include advanced computational photography, while the standard model still delivers high-quality results in most scenarios.
Users can expect:
Accurate color reproduction
Strong low-light performance
Reliable HDR processing
Stable video recording
Rather than relying solely on hardware upgrades, Google leverages AI to enhance image quality. This approach keeps the Pixel competitive with other flagship devices.
Battery & Performance
Performance improvements in the Google Pixel 10 focus on efficiency. Google’s chip design emphasizes balanced power consumption rather than maximum output.
In real-world use, this results in:
Smooth multitasking
Consistent app performance
Reliable battery life throughout the day
Battery optimization benefits from AI as well. The device learns usage patterns and adjusts background activity accordingly.
For most users, this leads to stable, predictable performance without noticeable slowdowns.
Pixel 10 vs Previous Pixel Models
Comparing the Pixel 10 vs Pixel 9 highlights incremental but meaningful improvements.
Users upgrading from older models will notice:
Faster processing speeds
Improved AI responsiveness
Better battery management
Enhanced camera consistency
While the changes may appear subtle on paper, they contribute to a smoother overall experience. The Pixel 10 refines what already worked rather than introducing unnecessary complexity.
This approach aligns with Google’s long-term strategy of gradual, user-focused improvement.
Global Availability & Carrier Compatibility
The Pixel 10 release follows Google’s typical pattern of staggered availability across regions. While major markets receive immediate access, other regions may experience delays or different configurations.
Carrier compatibility also varies. Some models are sold unlocked, while others may come with carrier-specific settings or restrictions.
Users should consider:
Network band support
eSIM compatibility
Carrier lock status
These factors influence how the device performs across different networks, especially for users who travel or switch carriers.
Because Pixel devices are distributed differently across regions, checking how your device is configured can help ensure it works smoothly across multiple networks.
Long-Term Usability and Flexibility
The Google Pixel 10 offers strong long-term value, particularly for users who prioritize software updates and system stability.
Software Longevity
Google continues to lead in Android update support. Pixel devices receive timely updates, which improves security and extends usability.
International Flexibility
For users who travel or relocate, flexibility becomes critical. An unlocked Pixel 10 supports multiple carriers and eSIM profiles, making it suitable for international use.
Resale Considerations
Resale value depends on condition, demand, and compatibility. Unlocked devices typically attract more buyers, especially in global markets.
The Pixel 10’s combination of AI features and software support helps maintain interest in the secondary market.
Final Thoughts: AI-Driven Simplicity in 2026
The Google Pixel 10 and Pixel 10 Pro reflect a clear vision for the future of smartphones. Instead of focusing solely on hardware competition, Google emphasizes intelligent software and seamless user experience.
For users who value simplicity, reliable performance, and AI-driven features, the Pixel 10 stands out as a strong contender in 2026.
Its balanced approach makes it suitable for everyday use while still competing with top-tier flagship devices. UnlockBase.com helps users maintain flexibility across carriers by providing reliable unlocking solutions for globally used devices.
All products, and company names, logos, and service marks (collectively the "Trademarks") displayed are registered® and/or unregistered
trademarks™ of their respective owners.
The authors of this web site are not sponsored by or affiliated with any of the third-party trade mark or third-party registered trade mark owners,
and make no representations about them, their owners, their products or services.
Unlock Any Google Device? So you’ve got a Google device, whether it’s a Pixel phone, a Chromebook, or another Android gadget from the tech giant. If you’re looking to break free from carrier restrictions or simply want more control over your hardware, you’re in the right place.
Let’s explore the practical ways to unlock your Google device and what that means for you.
What Does “Unlocking” Actually Mean?
When we talk about unlocking a Google device, we’re usually referring to removing carrier restrictions. This means your phone or tablet can work with any compatible network provider, not just the one you originally purchased it through.
The benefits are straightforward:
Switch carriers whenever you want
Use local SIM cards when traveling abroad
Avoid expensive roaming charges
Increase your device’s resale value
Access better plan pricing from different providers
Method 1: Going Through Your Carrier
The most common approach is contacting your current mobile provider directly. Most carriers will unlock your device if you meet their requirements.
What you’ll typically need:
Your device must be completely paid off—no outstanding payment plans or contracts. You’ll usually need to have been a customer for 60-90 days minimum. The account must be in good standing with no past-due balances.
How it works:
Reach out to your carrier’s customer support team and request an unlock. They’ll ask for your IMEI number (found in your device settings under “About phone”). After verifying your eligibility, they’ll process the request, which typically takes 1-3 business days.
This method costs nothing if you qualify, making it the preferred option for most people.
Method 2: UnlockBase Service
Sometimes carrier unlocking isn’t an option—maybe you’re still in a contract, or you purchased a used device with unknown history. That’s where services like UnlockBase come in.
Select your device’s current locked country and carrier
Complete the payment
After payment goes through, you’ll receive instructions via email. These services charge a fee, but they can work when traditional carrier unlocking won’t.
Unlock Any Google Device : Why Bother Unlocking?
Beyond the obvious flexibility of switching carriers, unlocking your Google device makes financial sense.
Travel becomes easier—pop in a local SIM card instead of paying inflated international rates from your home carrier. You can shop around for better deals without being locked into one provider’s ecosystem. And if you ever decide to sell your device, unlocked models command higher prices on the resale market.
For those who keep devices long-term, unlocking means you’re not tied to a carrier that might discontinue favorable plans or change their terms.
Before You Start
Check your device’s compatibility with the carriers you’re considering. Not all devices support all network bands, especially when switching between carriers that use different technologies.
Back up your data before attempting any unlocking method. While carrier unlocking shouldn’t erase anything, bootloader unlocking definitely will.
Verify that unlocking won’t violate any active agreements you have with your carrier. Breaking contract terms could result in fees or complications.
Unlock Any Google Device : Making Your Choice
The right unlocking method depends on your situation. If you’ve owned your device for a while and everything’s paid off, start with your carrier—it’s free and legitimate. If that’s not an option, reputable third-party services can help, though they’ll charge for it.
Technical users might explore bootloader unlocking for maximum customization, but most people won’t need this level of access.
Your Google device was designed to be powerful and flexible. Unlocking it simply ensures you can use that flexibility to its fullest extent, on your terms.
All products, and company names, logos, and service marks (collectively the "Trademarks") displayed are registered® and/or unregistered
trademarks™ of their respective owners.
The authors of this web site are not sponsored by or affiliated with any of the third-party trade mark or third-party registered trade mark owners,
and make no representations about them, their owners, their products or services.
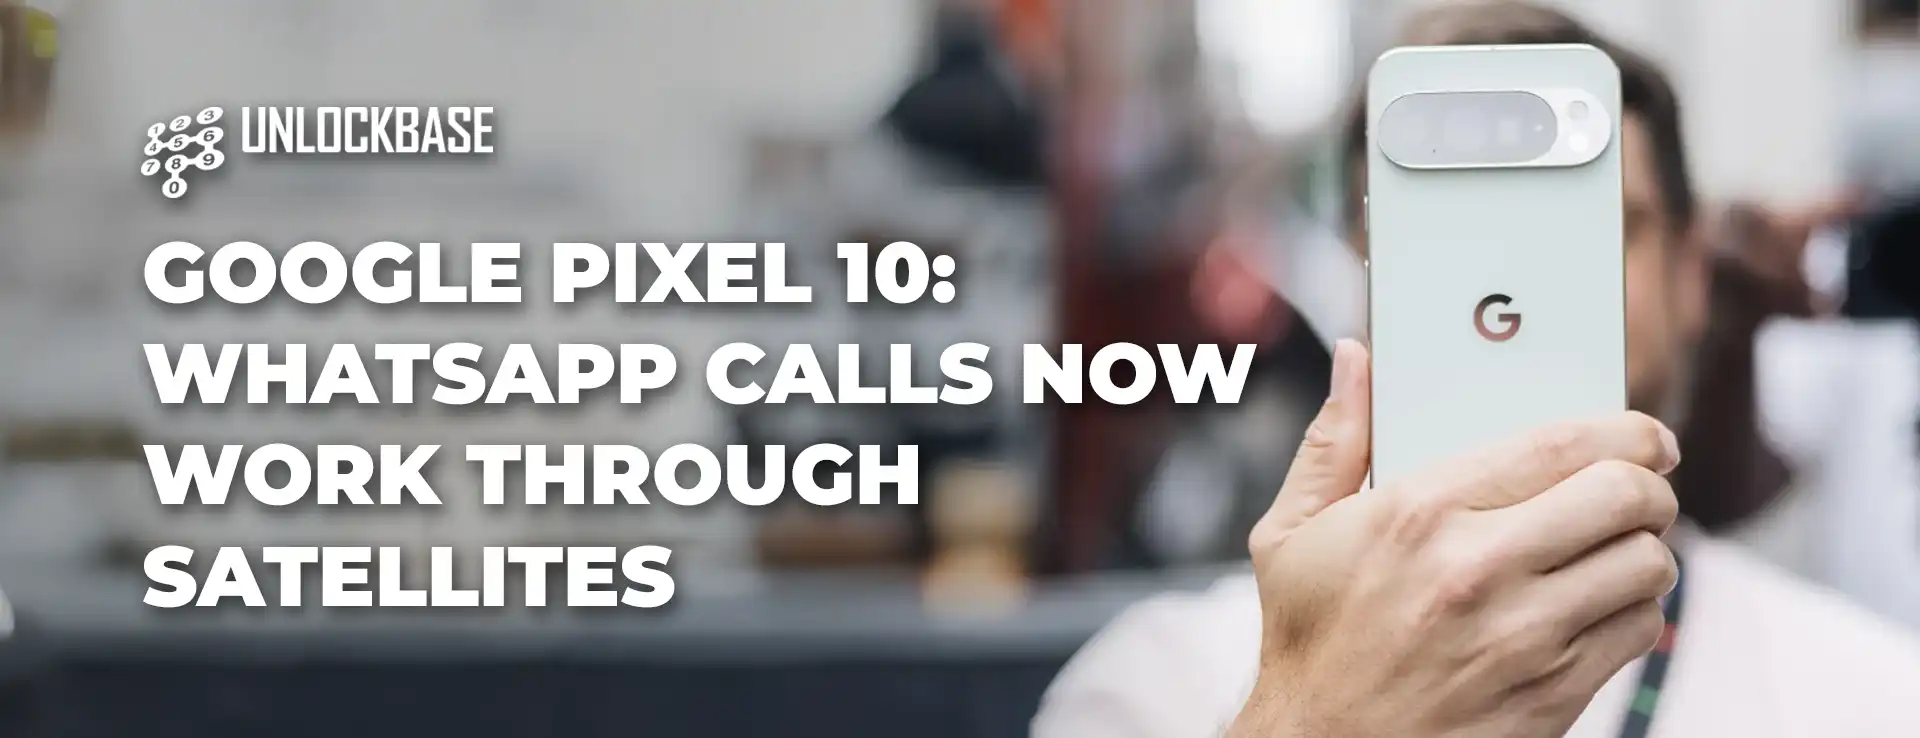
Google’s latest flagship phones will change how we stay connected. Even when cell towers are nowhere to be found.
Dead zones will soon be history. Google’s Pixel 10 devices bring a major breakthrough. They transform satellite connectivity from emergency-only use into practical everyday communication.
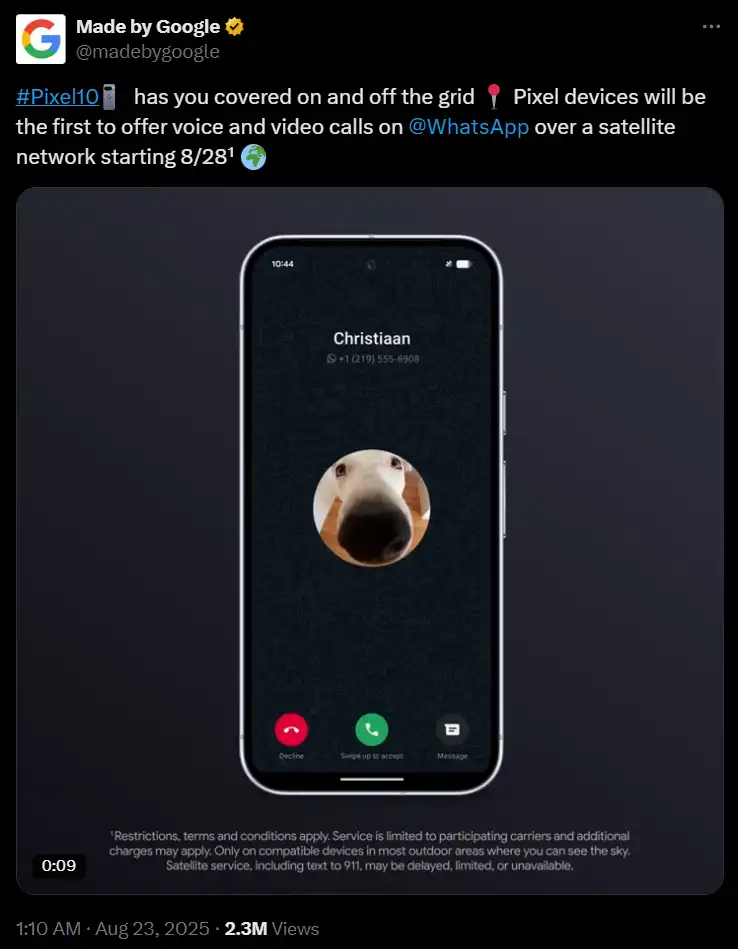
Starting August 28, Pixel 10 users make history. These phones hit the market on the same day. Users become the first to place WhatsApp voice and video calls through satellite connections. Cell towers are no longer needed.
Google Pixel 10 WhatsApp : Real Communication Takes Flight
Smartphones typically limit satellite features to crisis situations. They send distress signals or share GPS coordinates during emergencies. The Pixel 10 changes everything.
Google’s Made by Google team shared this breakthrough on social media. They released footage of a Pixel 10 handling an incoming WhatsApp call. The satellite indicator glows in the status bar. This proves the technology works beyond life-threatening scenarios.
Consider these scenarios. You camp in remote mountain ranges, hike through national parks with zero bars. You travel through rural areas with poor cellular coverage. Now you stay connected. You can video chat with family, coordinate with friends. You handle important calls through WhatsApp.
Google Pixel 10 WhatsApp : Google Doubles Down on Satellite Integration
WhatsApp calling marks Google’s latest satellite expansion for the Pixel 10. Earlier this week, the company enhanced Maps and Find Hub. Both apps now share real-time location through satellite connections.
Google combines this with existing Satellite SOS emergency features. The company builds a complete satellite communication suite. Pixel 10 users stay connected anywhere.
Setting the Standard While Competitors Play Catch-Up
The Pixel 10’s WhatsApp satellite calling puts Google ahead of smartphone competitors. Apple’s iPhone lineup still limits satellite features to emergency SOS only. Samsung made progress with the Galaxy S25. They introduced satellite messaging through Snapdragon’s platform. But this falls short of full voice and video calling.
This advancement signals a major shift in smartphone connectivity thinking. We no longer need to accept communication blackouts during remote travel or rural living. The Pixel 10 shows that staying in touch works virtually anywhere on Earth.
Google Pixel 10 WhatsApp : Always-On Communication
Google’s satellite-powered WhatsApp calling on the Pixel 10 goes beyond technical achievement. It shows us a future where geographic isolation doesn’t mean communication isolation. You might explore off-the-beaten-path destinations, might live in underserved areas. You might simply want guaranteed connectivity peace of mind. This technology opens new possibilities.
August 28 approaches quickly. The Pixel 10 positions itself as more than another flagship phone. It becomes the device that changes our connectivity expectations. No matter where life takes us.
All products, and company names, logos, and service marks (collectively the "Trademarks") displayed are registered® and/or unregistered
trademarks™ of their respective owners.
The authors of this web site are not sponsored by or affiliated with any of the third-party trade mark or third-party registered trade mark owners,
and make no representations about them, their owners, their products or services.
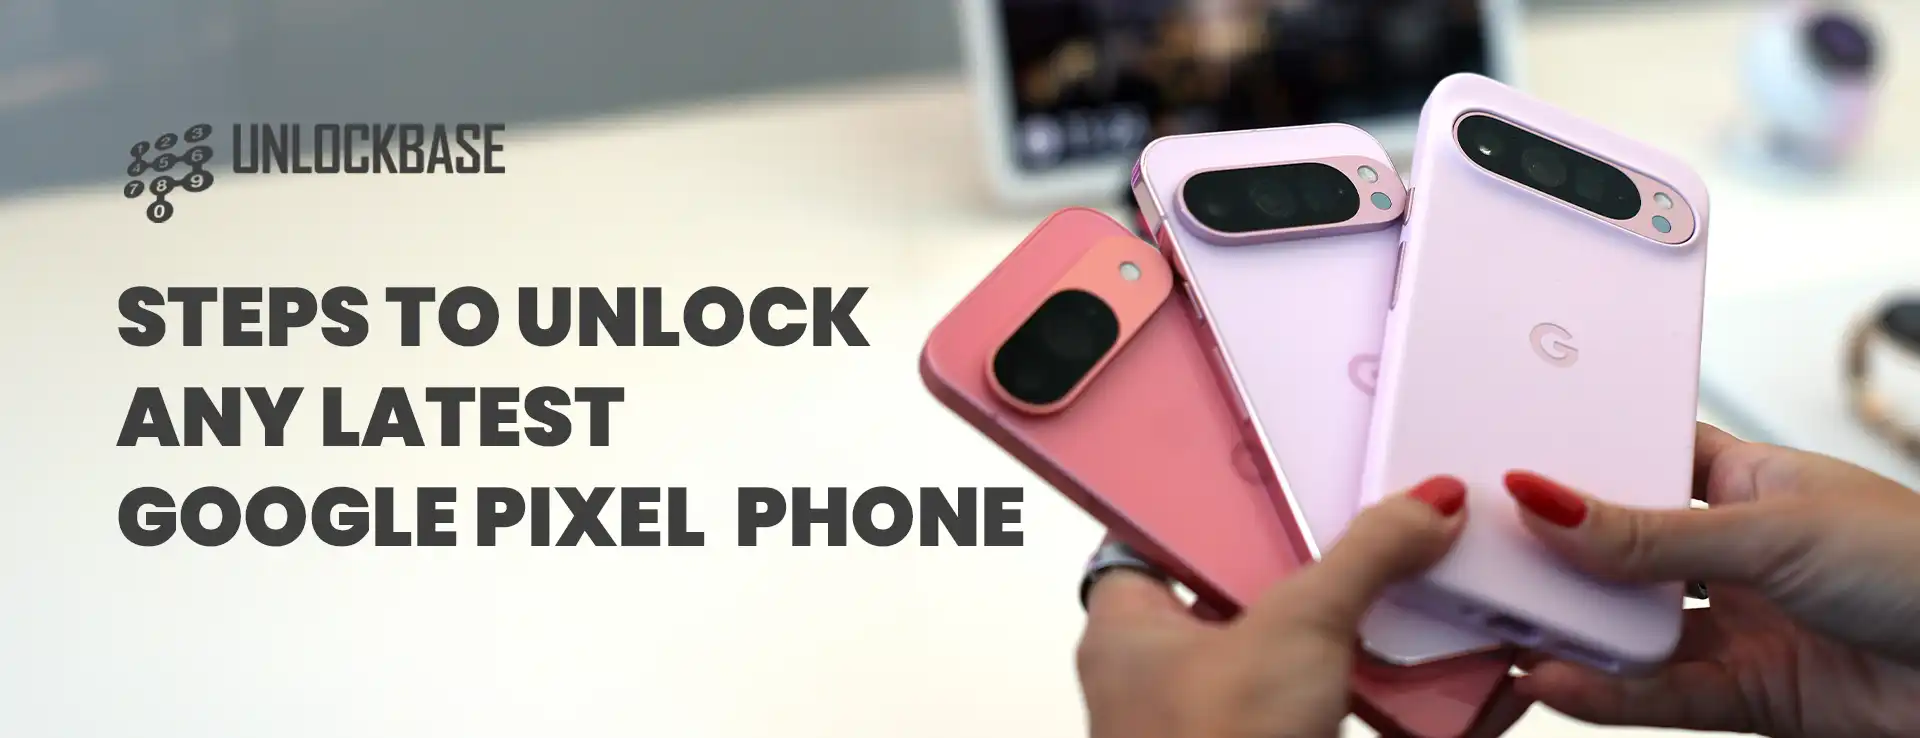
Unlock Latest Google Phone? Are you feeling restricted by your carrier? Want the freedom to use your Google Pixel with any network worldwide? You’re in the right place! This comprehensive guide will walk you through everything you need to know about unlocking your Google Pixel device – from the Pixel 6 series all the way to the newest Pixel 9 models.
Unlock Latest Google Phone : What Is Phone Unlocking?
Phone unlocking is the process of removing the restrictions placed on your smartphone by your original carrier or network provider. When you purchase a Google Pixel directly from carriers often “lock” the device to their network to ensure you remain their customer throughout your contract period.
Unlocking your Pixel removes these digital restrictions, allowing you to:
Use your phone with any compatible carrier worldwide
Insert SIM cards from different network providers
Switch freely between carriers without purchasing a new device
Think of it as removing the invisible digital handcuffs that bind your premium Pixel phone to just one network provider.
Unlock Latest Google Phone : Unlocking Your Google Pixel with UnlockBase
When it comes to reliable, fast, and secure unlocking services for your Google Pixel, UnlockBase stands out as an industry leader with over 15 years of experience and millions of successfully unlocked devices.
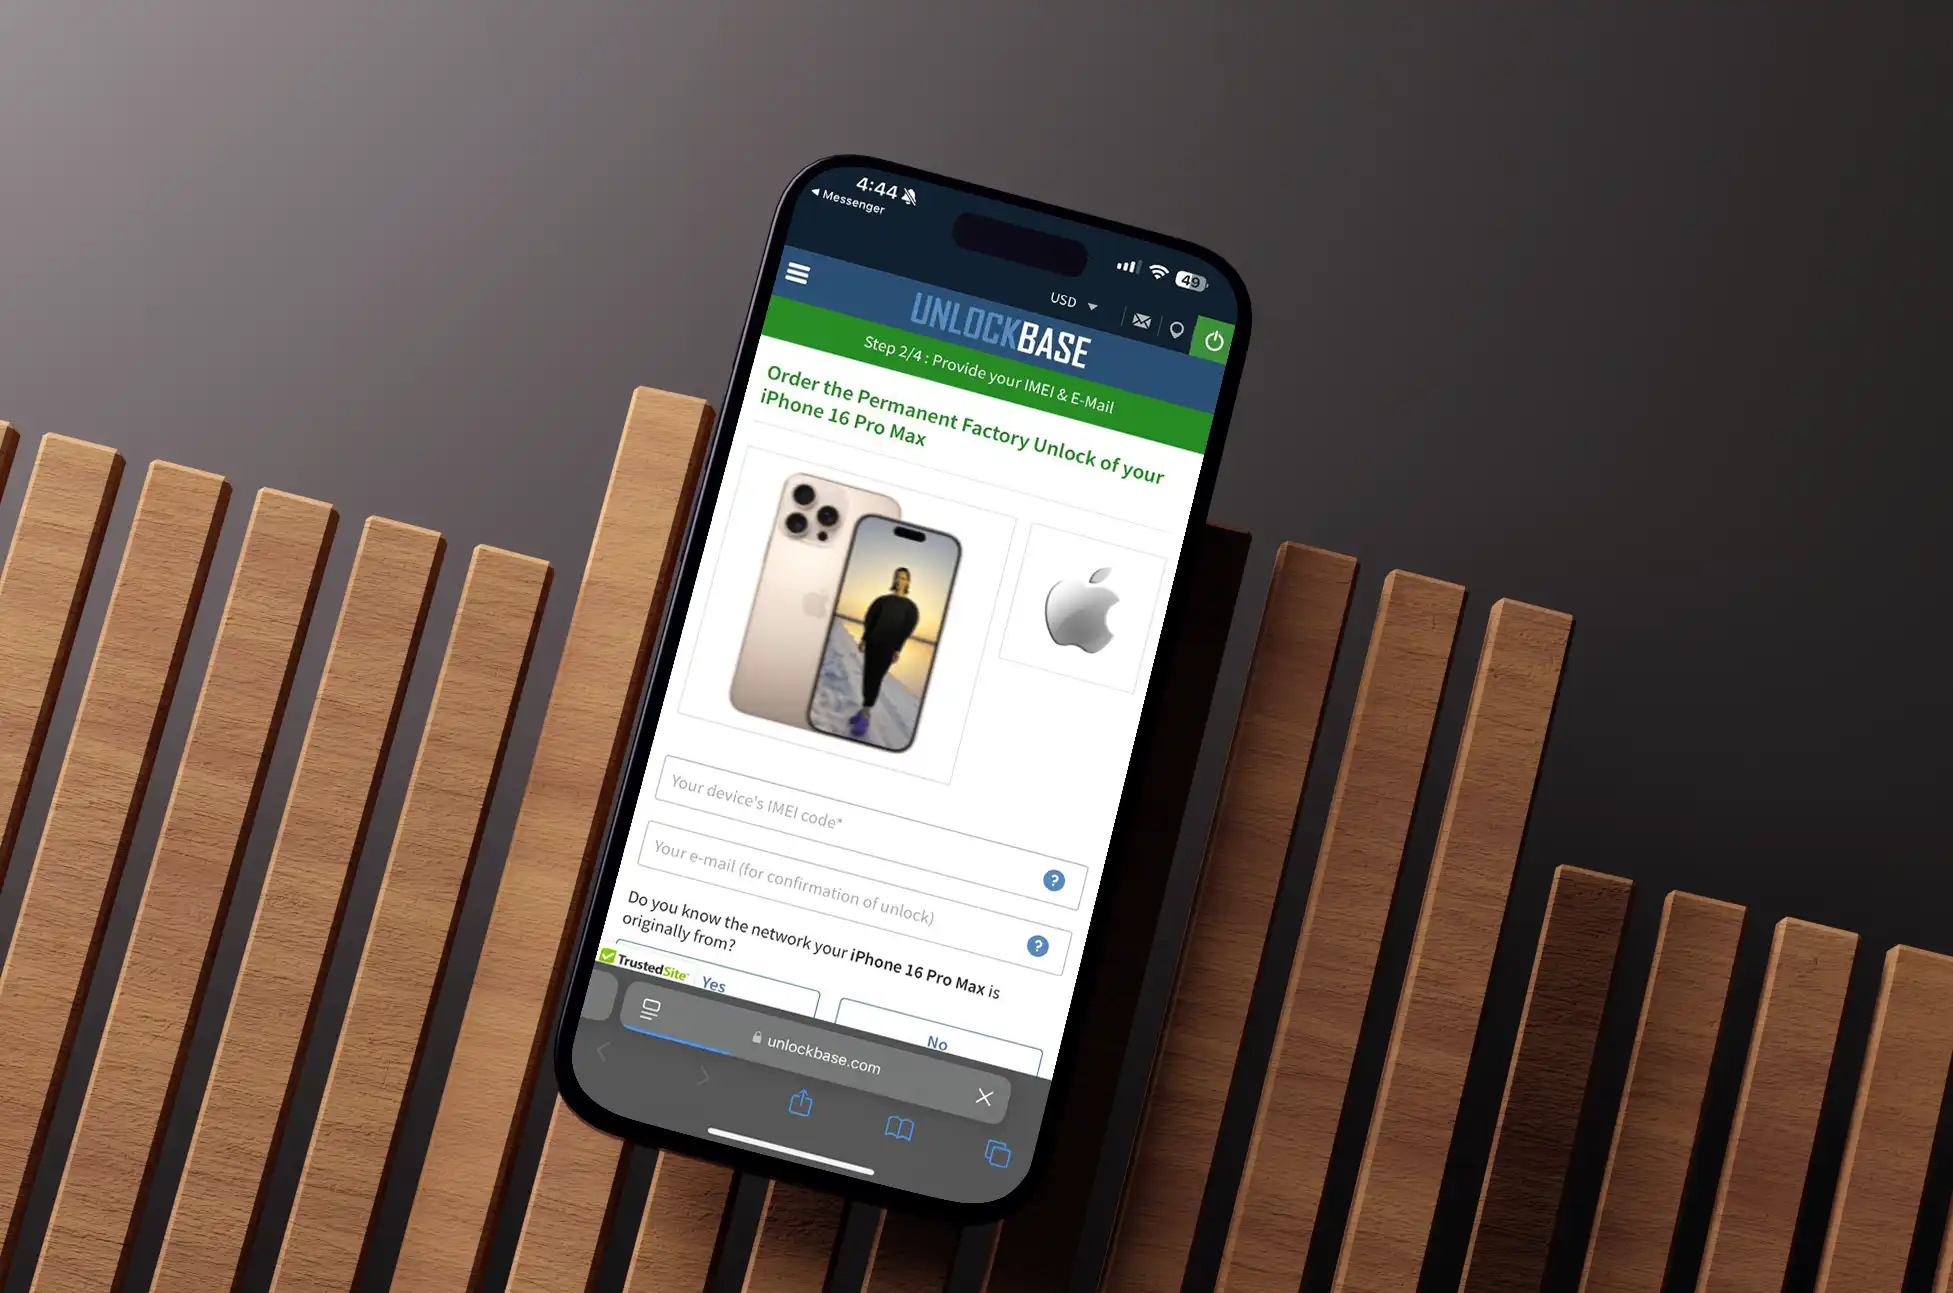
Step-by-Step Guide to Unlocking Your Google Pixel Using UnlockBase
Unlocking your Google Pixel with UnlockBase involves a straightforward process:
1. Gather Your Device Information
Before starting, you’ll need:
Your Google Pixel’s IMEI number (dial *#06# on your phone to view it)
The exact carrier your phone is locked to
Your email address for receiving the unlock confirmation
Choose your specific Pixel model (Pixel 6, Pixel 7, Pixel 8, Pixel 9, etc.)
Enter your device’s IMEI number
Select your current carrier
Complete the payment process
3. Receive Your Unlock Instructions
Once your order is processed, UnlockBase will send detailed instructions to your email. For most Google Pixel models, unlocking follows one of two methods:
Method A: Network Unlock Code
Power off your Pixel and insert a SIM card from a different carrier
Turn on your device
When prompted for an unlock code, enter the code provided by UnlockBase
Your Pixel will confirm successful unlocking
Method B: Device Settings Unlock
For newer Pixel models, UnlockBase may provide instructions to:
Go to Settings > Network & Internet > Mobile Network
Look for “Carrier Lock” or similar option
Enter the provided unlock credentials or follow specific steps
Restart your device to complete the unlocking process
4. Verify Your Unlocked Status
After completing the unlock procedure:
Test your Pixel with SIM cards from different carriers
Make a test call to ensure full functionality
Verify data connectivity works properly
Unlock Latest Google Phone : Conclusion
Unlocking your Google Pixel transforms it from a carrier-restricted device into the truly versatile tool Google designed it to be. With access to any compatible network worldwide, significant cost savings during travel, and enhanced resale value, an unlocked Pixel delivers the complete smartphone experience.
Take the first step toward phone liberation today by checking your unlock eligibility on UnlockBase – and join millions of satisfied customers enjoying their carrier-free Google Pixel phones!
All products, and company names, logos, and service marks (collectively the "Trademarks") displayed are registered® and/or unregistered
trademarks™ of their respective owners.
The authors of this web site are not sponsored by or affiliated with any of the third-party trade mark or third-party registered trade mark owners,
and make no representations about them, their owners, their products or services.
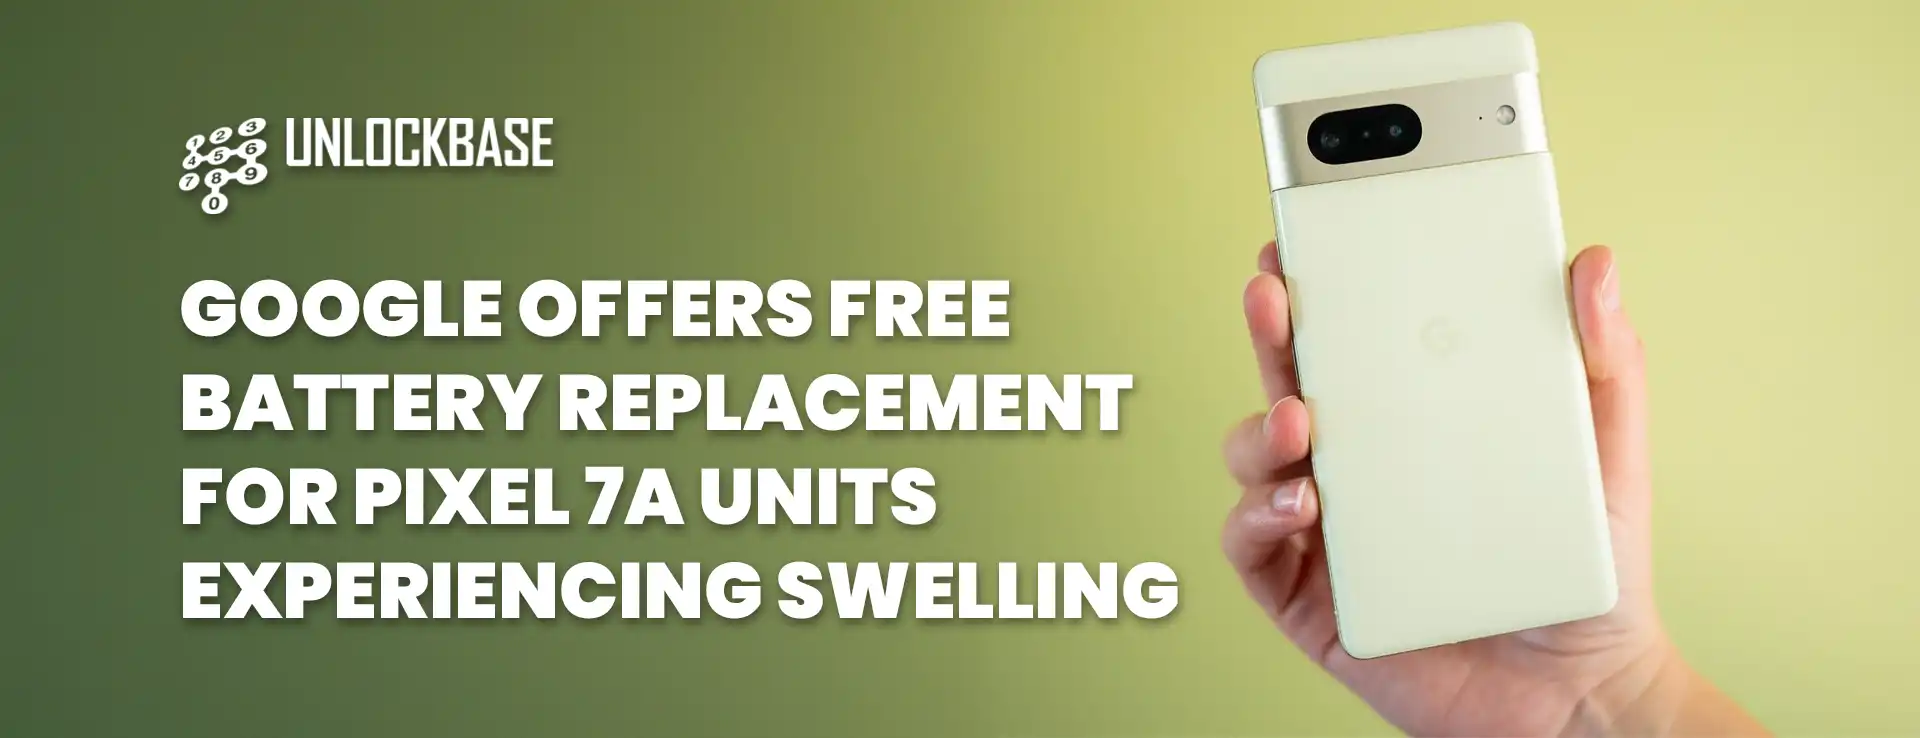
Google Pixel 7a battery issues? Is your Pixel 7a looking a bit bulkier than usual? You might be eligible for a free battery replacement from Google.
Google Launches Extended Repair Program for Pixel 7a
Google has acknowledged that certain Pixel 7a units may experience unexpected battery swelling issues, prompting the tech giant to introduce an Extended Repair Program for affected devices. This comes just months after similar battery-related problems with the Pixel 4a, suggesting a concerning pattern in Google’s recent hardware offerings.
Google Pixel 7a battery issues : How to Check If Your Pixel 7a Qualifies
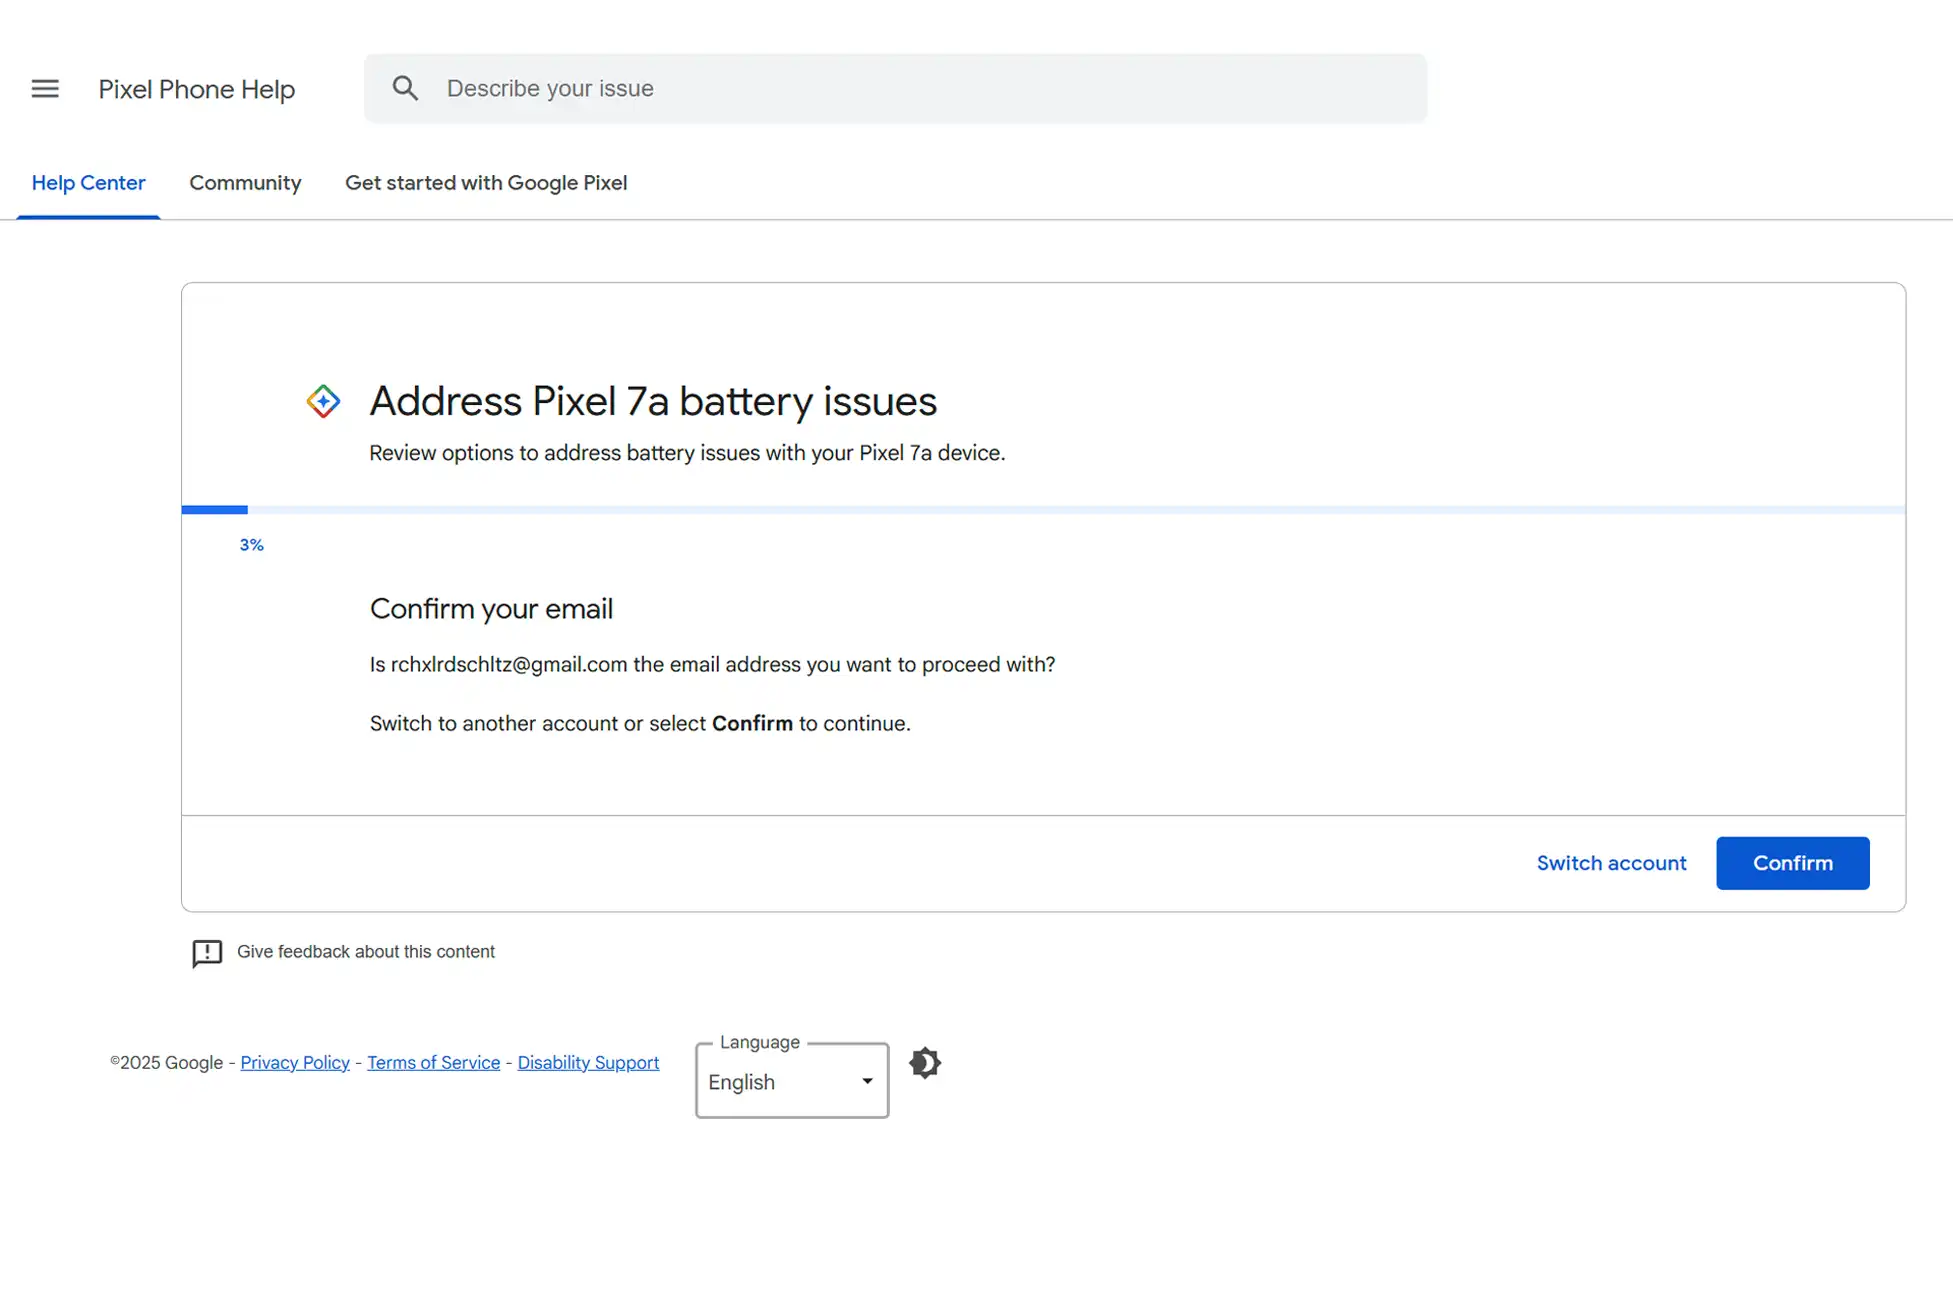
To determine if your device is eligible for a free battery replacement, you’ll need to enter your phone’s IMEI number on Google’s official verification page. The company will then provide specific instructions based on your device’s status. Here’s the assessment tool!
However, there’s a catch – your phone’s physical condition matters. Devices with significant damage or evidence of liquid exposure may not qualify for the free replacement service.
Google Pixel 7a battery issues : Warning Signs Your Pixel 7a Battery Is Affected
Keep an eye out for these symptoms that indicate your Pixel 7a may be experiencing battery swelling:
Visible device swelling – Your phone appears thicker than normal or the back panel shows noticeable bulging
Cover separation – Gaps or openings appearing along the edges where the phone’s casing should be sealed
Rapid battery drain – Your battery life has significantly decreased, even with minimal usage
Charging difficulties – The device fails to charge properly or at all
Replacement Options Available Worldwide
Google is offering various solutions depending on your location:
In-person repair services are available in the United States, India, Canada, United Kingdom, Germany, Japan, and Singapore
Alternative compensation is provided in regions where battery replacement isn’t offered
What If Replacement Isn’t Available in Your Region?
For customers in Australia, Malaysia, Taiwan, EEA countries, and Switzerland where battery replacement isn’t an option, Google offers:
A one-time payment of $200 (in local currency)
$300 in Google hardware or Google Store credit toward another Pixel phone or Google product
For in-warranty devices in regions without mail-in or walk-in repair options, a one-time payment of $456 (excluding the US and India)
This repair program is part of Google’s ongoing efforts to address hardware issues across its Pixel lineup, as the company continues to compete in the premium smartphone market while working to maintain customer satisfaction and trust.
Have you experienced these issues with your Pixel 7a? Check your eligibility today to take advantage of Google’s replacement program before potential battery problems affect your device.
All products, and company names, logos, and service marks (collectively the "Trademarks") displayed are registered® and/or unregistered
trademarks™ of their respective owners.
The authors of this web site are not sponsored by or affiliated with any of the third-party trade mark or third-party registered trade mark owners,
and make no representations about them, their owners, their products or services.
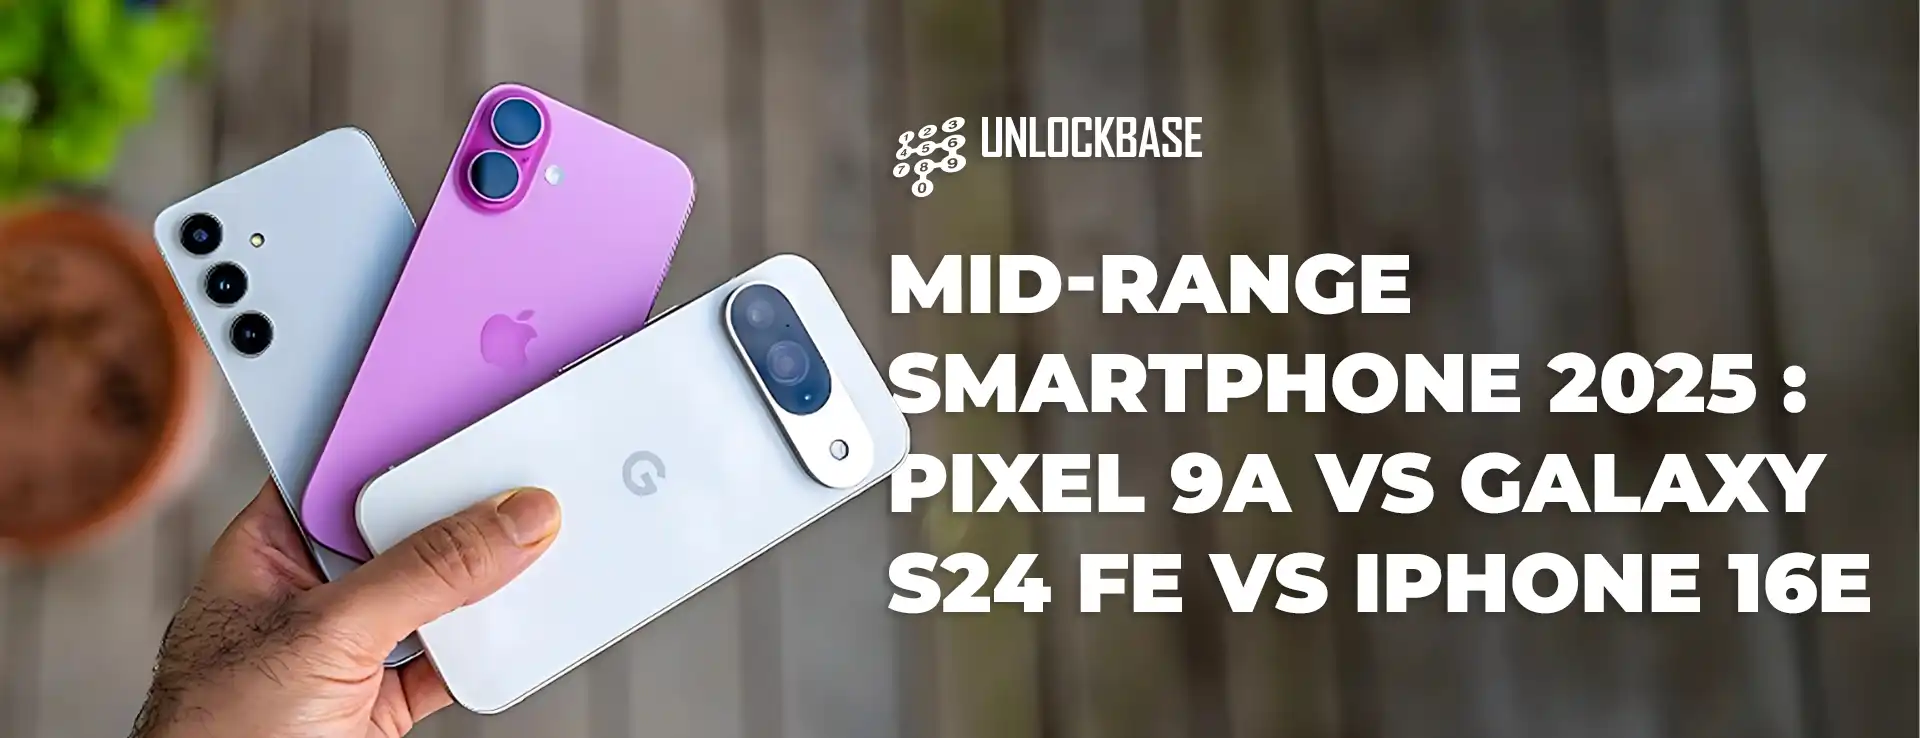
Mid-range Smartphone 2025? Looking for flagship smartphone features without emptying your wallet? The mid-range market is hotter than ever, with Google’s new Pixel 9a joining the Samsung Galaxy S24 FE and Apple iPhone 16e as top contenders for budget-conscious consumers. The Pixel 9a stands out as the most affordable option at just $499, compared to the iPhone 16e at $599 and the Galaxy S24 FE at $659. Despite its lower price point, the Pixel 9a boasts a dual camera setup and the flagship-tier Tensor G4 processor—but can it truly deliver exceptional value? Let’s find out.
The Processing Powerhouses: A Quick Comparison
Before diving into benchmarks, here’s how these three devices stack up in terms of core specifications:
Each of these phones features processors developed in-house by their respective manufacturers. Let’s see how they perform in real-world testing.
Mid-range Smartphone 2025 Benchmark Battle: CPU Performance
When it comes to processing power, GeekBench 6 provides valuable insights into how these phones handle both single-core tasks (like launching apps) and multi-core operations (such as scrolling through social media).
The results are clear: Apple’s custom CPU cores maintain their historical advantage over Android competitors. The iPhone 16e delivers particularly impressive single-core performance, nearly doubling the Pixel 9a’s scores. While the Galaxy S24 FE narrows this gap in multi-core scenarios (which are more common in everyday use), Apple still holds the overall performance crown.
But what does this mean for your daily experience?
For everyday tasks: All three phones handle routine activities like web browsing and social media without breaking a sweat
For future-proofing: The iPhone 16e’s substantial performance headroom makes it more likely to handle advanced apps several years down the road
For intensive tasks: Only resource-demanding activities like video editing will reveal the full performance differences
Graphics Prowess: Gaming Performance Compared
All three phones make some GPU compromises compared to their flagship siblings. The iPhone 16e features four GPU cores instead of the five or six found in more expensive models. The Galaxy S24 FE uses a slightly older GPU architecture, while Google’s Mali setup has traditionally been less competitive in benchmarks.
Our 3DMark Wild Life Extreme Stress Test revealed:
The Galaxy S24 FE’s Xclipse 940 GPU delivers impressive performance, maintaining a significant lead despite dropping to 71.9% of its peak performance under stress
The iPhone 16e starts strong but throttles more aggressively, falling to just 70.4% of its initial performance
The Pixel 9a begins with the lowest scores but demonstrates better stability under load (79.1% stability), narrowing the gap during extended gaming sessions
Which Mid-range Smartphone 2025 Marvel Delivers the Best Value?
Apple iPhone 16e: Raw Power with Caveats
While the iPhone 16e’s CPU dominance is undeniable, this advantage may not translate to noticeable everyday improvements. Its battery life falls short compared to both Android competitors, and its graphics performance can throttle significantly during extended sessions. Still, it’s a solid option for those committed to the Apple ecosystem.
For gamers on a budget, the Galaxy S24 FE stands out with superior graphics capabilities that maintain their edge even during long sessions. It strikes an excellent balance between everyday performance and gaming prowess. The main drawback? It’s the most expensive of the three options.
While the Pixel 9a doesn’t win any benchmark competitions, it delivers reliable performance identical to the more expensive Pixel 9. With its significantly lower price point and excellent battery efficiency, it offers tremendous value. The only concern is how well it will perform toward the end of its promised seven-year software support period.
There’s no clear “wrong choice” among these three impressive mid-range contenders. Your decision should consider:
Budget constraints: The Pixel 9a offers the most bang for your buck at $499
Gaming needs: The Galaxy S24 FE delivers the best sustained graphics performance
Ecosystem preferences: iPhone users will find the 16e’s integration with other Apple products valuable
Long-term use: All three devices promise extended software support
Remember that benchmarks tell only part of the story. Camera quality, battery performance, and software features are equally important factors that might influence your decision. Stay tuned for our upcoming battery life comparison between these three mid-range champions!
All products, and company names, logos, and service marks (collectively the "Trademarks") displayed are registered® and/or unregistered
trademarks™ of their respective owners.
The authors of this web site are not sponsored by or affiliated with any of the third-party trade mark or third-party registered trade mark owners,
and make no representations about them, their owners, their products or services.
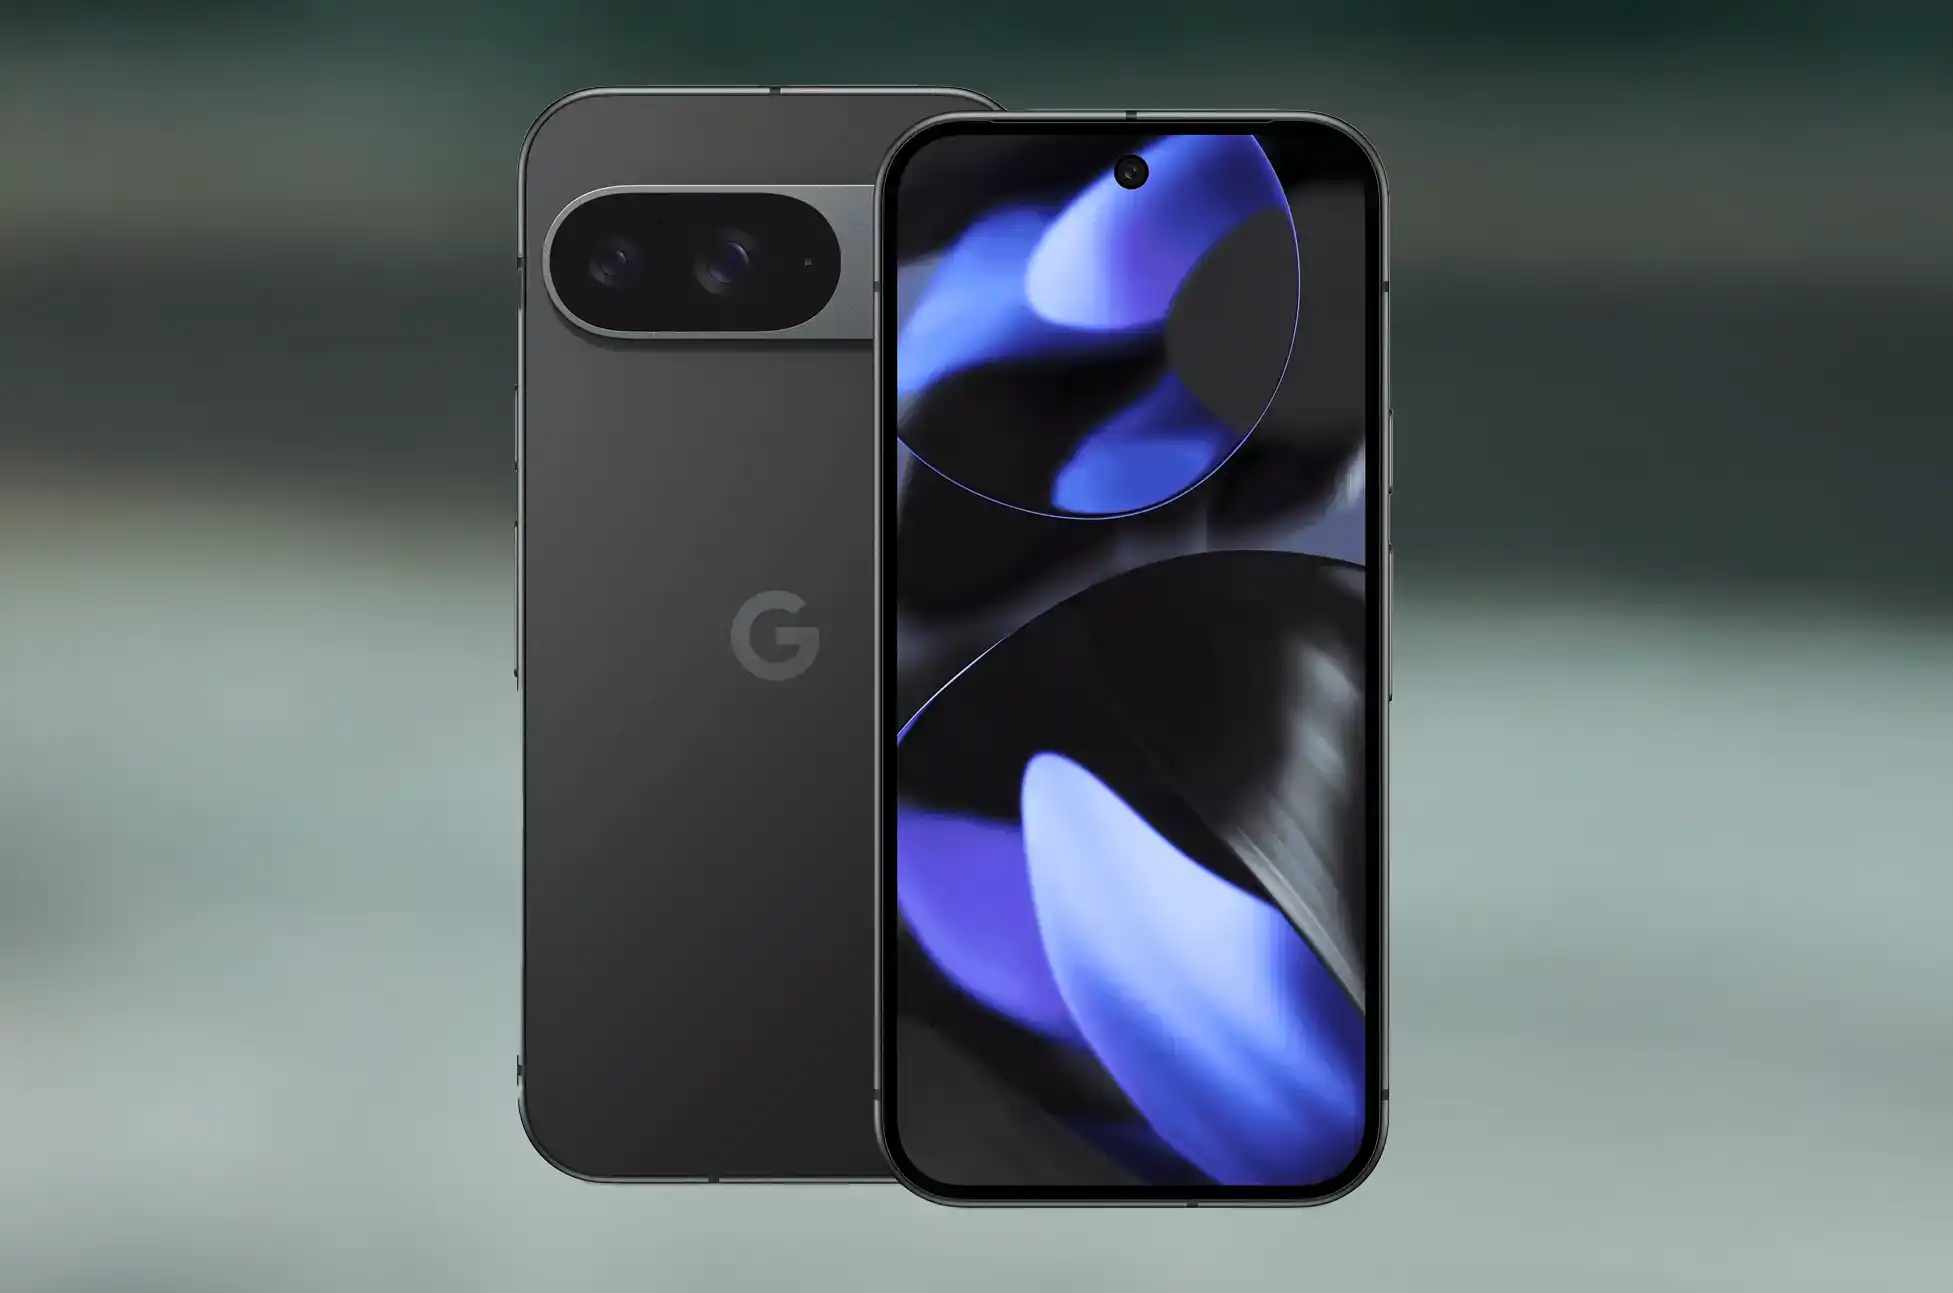
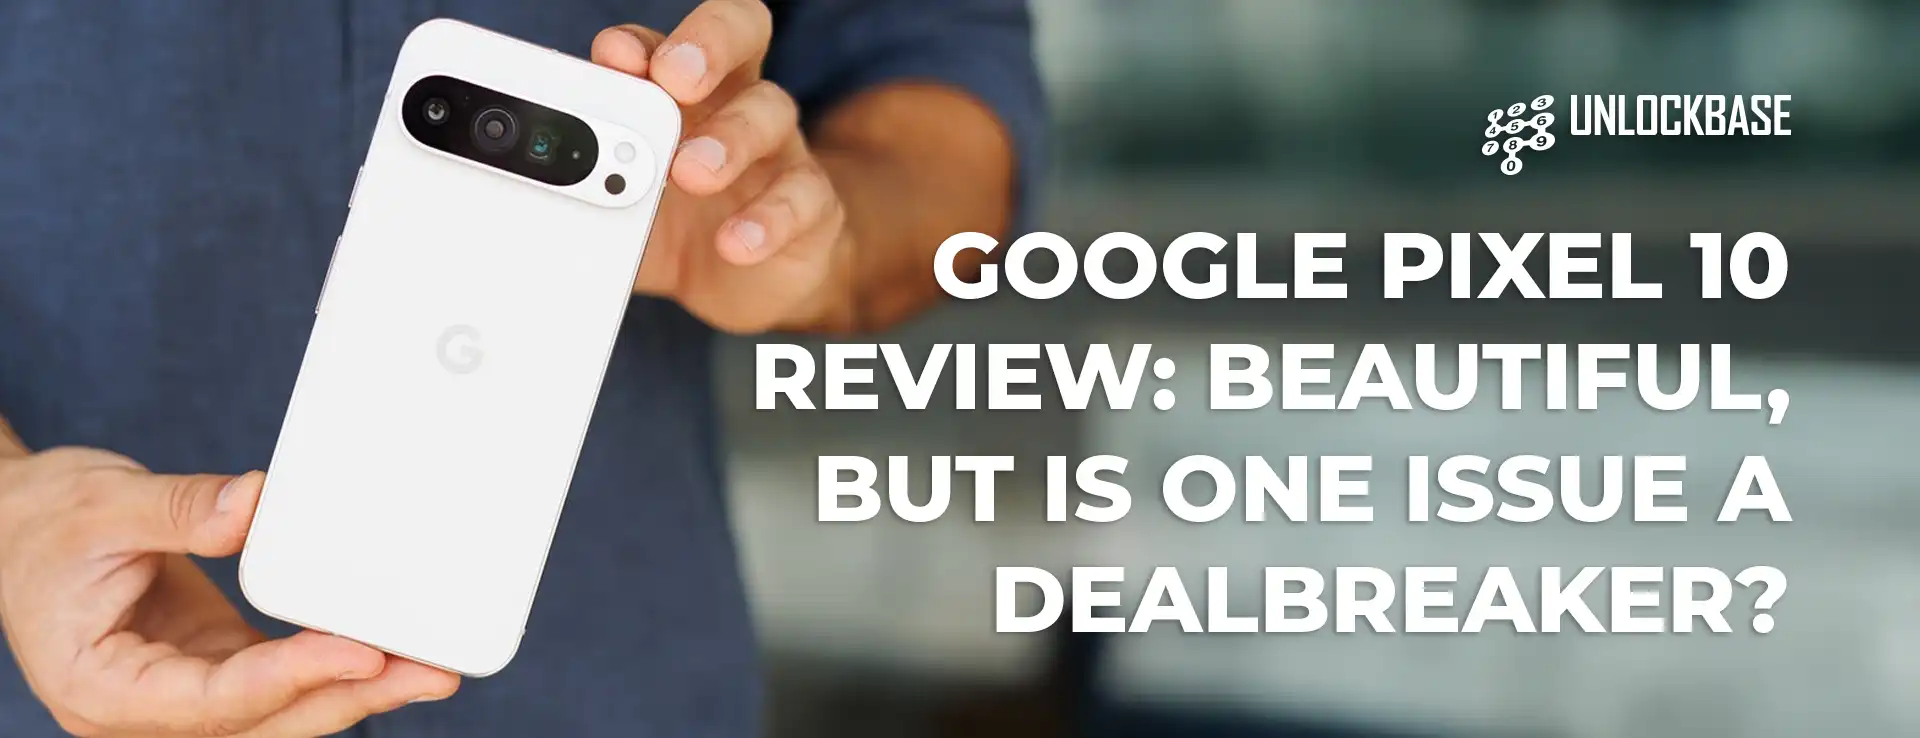
Google Pixel 10 Review? Recent leaked renders of the Google Pixel 10 series reveal a trio of handsets that maintain virtually identical aesthetics to their predecessors. If you’ve seen the Pixel 9 family (Pixel 9, Pixel 9 Pro, and Pixel 9 Pro XL), you’ve essentially seen the upcoming Pixel 10 lineup. The only notable design change appears to be the curious addition of a third camera on the base Pixel 10 model—otherwise, Google seems to be sticking with its established design language.
While some might dismiss these renders as uninspired, there’s a compelling case for Google’s decision to maintain consistency. The Pixel 9 series boasts some of the industry’s finest build quality, with aesthetics that continue to impress. Though a fresh design would certainly generate excitement, it’s difficult to complain when the current offering delivers such exceptional quality.
However, this praise comes with an important caveat. Despite my appreciation for the build and visual appeal of the Pixel design, one significant issue remains—and the Google Pixel 10 family shows no signs of addressing it.
The Weighty Issue: Pixel’s Uncomfortable Density Problem
Six months after the Pixel 9 Pro’s launch, revisiting the device revealed an overlooked flaw: the Pixel 9 Pro is uncomfortably heavy. The phone feels dense and noticeably top-heavy with each use—a characteristic that becomes increasingly apparent in daily handling and stands out as one of its least appealing qualities.
This observation might seem surprising when examining the specifications. The Pixel 9 Pro weighs 199 grams which, while not lightweight, isn’t unprecedented in the smartphone market. For perspective, consider these comparable devices:
Nothing Phone 3a: 201 grams
OnePlus 13: 210 grams
Samsung Galaxy S25 Ultra: 218 grams
Xiaomi 15 Ultra: 226 grams
The crucial difference lies in the form factor. While the Pixel 9 Pro features a relatively compact 6.3-inch display, the competitors listed above sport much larger screens ranging from 6.7 to 6.9 inches. The regular Pixel 9 presents the same issue—also housing a 6.3-inch display while weighing a substantial 198 grams.
Size Matters: How Pixel Compares to True “Compact” Phones
When compared to genuine compact smartphones, the unusual weight distribution of the Pixel 9 and Pixel 9 Pro becomes even more pronounced. The base Galaxy S25 features a similar 6.2-inch screen but weighs just 162 grams—delivering a significantly more comfortable handling experience. Similarly, the iPhone 16 with its 6.1-inch display weighs only 170 grams.
Despite having comparable screen sizes, both Pixel 9 models feel noticeably bulkier than the Galaxy S25 and iPhone 16. While they aren’t the heaviest smartphones based purely on specifications, their weight concentrated within a smaller profile creates a disproportionately hefty feel compared to other devices.
The Technical Explanation: Justified Weight or Design Oversight?
Defenders might argue that the Pixel 9 Pro’s additional weight is justified by its enhanced capabilities. It does feature a substantially larger battery than both the Galaxy S25 and iPhone 16, while also incorporating a periscope telephoto camera that neither competitor offers. This formula—larger battery plus advanced camera technology—naturally contributes to increased weight, representing a seemingly reasonable trade-off.
However, this argument loses credibility when considering the base Pixel 9, which weighs almost identically despite having only two cameras. Furthermore, the weight issue becomes even more apparent when comparing different form factors:
When holding the Pixel 9 Pro alongside the OnePlus 13, the latter feels lighter despite actually weighing 11 grams more
The OnePlus 13’s wider, taller frame allows for more balanced weight distribution, creating a superior in-hand experience
This improved ergonomics exists despite the OnePlus also featuring a periscope telephoto camera and a battery 1,300 mAh larger than the Pixel
Google Pixel 10 Review : Will Google Address the Weight Problem?
Based on the latest leaked renders, it appears the weight issue will likely persist with the Pixel 10 series. The Pixel 10 Pro’s dimensions remain virtually identical to its predecessor, reportedly measuring just 0.10mm thicker. Similarly, the base Pixel 10 shows a slight thickness increase, but with the potential addition of another camera sensor, it might actually become heavier than before.
While Google could theoretically find ways to reduce weight despite the similar dimensions, the nearly identical design offers little reason for optimism. Such similar physical specifications leave minimal opportunity for Google to shed the much-needed grams that would improve the handling experience.
The Compact Compromise: When Small Doesn’t Feel Small
This weight issue represents a particularly disappointing compromise for the Pixel 9 Pro. The entire purpose behind offering both Pro and Pro XL models was to deliver premium features in a more compact form factor. While Google succeeded in creating a smaller display size, the disproportionate weight undermines the compact phone experience in a meaningful way.
As more details about the Pixel 10 series emerge in coming weeks, the weight specifications will be worth watching closely. Though significant weight reduction seems unlikely given the apparent design similarities, Google might still surprise us with engineering improvements that address this persistent ergonomic challenge.
Google Pixel 10 Review : Conclusion
The Google Pixel 10 series appears poised to continue the design excellence established by its predecessors—delivering beautiful aesthetics and premium build quality that stands among the industry’s best.
However, the unresolved weight distribution issues threaten to undermine the otherwise exceptional user experience, particularly for those seeking a truly comfortable compact flagship.
For potential buyers, particularly those sensitive to device ergonomics, this weight consideration may prove to be the deciding factor when evaluating the Pixel 10 against increasingly refined competition. What do you think? Does a phone’s weight significantly impact your purchasing decision, or are other factors more important to you? Share your thoughts in the comments below!
All products, and company names, logos, and service marks (collectively the "Trademarks") displayed are registered® and/or unregistered
trademarks™ of their respective owners.
The authors of this web site are not sponsored by or affiliated with any of the third-party trade mark or third-party registered trade mark owners,
and make no representations about them, their owners, their products or services.
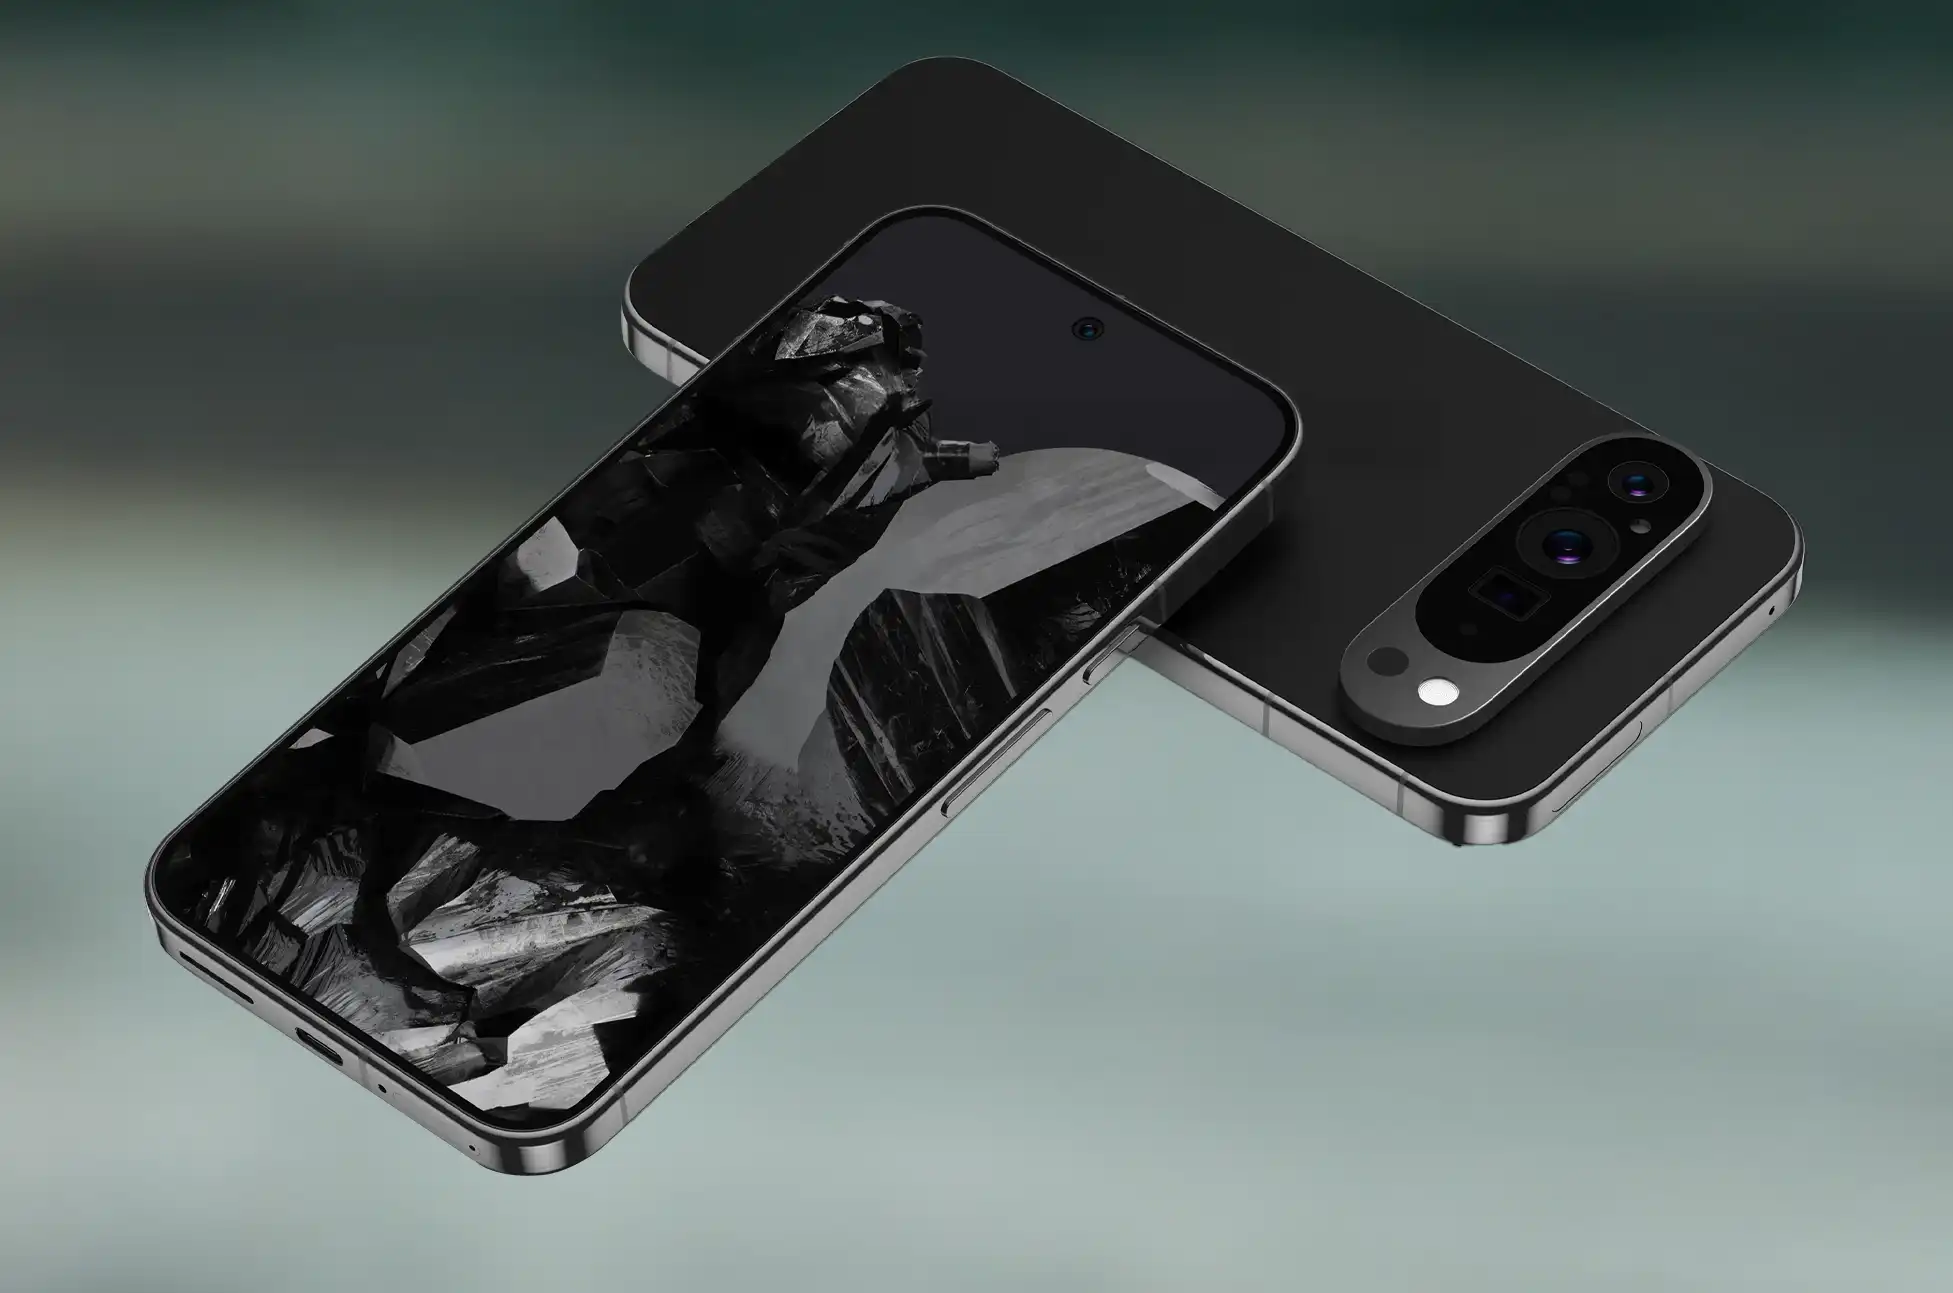
Google Pixel 10 Leaks : Just when you thought smartphone cameras couldn’t get more impressive, Google appears ready to shake things up again.
The tech giant might be bringing one of its most premium features to its more affordable flagship, and camera enthusiasts should be very excited.
Is Google Finally Bringing Pro Camera Features to the Standard Pixel?
The Pixel 9 series has won our hearts as one of the best Android experiences of 2024, and that’s precisely why we’re buzzing with excitement about what’s coming next. Fresh leaks of the Pixel 10 series have just dropped, giving us a tantalizing glimpse into Google’s next flagship lineup – and there’s one upgrade that might change everything.
Triple Camera Coming to the Base Pixel 10?
According to freshly leaked CAD renders shared by AndroidHeadlines and reliable leaker OnLeaks, the standard Pixel 10 is getting a significant camera upgrade that Pixel fans have been dreaming about for years. While the Pixel 9 sports a dual camera setup, its successor is reportedly jumping to a triple camera array – previously a feature reserved for the Pro models.
This is huge news! The base Pixel model has typically offered a more affordable entry point into Google’s ecosystem, with camera compromises being the main difference from the pricier Pro variants. With this change, the line between the standard and Pro models becomes increasingly blurred.
Even more intriguing, the shape of the additional sensor suggests it could be a periscope zoom lens, though CAD renders can sometimes be misleading about specific components. OnLeaks has doubled down on the triple camera claim, adding credibility to this exciting development.
Google Pixel 10 Leaks : What About Size and Design?
The leaks indicate Google is sticking with its winning design language:
Pixel 10: Measuring 152.8 x 72 x 8.6mm (just 0.1mm thicker than Pixel 9) with a 6.3-inch display
Pixel 10 Pro: Identical dimensions to the base model at 152.8 x 72 x 8.6mm, also with a 6.3-inch display
Pixel 10 Pro XL: Coming in at 162.7 x 76.6 x 8.5mm, virtually identical to its predecessor
Interestingly, AndroidHeadlines claims the same case will fit both the Pixel 10 and 10 Pro, suggesting extremely similar body designs. This raises an important question: with both models potentially sporting triple cameras and identical dimensions, what will differentiate the Pro from the standard model? Perhaps we’ll see differences in materials, display quality, or special software features.
What About the Next Pixel Fold?
Notably absent from these leaks is any information about the next-generation Pixel foldable. We’re still waiting on those renders, assuming Google is indeed developing a follow-up to the Pixel Fold.
Powered by Tensor G5
All these devices are expected to run on Google’s next-generation Tensor G5 processor, which has already been mentioned in previous leaks. This should bring improved AI capabilities, better power efficiency, and enhanced performance across the board.
Google Pixel 10 Leaks : What Do You Think?
Are you excited about the potential triple camera upgrade coming to the base Pixel 10? Would this make you more likely to choose the standard model over the Pro? Or are you concerned that this might push the base model’s price higher?
All products, and company names, logos, and service marks (collectively the "Trademarks") displayed are registered® and/or unregistered
trademarks™ of their respective owners.
The authors of this web site are not sponsored by or affiliated with any of the third-party trade mark or third-party registered trade mark owners,
and make no representations about them, their owners, their products or services.
Mark your calendars, tech enthusiasts! Google I/O 2025 is just around the corner, scheduled for May 20-21 at the iconic Shoreline Amphitheater in Mountain View. While industry insiders and developers will gather in person, everyone can join the excitement through live streams on Google’s official website and YouTube channel.
Android 16: Breaking Tradition with Early Release
In an unprecedented move, Google has fast-tracked Android’s release cycle, shifting Android 16 to a Q2 launch instead of the traditional fall release. This strategic shift hints at something special – possibly a stable release during I/O itself! Get ready for game-changing features including:
Dynamic notification system similar to Live Activities for real-time updates at a glance
Revolutionary photo picker with seamless cloud integration across providers
Refined predictive back navigation for more intuitive app interactions
Google I/O 2025: Expanding Horizons with Android XR
The mixed reality landscape is about to transform with Android XR developments. Building on earlier sneak peeks, expect major announcements around:
Deep Gemini AI integration for real-world assistance through smart glasses
Robust third-party app ecosystem to enrich the XR experience
Compatibility roadmap for upcoming devices, including Samsung’s highly anticipated Project Moohan
Smarter, more conversational Gemini assistant features across devices
Enhanced Circle to Search functionality with deeper contextual understanding
More accurate AI Overviews that deliver truly relevant information
Surprise AI services that could redefine how we interact with technology
Android 16 Wear OS 6: Glimpse into the Future of Wearables
While the full Wear OS 6 release will likely coincide with Samsung’s Galaxy Watch refresh later this summer, I/O will offer developers their first look at what’s coming:
Streamlined interface optimizations for improved user experience
Performance boosts for smoother operation on existing hardware
New developer APIs enabling more creative wearable applications
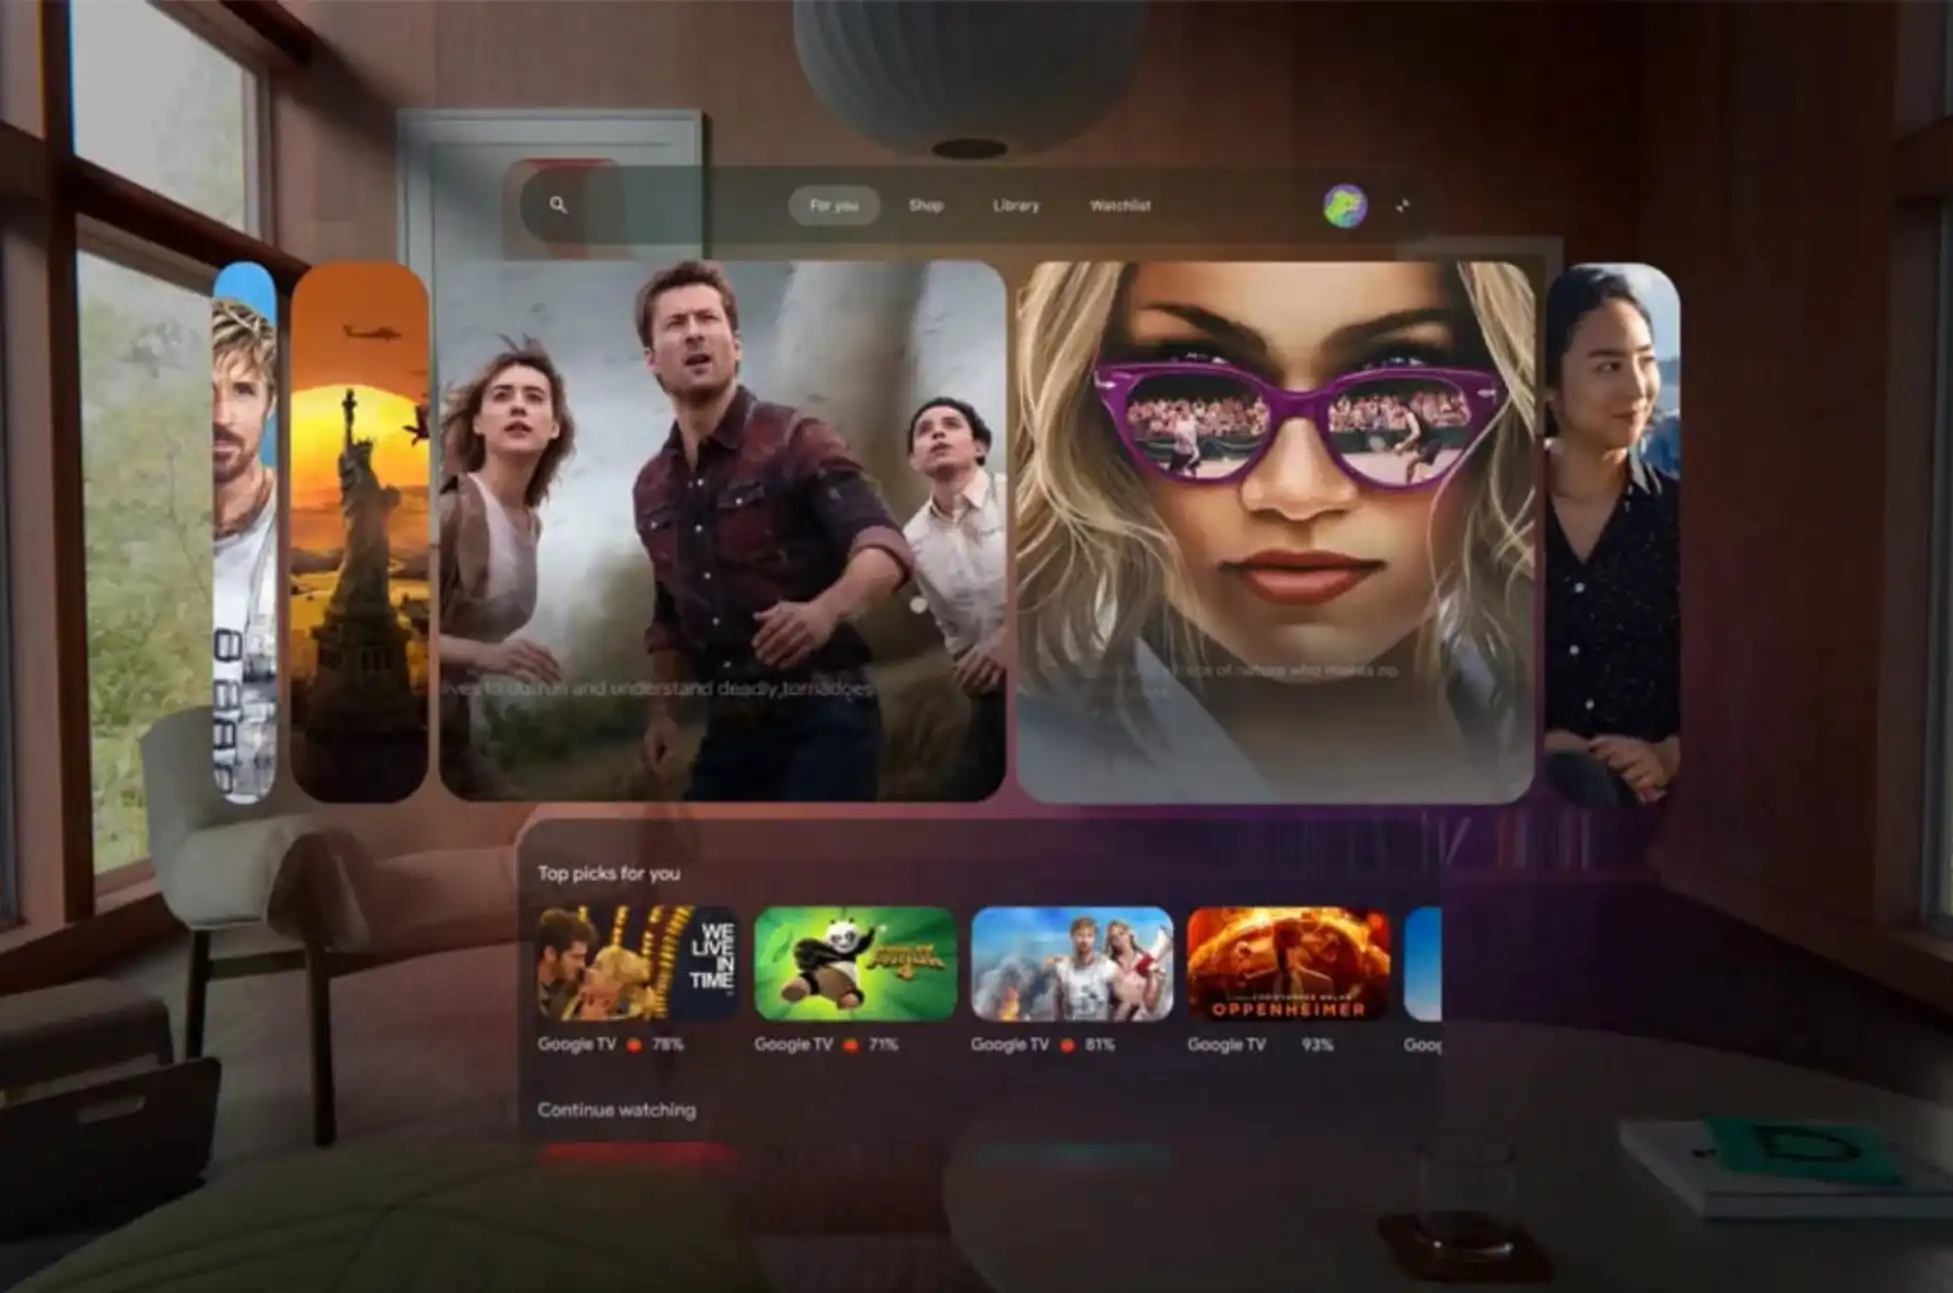
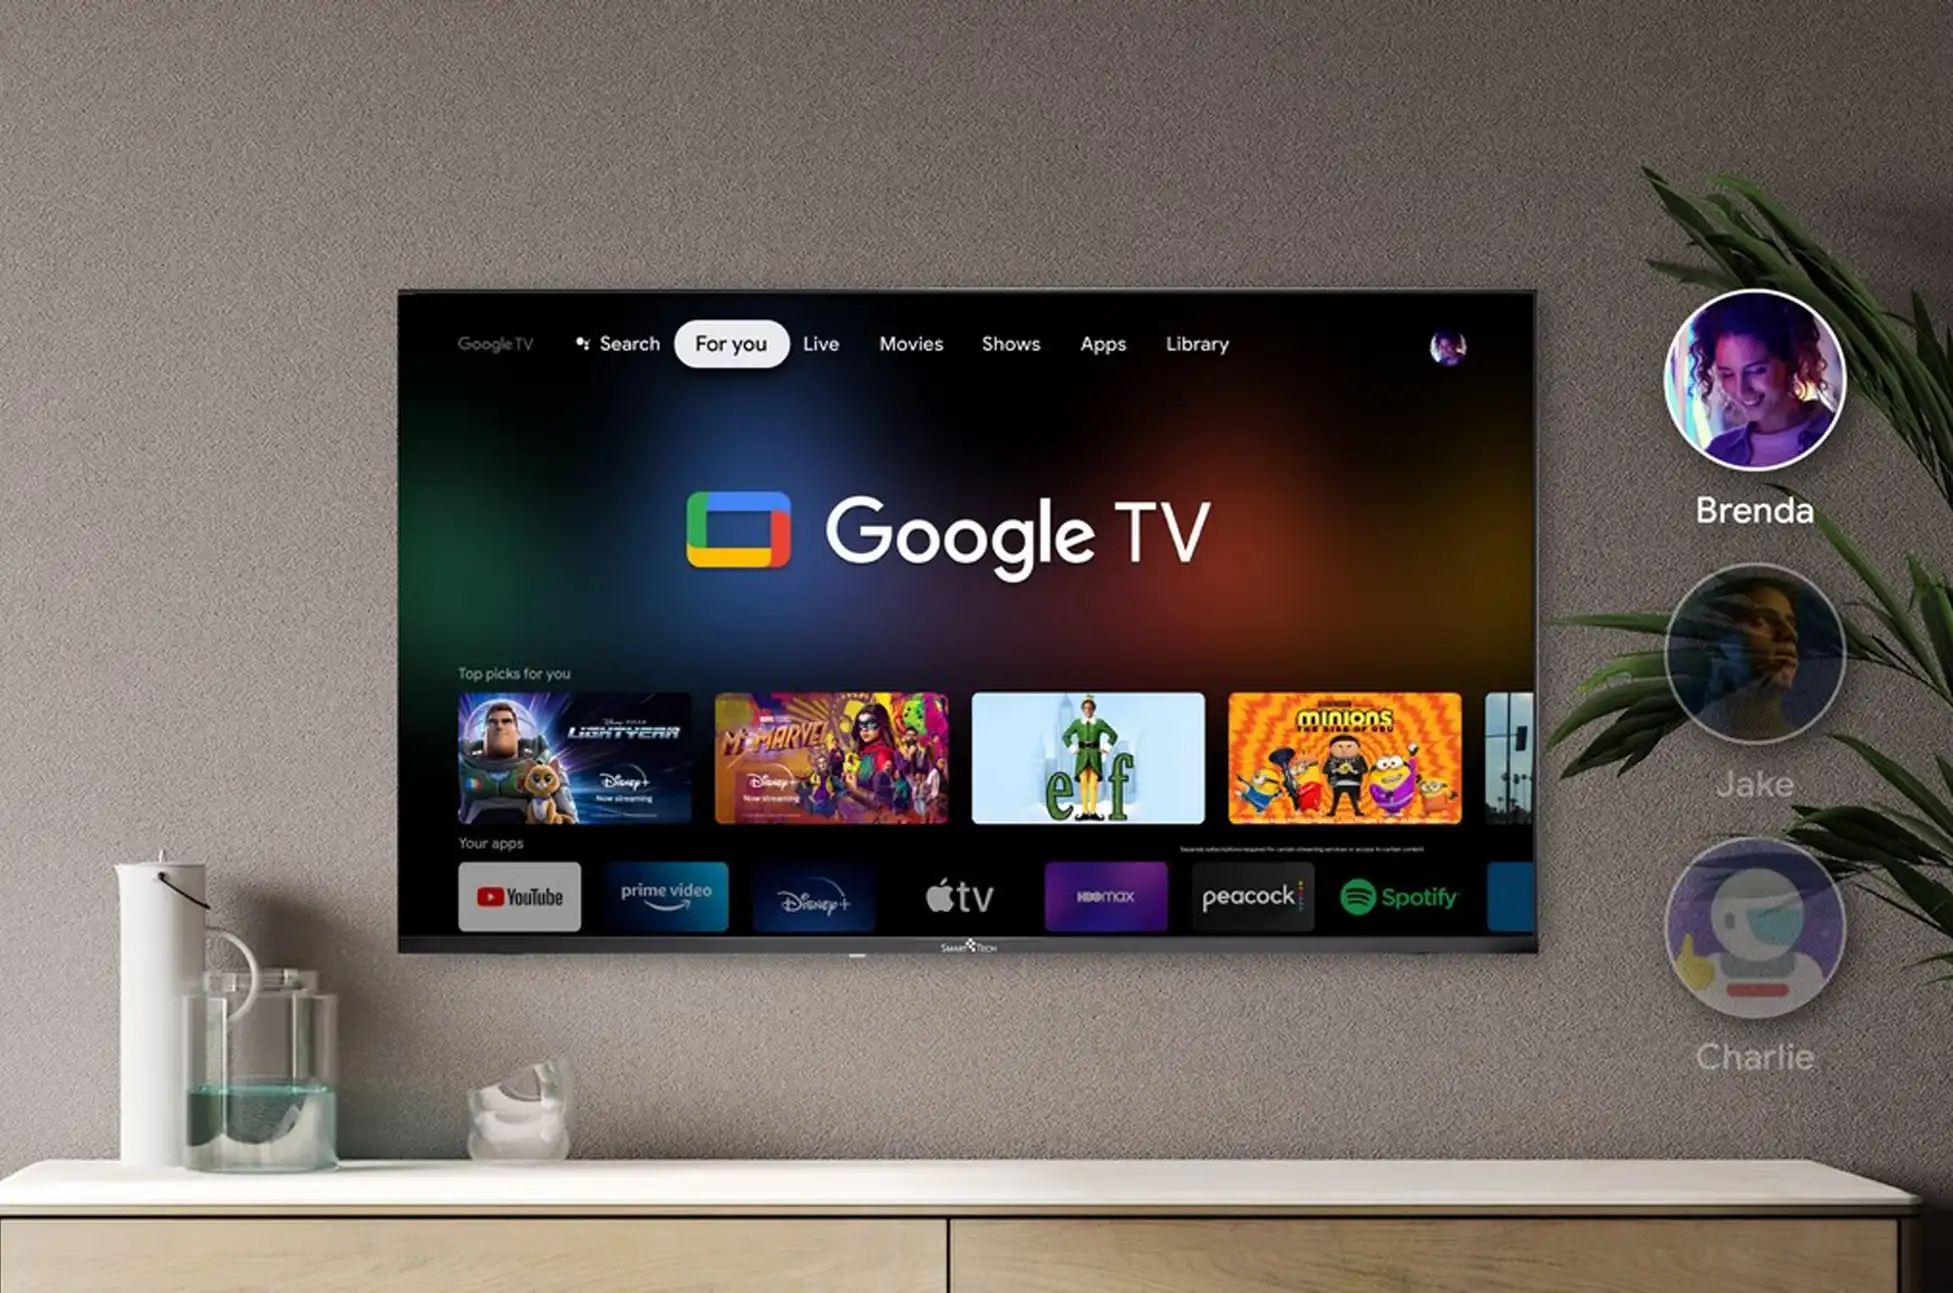
Smart Entertainment: Google TV Evolution
With Google’s shift to bi-yearly TV platform updates, we might not see Android 15 for Google TV just yet. However, expect meaningful enhancements for current users:
Intelligent storage management solutions for app-heavy setups
Expanded smart home controls directly from your entertainment center
AI-driven content discovery that truly understands your preferences
Enhanced media playback capabilities across formats
Beyond the Spotlight: Ecosystem Innovations
Google’s vision extends across its entire product universe. Watch for exciting developments in:
Google Maps with revolutionary geospatial features and navigation improvements
Android Auto expanding its app ecosystem for safer, more connected driving
Google Wallet innovations streamlining digital payment experiences
Fresh Nest smart home products enhancing connected living
Deeper integration of Google Home with Matter standards for true interoperability
Google I/O 2025 : Why This Matters to You
Google I/O 2025 isn’t just another tech conference – it’s your window into how your digital life will transform in the coming year. The accelerated Android timeline, ambitious mixed reality plans, and deeper AI integration signal Google’s determination to push technology boundaries further than ever before.
Whether you’re coding the next breakthrough app or simply enjoy having cutting-edge tech in your pocket, the innovations unveiled this May will shape your digital experiences for years to come. Stay tuned as we witness Google’s vision for a more connected, intelligent future unfold at I/O 2025!
All products, and company names, logos, and service marks (collectively the "Trademarks") displayed are registered® and/or unregistered
trademarks™ of their respective owners.
The authors of this web site are not sponsored by or affiliated with any of the third-party trade mark or third-party registered trade mark owners,
and make no representations about them, their owners, their products or services.
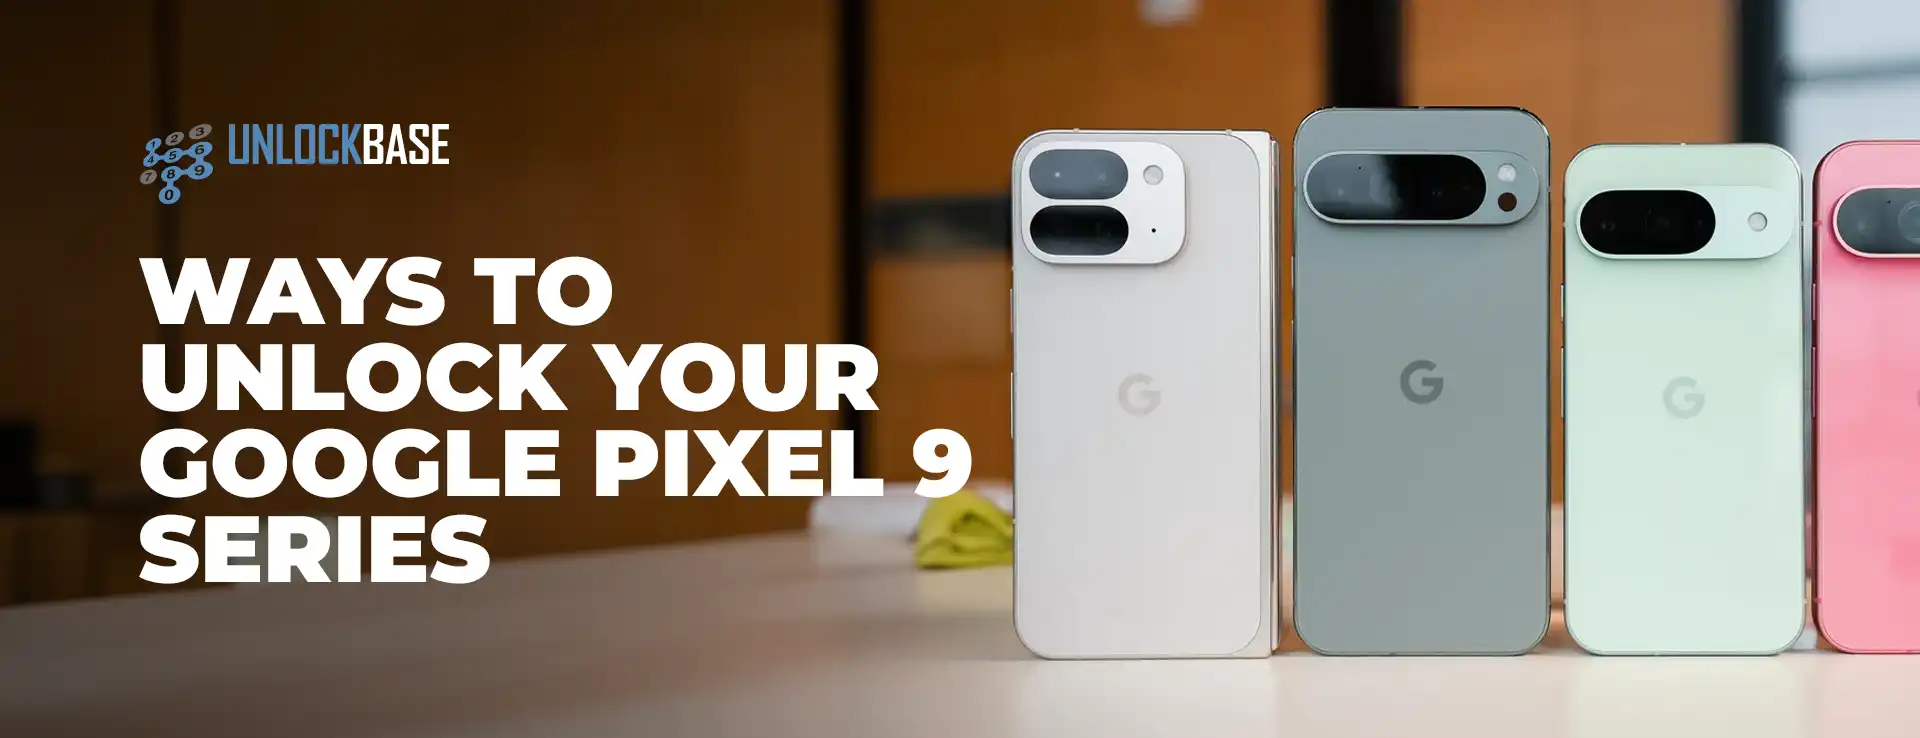
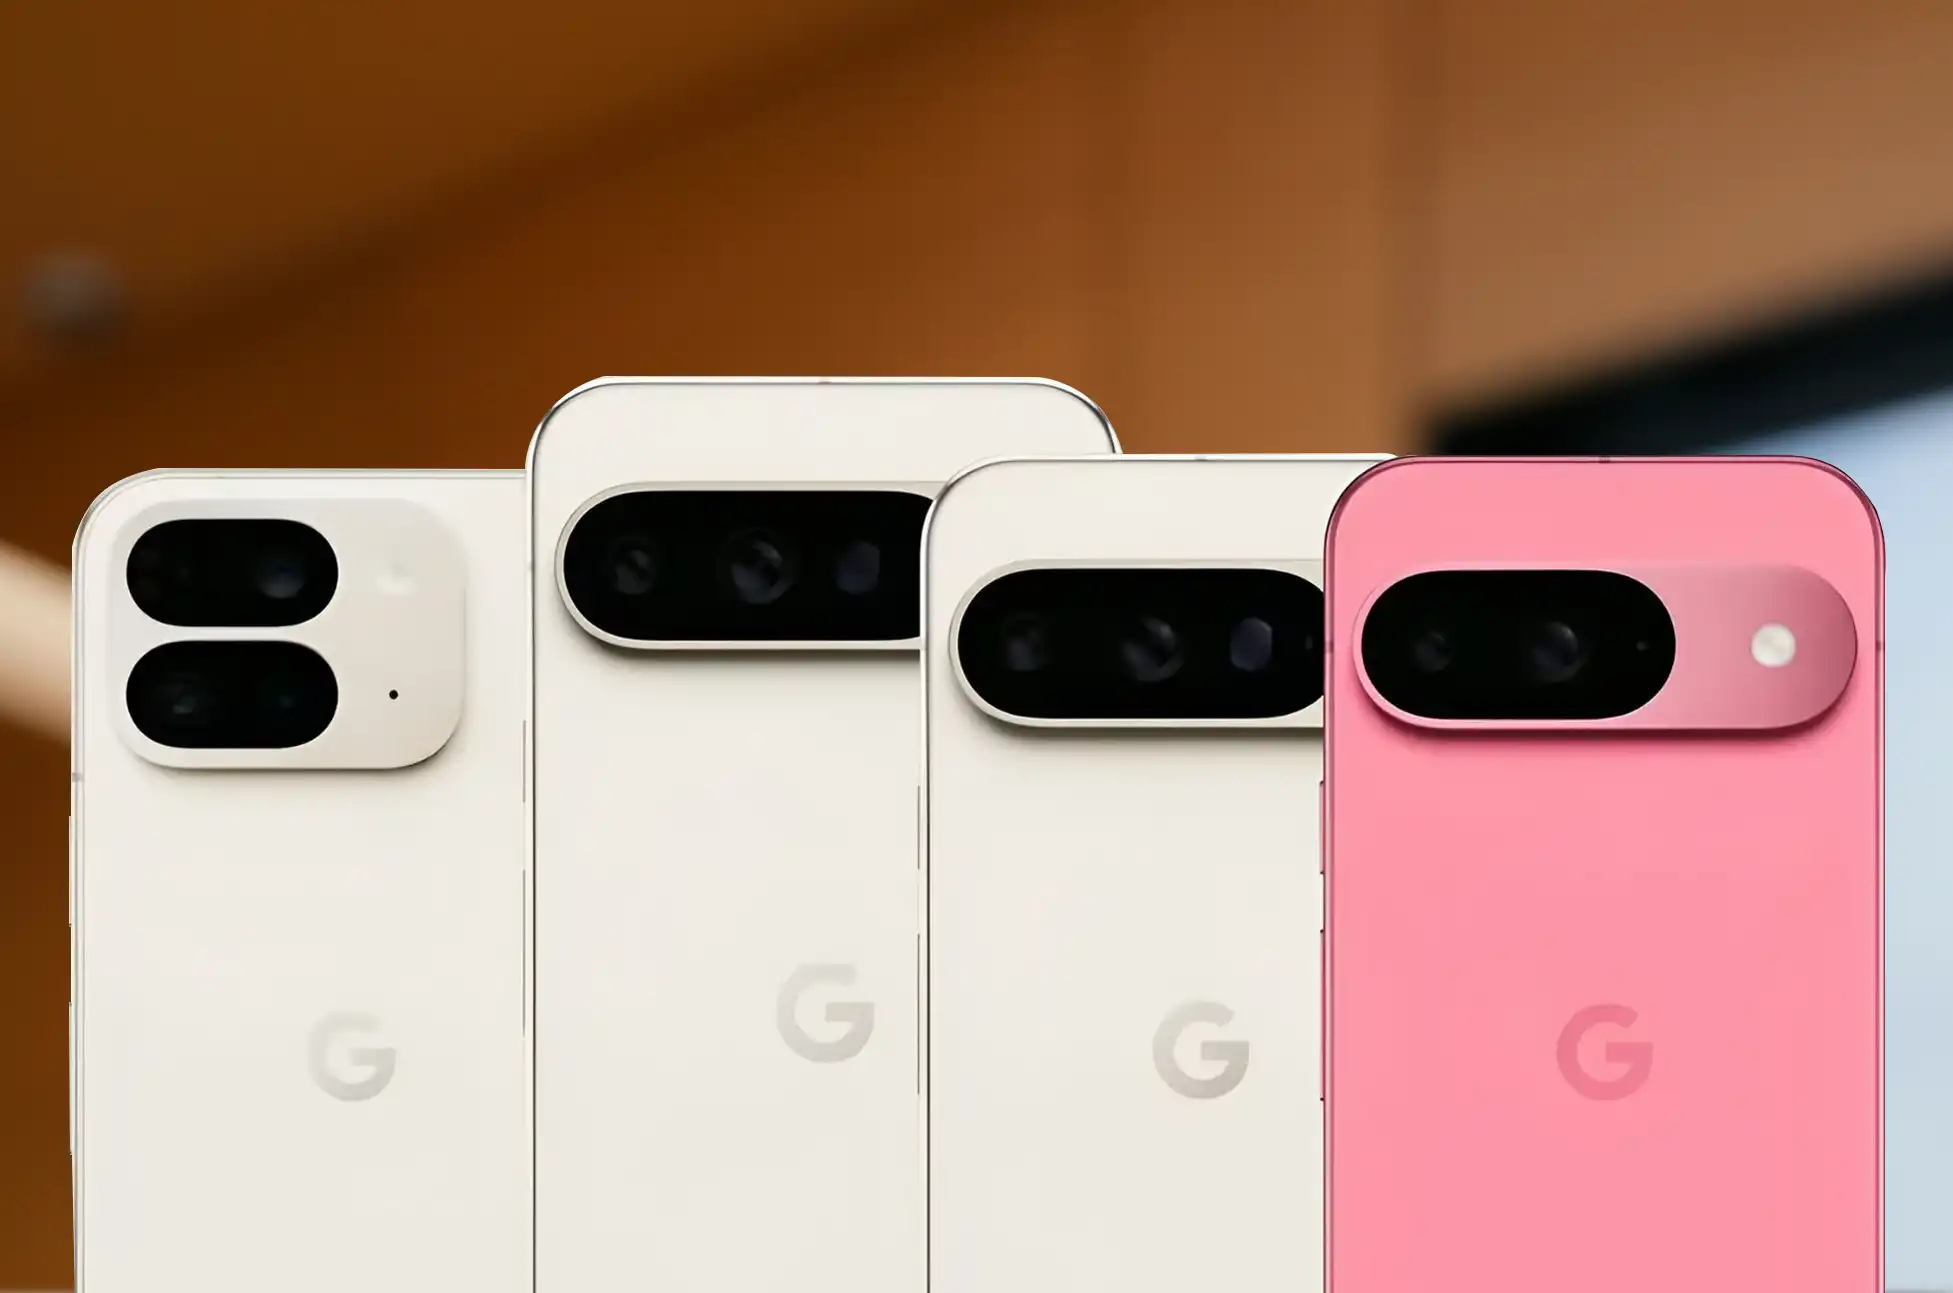
Unlocking Google Pixel 9 Series? Congratulations on your Google Pixel 9! Whether you’ve just unboxed this cutting-edge smartphone or you’re looking to maximize its potential, understanding how to unlock your device opens up a world of possibilities.
This comprehensive guide will walk you through every method to unlock your Pixel 9, ensuring you get the most flexibility and control over your smartphone.
Why Unlock Your Pixel 9?
Unlocking your Google Pixel 9 isn’t just a tech hack—it’s a gateway to mobile freedom. An unlocked phone means:
No carrier restrictions
Ability to switch networks easily
Potential for significant cost savings
Enhanced international travel capabilities
Unlocking Google Pixel 9 Series : Understanding Phone Unlocking
Unlocking your Pixel 9 goes beyond a simple technical process. It’s about breaking free from carrier restrictions, reducing communication costs, and gaining the power to choose your mobile experience. When you unlock your device, you’re not just changing a setting—you’re transforming how you interact with mobile technology.
Carrier Unlock: The Traditional Route
The most straightforward path to unlocking begins with your current carrier. This method requires meeting specific eligibility criteria. Carriers typically demand that your device is fully paid off and you’ve maintained service for a minimum period, usually between 60 to 90 days. The process involves contacting customer service, providing your device’s unique IMEI number, and following their specific verification steps.
UnlockBase Service: The Best Approach
For those encountering challenges with carrier unlocking, UnlockBase has you covered!
Select your phone’s manufacturer from the list provided
Enter your phone’s IMEI number in the designated field
Input your email address for verification
Choose the country where your phone is currently locked
Select the network or carrier from which you wish to unlock your phone
Once your payment is successfully processed, watch for a confirmation email
The Developer’s Unlock: For Tech Enthusiasts
Advanced users might explore bootloader unlocking, a method that provides deeper system access. This approach requires technical expertise and involves enabling developer options, activating OEM unlocking, and using specific Android debugging commands. It’s a path best traveled by those with solid technical understanding, as it can potentially void your device’s warranty.
Financial and Practical Implications
Unlocking your Pixel 9 isn’t just a technical exercise—it’s a strategic financial decision. By freeing your device from carrier constraints, you open doors to more affordable mobile plans, reduce international roaming charges, and potentially increase your smartphone’s resale value. Imagine traveling internationally and using local SIM cards without exorbitant fees, or switching carriers the moment a better deal emerges.
Unlocking Google Pixel 9 Series : The Bigger Picture
An unlocked Google Pixel 9 represents more than a technical achievement—it’s a declaration of mobile independence. Whether you’re a global traveler, a budget-conscious consumer, or simply someone who values technological flexibility, unlocking provides a pathway to a more personalized mobile experience.
Unlocking Google Pixel 9 Series : Your Next Steps
Take time to research and choose an unlocking method that aligns with your technical comfort and specific needs. Consult with professionals if you’re uncertain, and approach the process with careful consideration.
The world of mobile technology is evolving, and your Pixel 9 can be at the forefront of that evolution. Unlocking isn’t just about changing a setting—it’s about expanding possibilities
All products, and company names, logos, and service marks (collectively the "Trademarks") displayed are registered® and/or unregistered
trademarks™ of their respective owners.
The authors of this web site are not sponsored by or affiliated with any of the third-party trade mark or third-party registered trade mark owners,
and make no representations about them, their owners, their products or services.