
2019

Are you getting a weak signal from your Smart Bro Prepaid Home WiFi? There’s a way to fix it!
Boost the signal by adding antenna correctors and outdoor antennas!
This will also work on the PLDT Prepaid Home WiFi. It is essentially the same modem, just a different brand. Be warned: doing this notification will surely VOID your warranty. It is up to you whether to proceed or not.
Disclaimer: We are not responsible if things go wrong.
Also, your mileage may vary. In my case, this modification boosted my signal indoors. But it may or may not be the same for you, it depends on your area. There are a number of factors that may affect wifi signal strength; (1) thick walls, (2) microwave oven, and (3) actual distance from the router/modem.
There is also a video version of this guide. Watch below:
Things you need to buy/required for this modification:
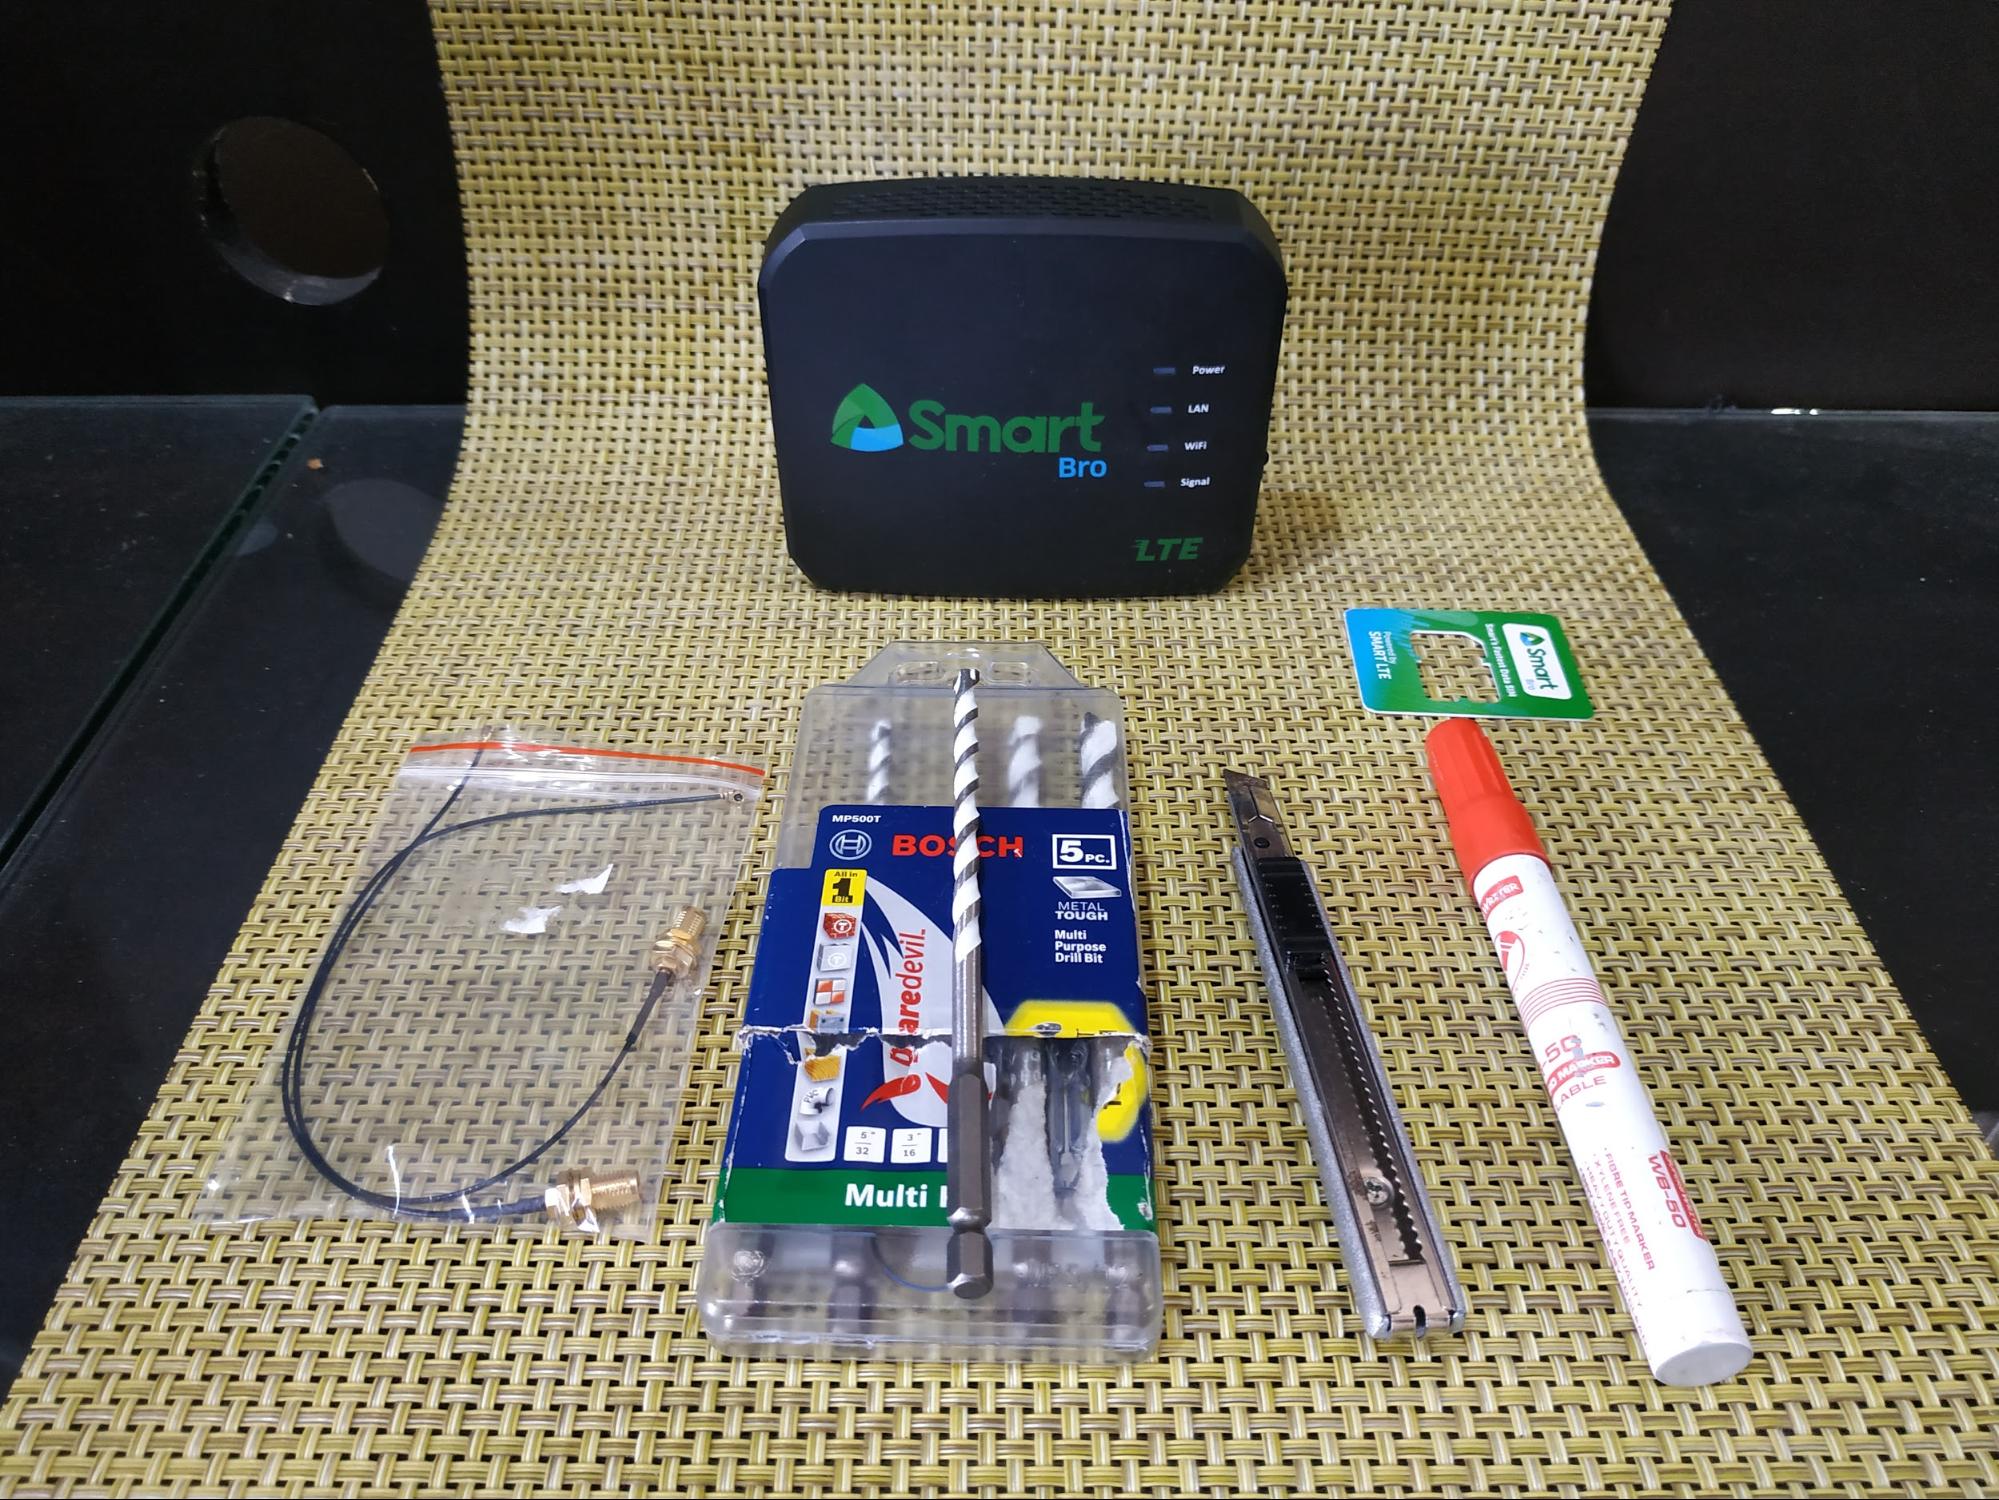
- Antenna SMAWiFi Pigtail Cable IPX to SMA (₱99.00 on Lazada)
- 1/4 and 3/16 drill bit. (I used multi-purpose)
- Drill
- Marker (any color will do, as long as you can easily see it).
- Ruler
- Thin plastic (like a guitar pick or gift card).
- Box cutters
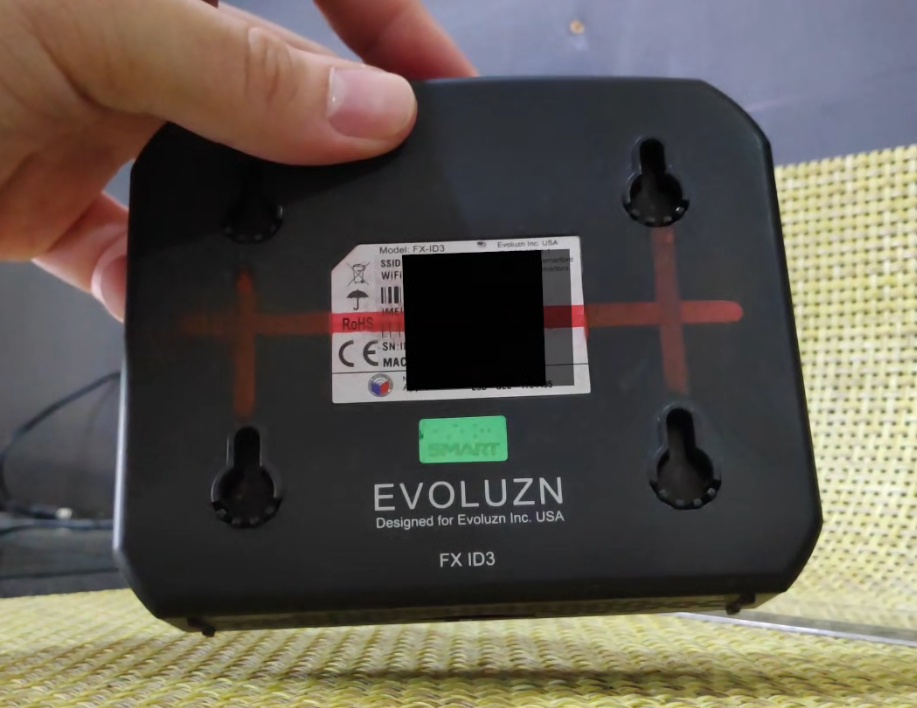
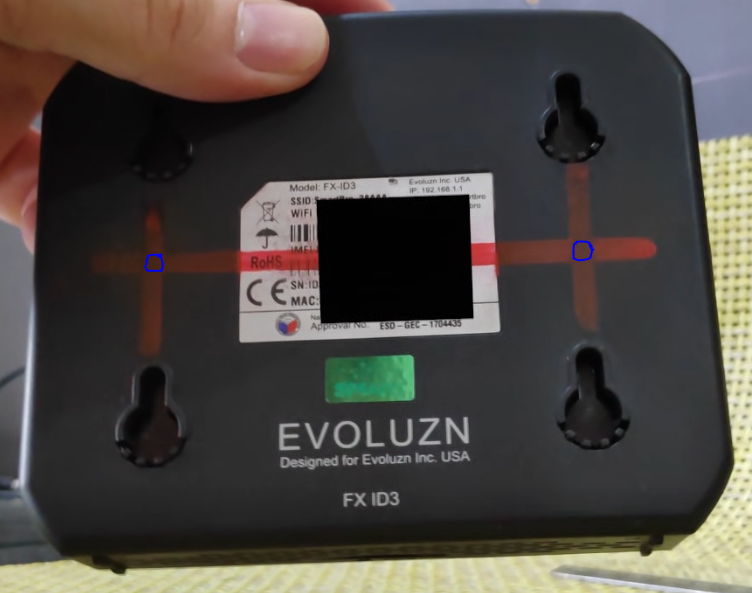
- Use the ruler and marker to write lines on the back of the modem as shown in the picture.

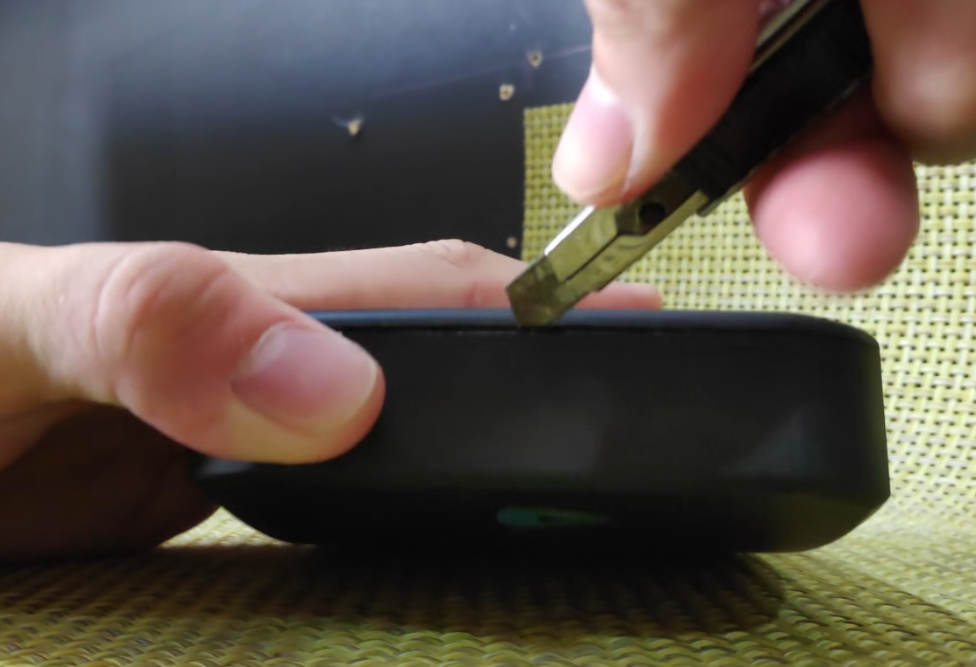
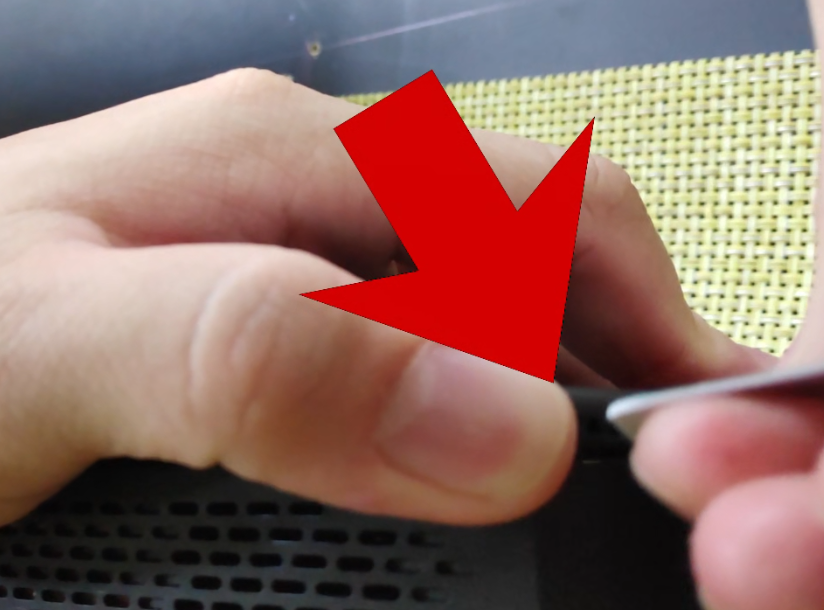
- Take the box cutter and slowly insert it into the left side modem, when doing so, make sure it face down at a 45-degree angle. Insert the cutter in the middle to avoid damage to the internal antennas, just in case you want to use it again the future.


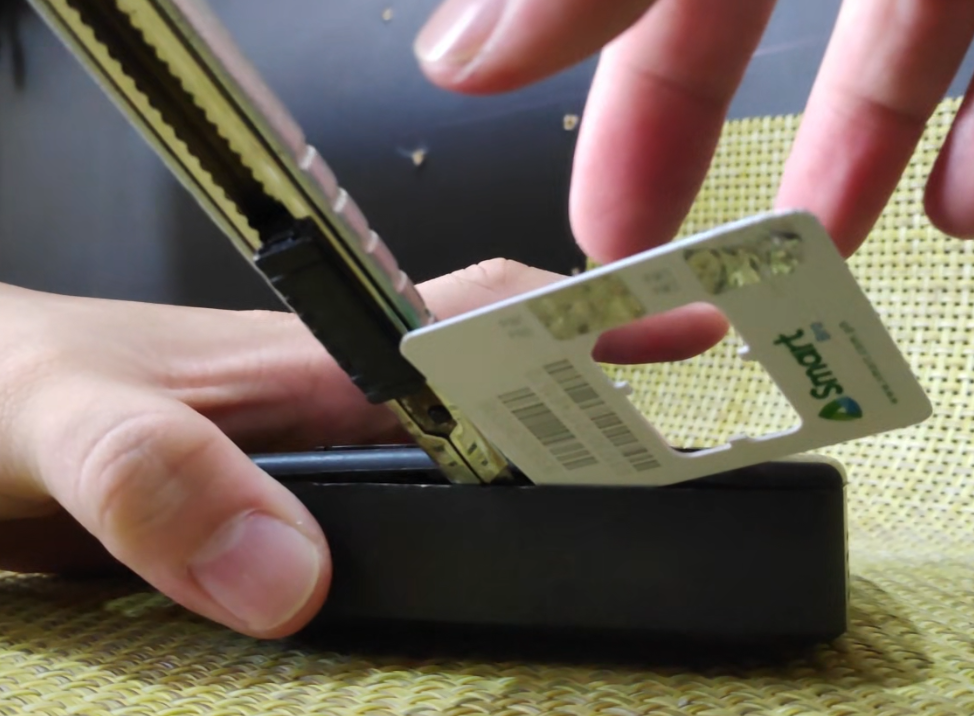
- Once the cutter is inserted. Grab a thin plastic (guitar pick, gift card, etc), and insert it next to the cutter.

- Once both the cutter and thin plastic are both inserted, slide the thin plastic throughout the perimeter of the modem. If you’re having trouble sliding the plastic through, yank out the cover a little bit to ease the plastic through.

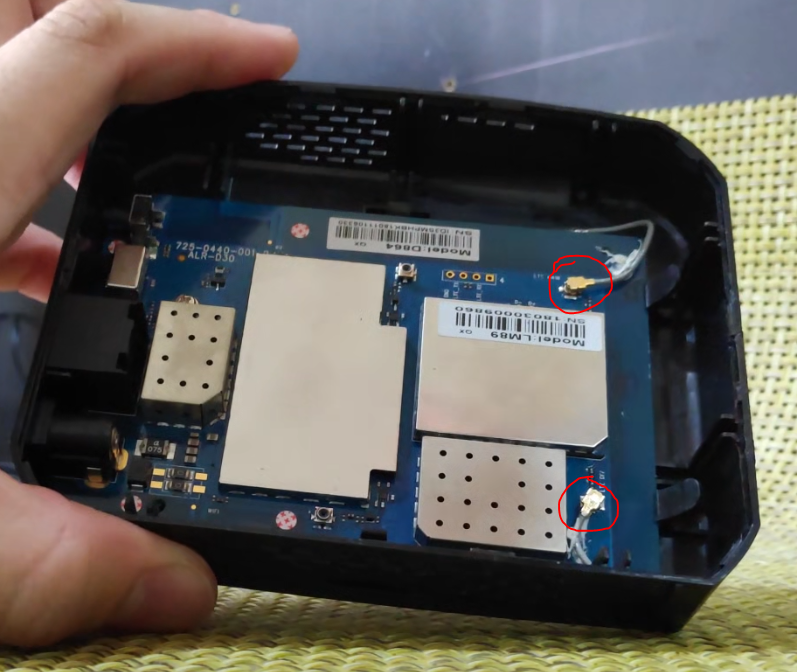
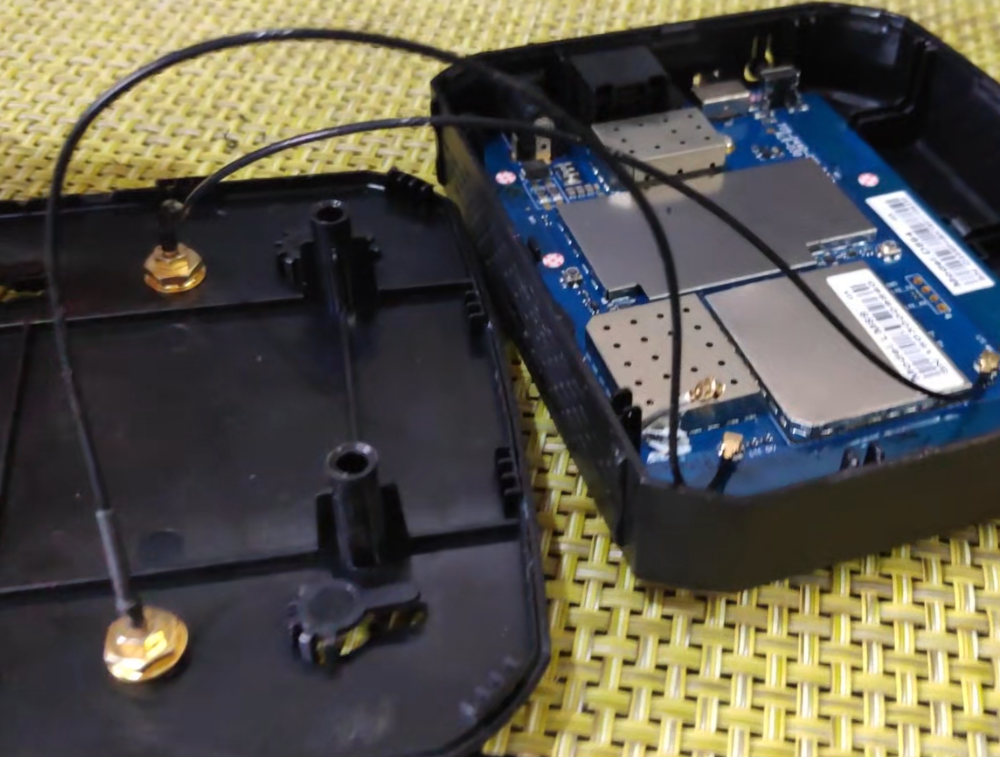
- Once the cover is off, disconnect the two antennas (circled in red) gently.

- Drill two holes (circled in blue). Start out with the 3/16 bit on each, then finish them off with the 1/4 bit also on both.

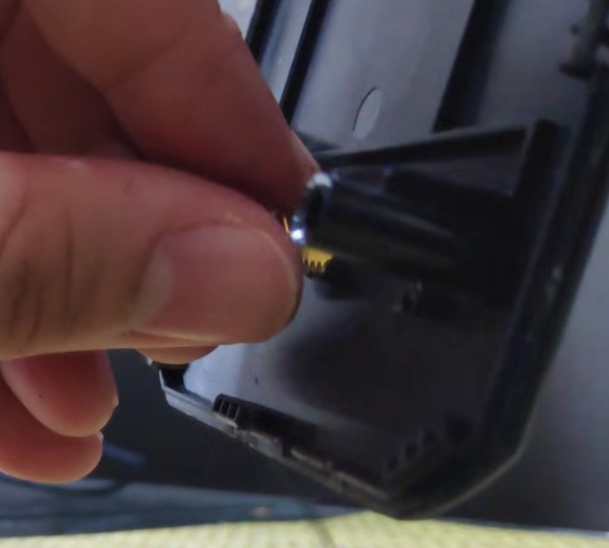
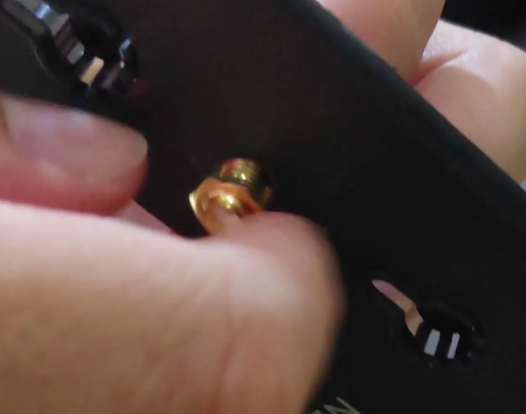
- Loosen the nut on the SMA to u.FL connector and install each one onto the holes.

- Insert each SMA connectors on each hole. Don’t forget to install the nuts afterward.


- Connect u.FL connectors onto the motherboard (where you disconnected the internal antennas from back in step 5). It doesn’t matter which one is which you connect them to.

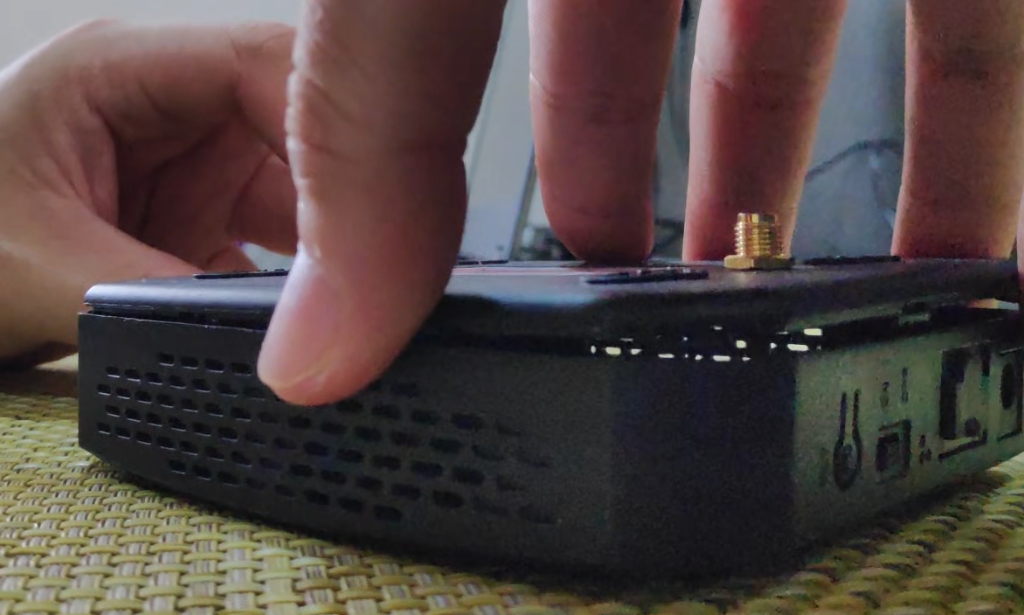
- Put the cover back, and snap it in place.

- Connect the antennas.

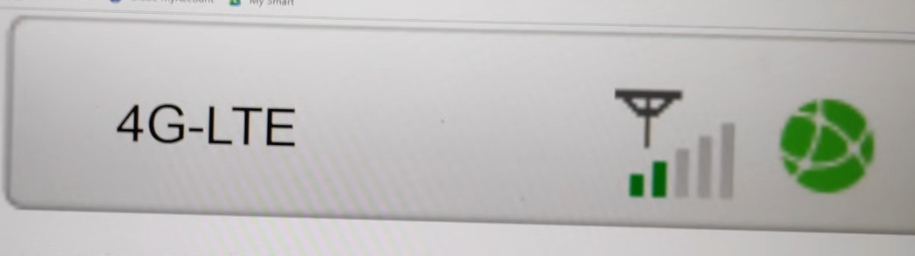
- Turn on the modem and see the improved reception. Your mileage may vary, depending on your area.


Before:

After:
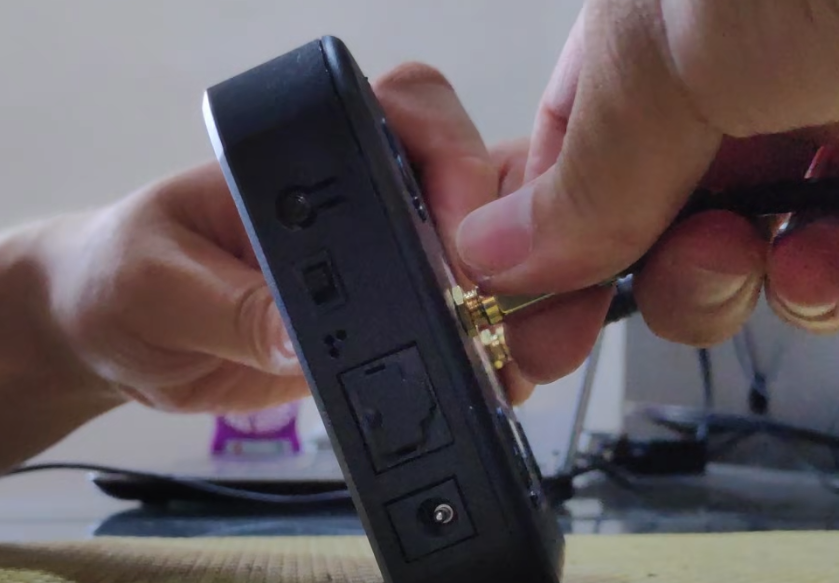
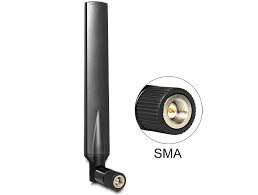
If you want to use this without the outdoor antenna, you could purchase an external SMA antenna (as shown in the picture below) and hook it up to the modem, or open the modem again, and connect back the internal antennas.
There you go! Your very own DIY external antennas for a better wifi signal strength!
If you don’t want to go through the hardware DIY, you can ask your internet service provider if your Wifi Modem has the capability of connecting to a “range extender.” Range extenders look like small wifi boxes with external antennas and you can install as many as you can to areas where you have poor wifi strength or none at all.
Range extenders, as the term defines, ‘ extend’ your wifi’s range. You can easily purchase one from any store near you, but for the convenience they offer, they might come a little bit pricey.
All products, and company names, logos, and service marks (collectively the "Trademarks") displayed are registered® and/or unregistered trademarks™ of their respective owners. The authors of this web site are not sponsored by or affiliated with any of the third-party trade mark or third-party registered trade mark owners, and make no representations about them, their owners, their products or services.