How to Disable RTT Calling? Getting unwanted RTT prompts during calls? Here’s your step-by-step guide to switching it off.
Real-Time Text (RTT) calling serves an important purpose for accessibility, but not everyone needs this feature active on their device. Whether you accidentally enabled it or simply don’t require RTT functionality, turning it off is straightforward once you know where to look.
How to Disable RTT Calling : What exactly is RTT Calling?
RTT calling transforms your phone conversations by displaying text in real-time as you speak. Picture live captions appearing on your screen during a phone call – that’s essentially what RTT does. This technology bridges communication gaps for people with hearing difficulties, allowing them to read conversations as they happen rather than relying solely on audio.
In the United States, your phone automatically accepts incoming RTT calls. However, making outgoing RTT calls requires manual activation through your device’s accessibility settings.
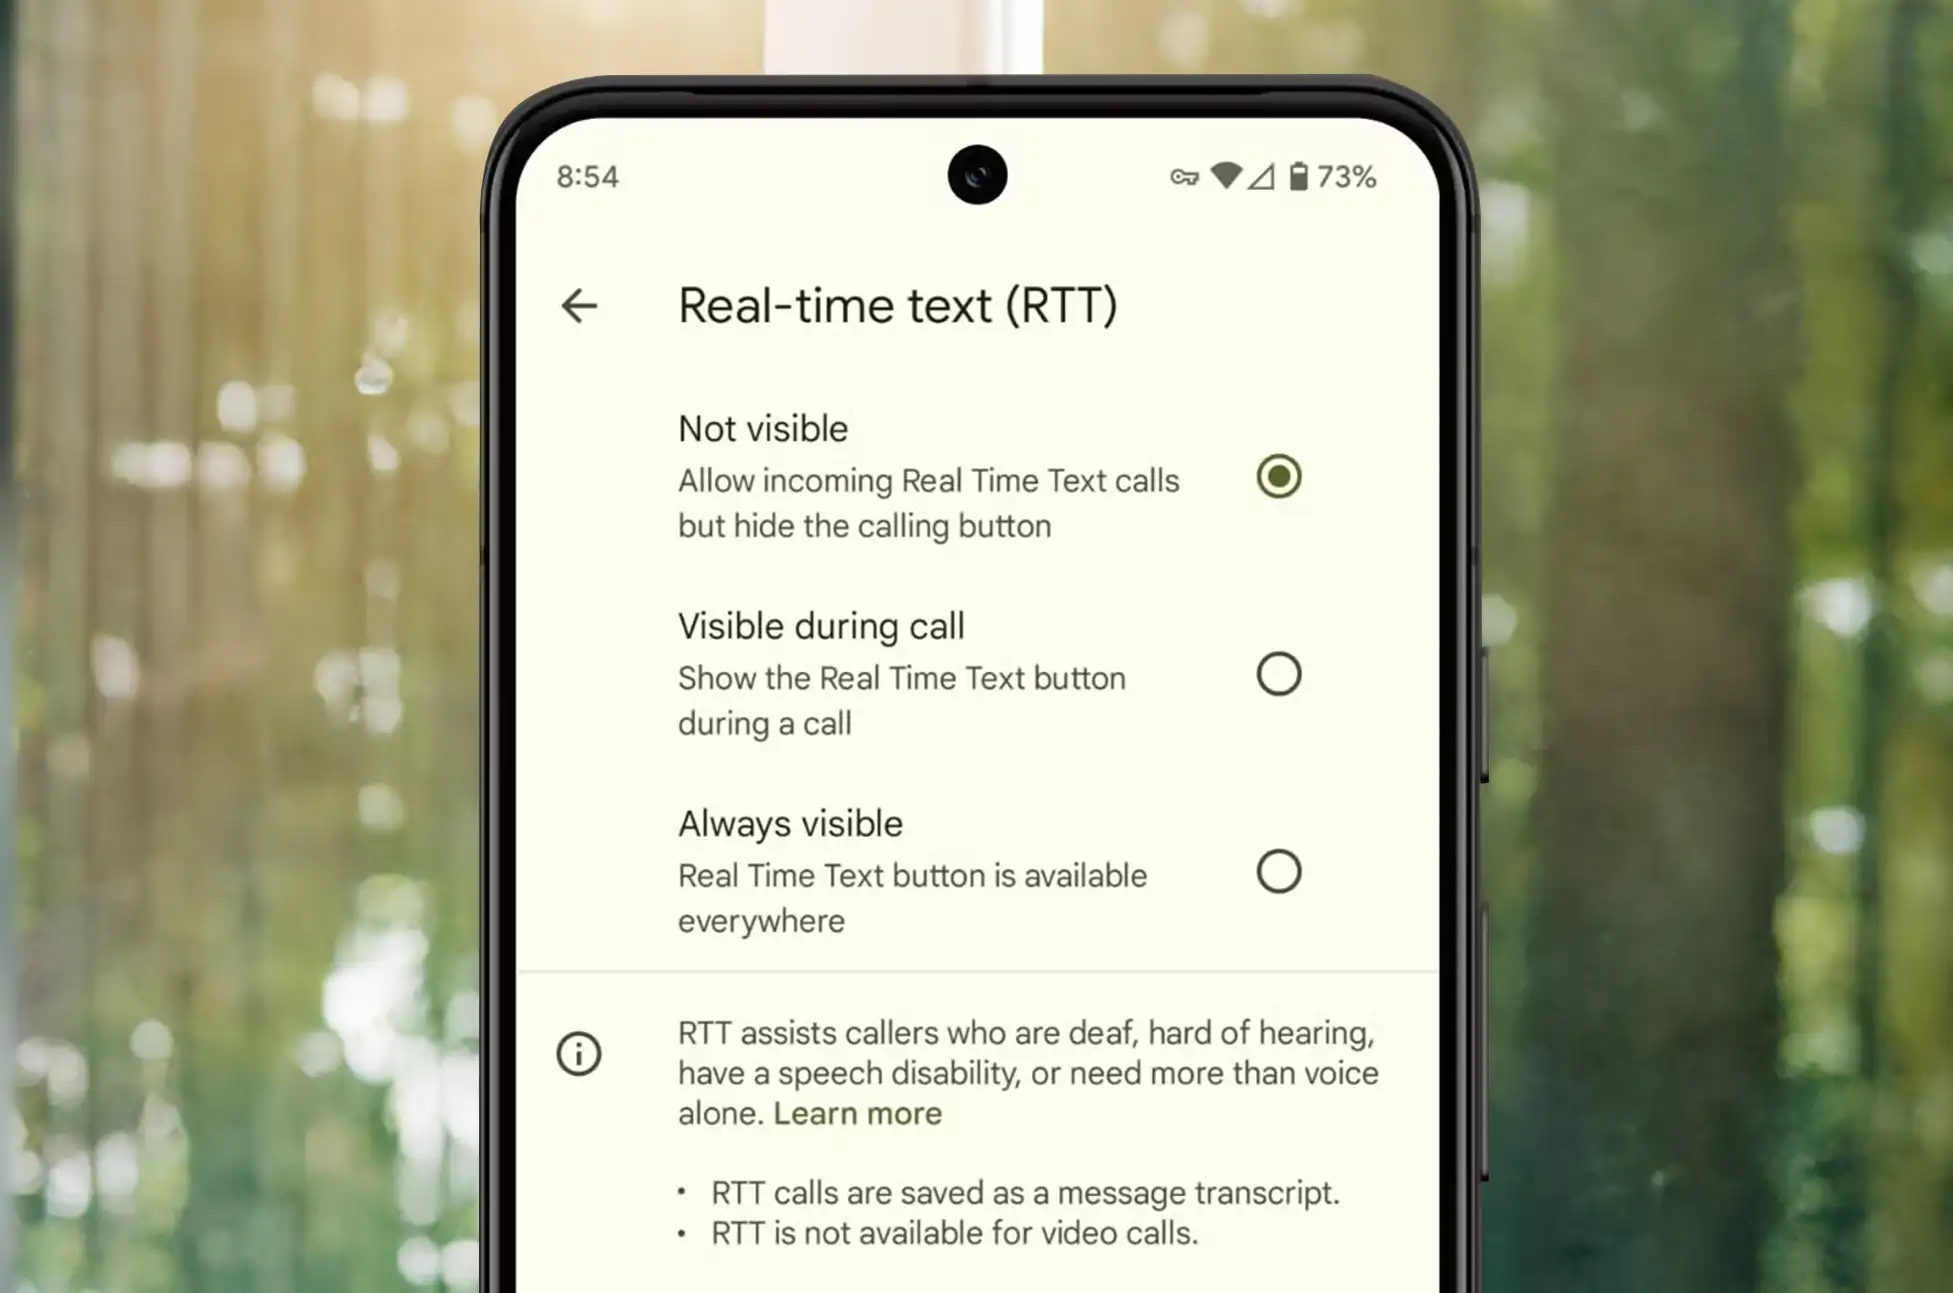
Turning Off RTT on Android Devices
When RTT is disabled, neither you nor the person you’re calling will have access to the real-time text feature during your conversation. Keep this in mind if you regularly communicate with someone who benefits from RTT functionality.
Follow these steps to disable RTT:
Open your Phone app
Tap the three dots (⋮) in the top search bar
Select Settings from the dropdown menu
Navigate to Accessibility
Find Real-time text (RTT) and choose Not visible
Alternative method: Return to the Accessibility menu, select TTY Mode, and choose TTY Off.
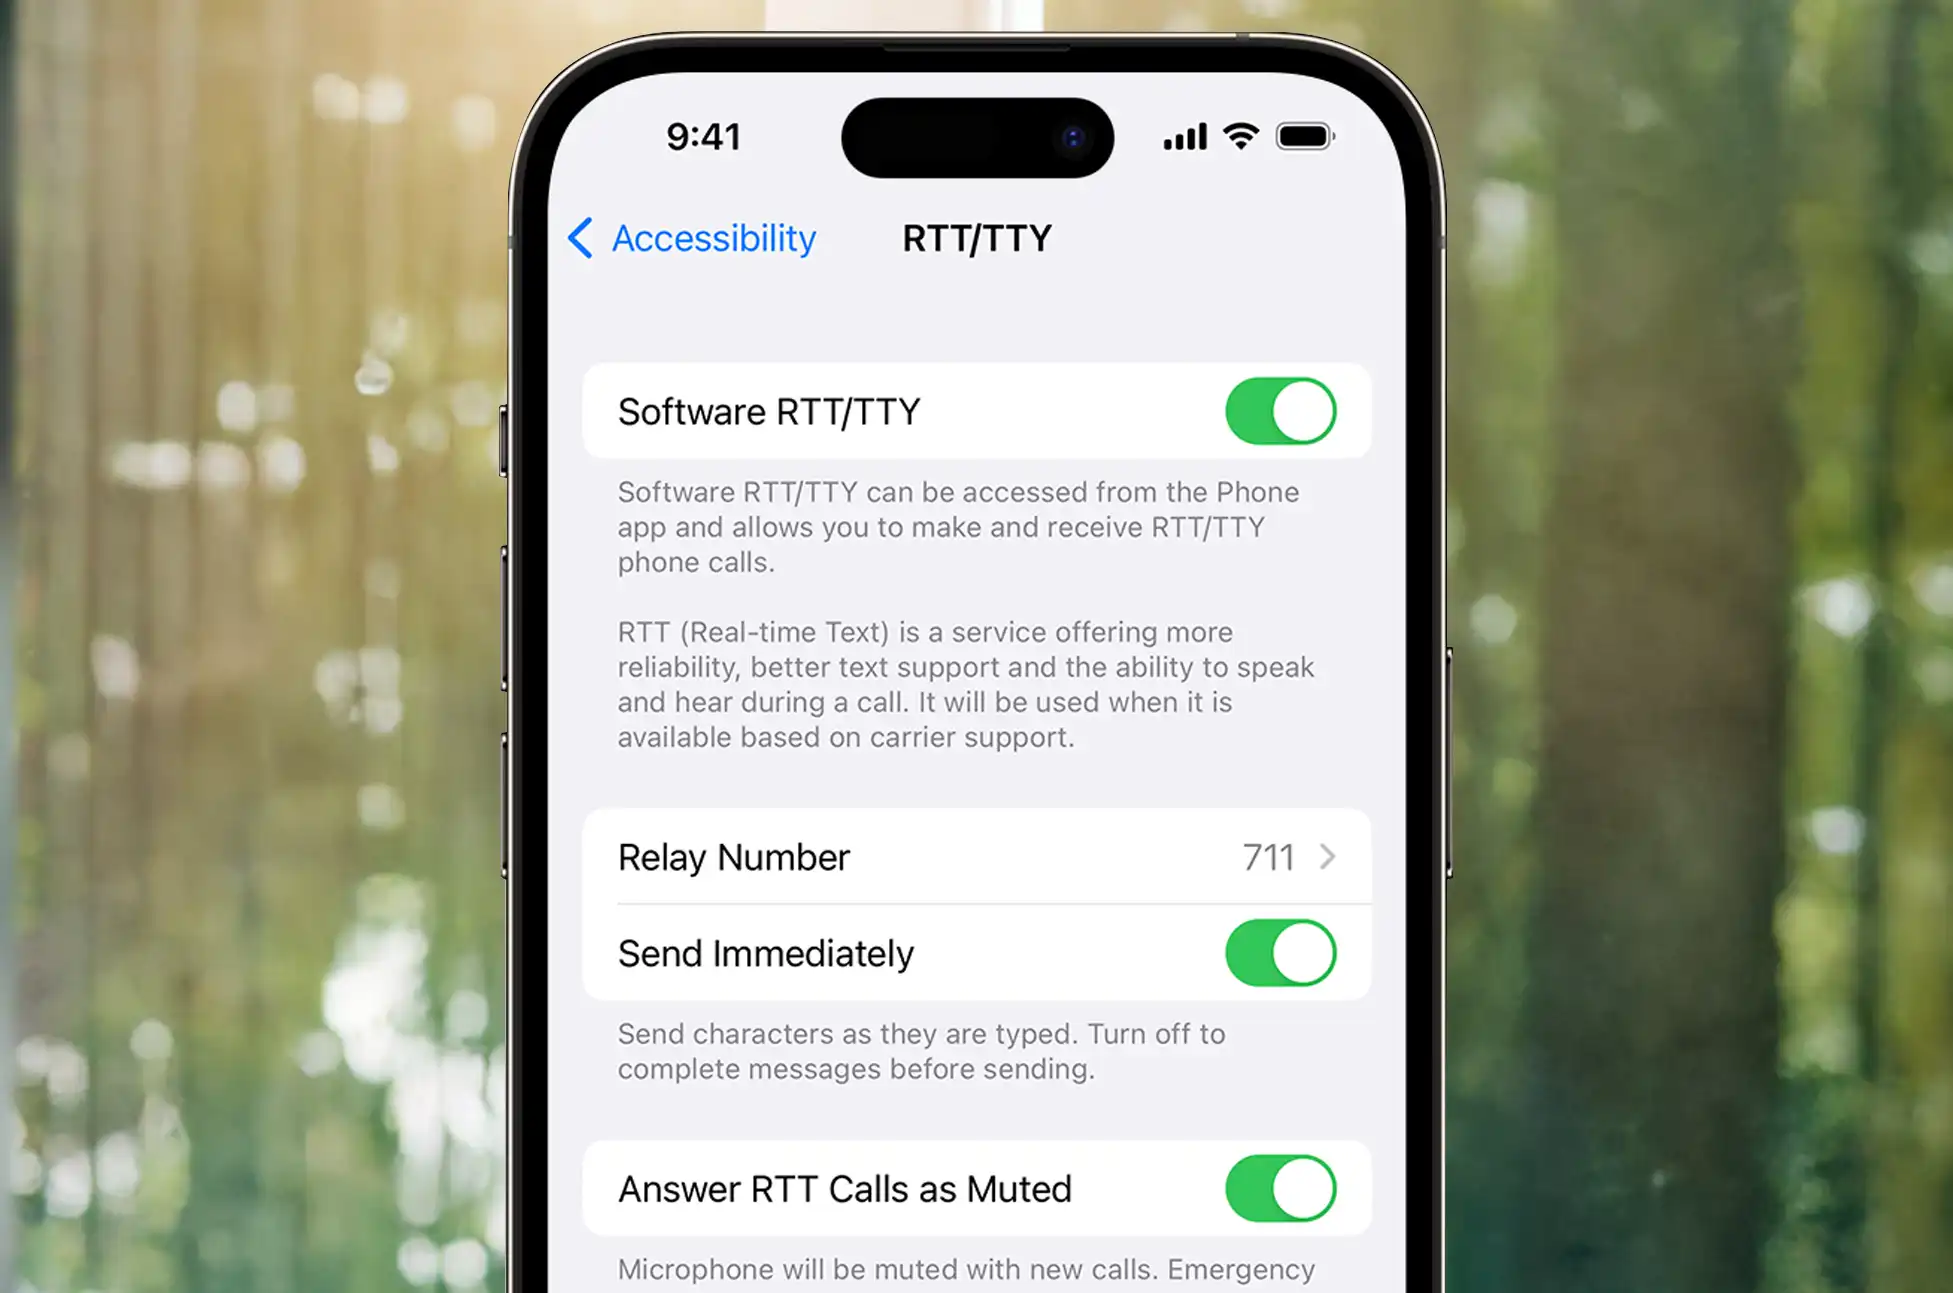
How to Disable RTT Calling : Disabling RTT on iPhone
iPhone users have a slightly different path to disable RTT calling. Apple combines both RTT and TTY settings in one convenient location.
Here’s how to turn it off:
Open Settings
Scroll down and tap Accessibility
Select RTT/TTY
Toggle both Software RTT and Hardware TTY to the off position
Should You Keep RTT Enabled?
Before permanently disabling RTT, consider your communication needs. If you frequently call family members, friends, or colleagues who have hearing difficulties, leaving RTT active ensures seamless communication when needed. The feature doesn’t interfere with regular calls – it simply remains available as an option.
However, if RTT prompts are interrupting your calls or you never use the feature, turning it off makes perfect sense. You can always re-enable it later if your circumstances change.
How to Disable RTT Calling : Quick Troubleshooting Tips
Sometimes RTT settings don’t save properly or revert unexpectedly. If you’re still seeing RTT options after following these steps, try restarting your phone and checking the settings again. On some Android devices, carrier-specific settings might override your preferences, so contact your mobile provider if the issue persists.
Remember, accessibility features like RTT exist to make communication more inclusive. While you might not need these tools personally, they play a crucial role in helping others stay connected.
All products, and company names, logos, and service marks (collectively the "Trademarks") displayed are registered® and/or unregistered
trademarks™ of their respective owners.
The authors of this web site are not sponsored by or affiliated with any of the third-party trade mark or third-party registered trade mark owners,
and make no representations about them, their owners, their products or services.
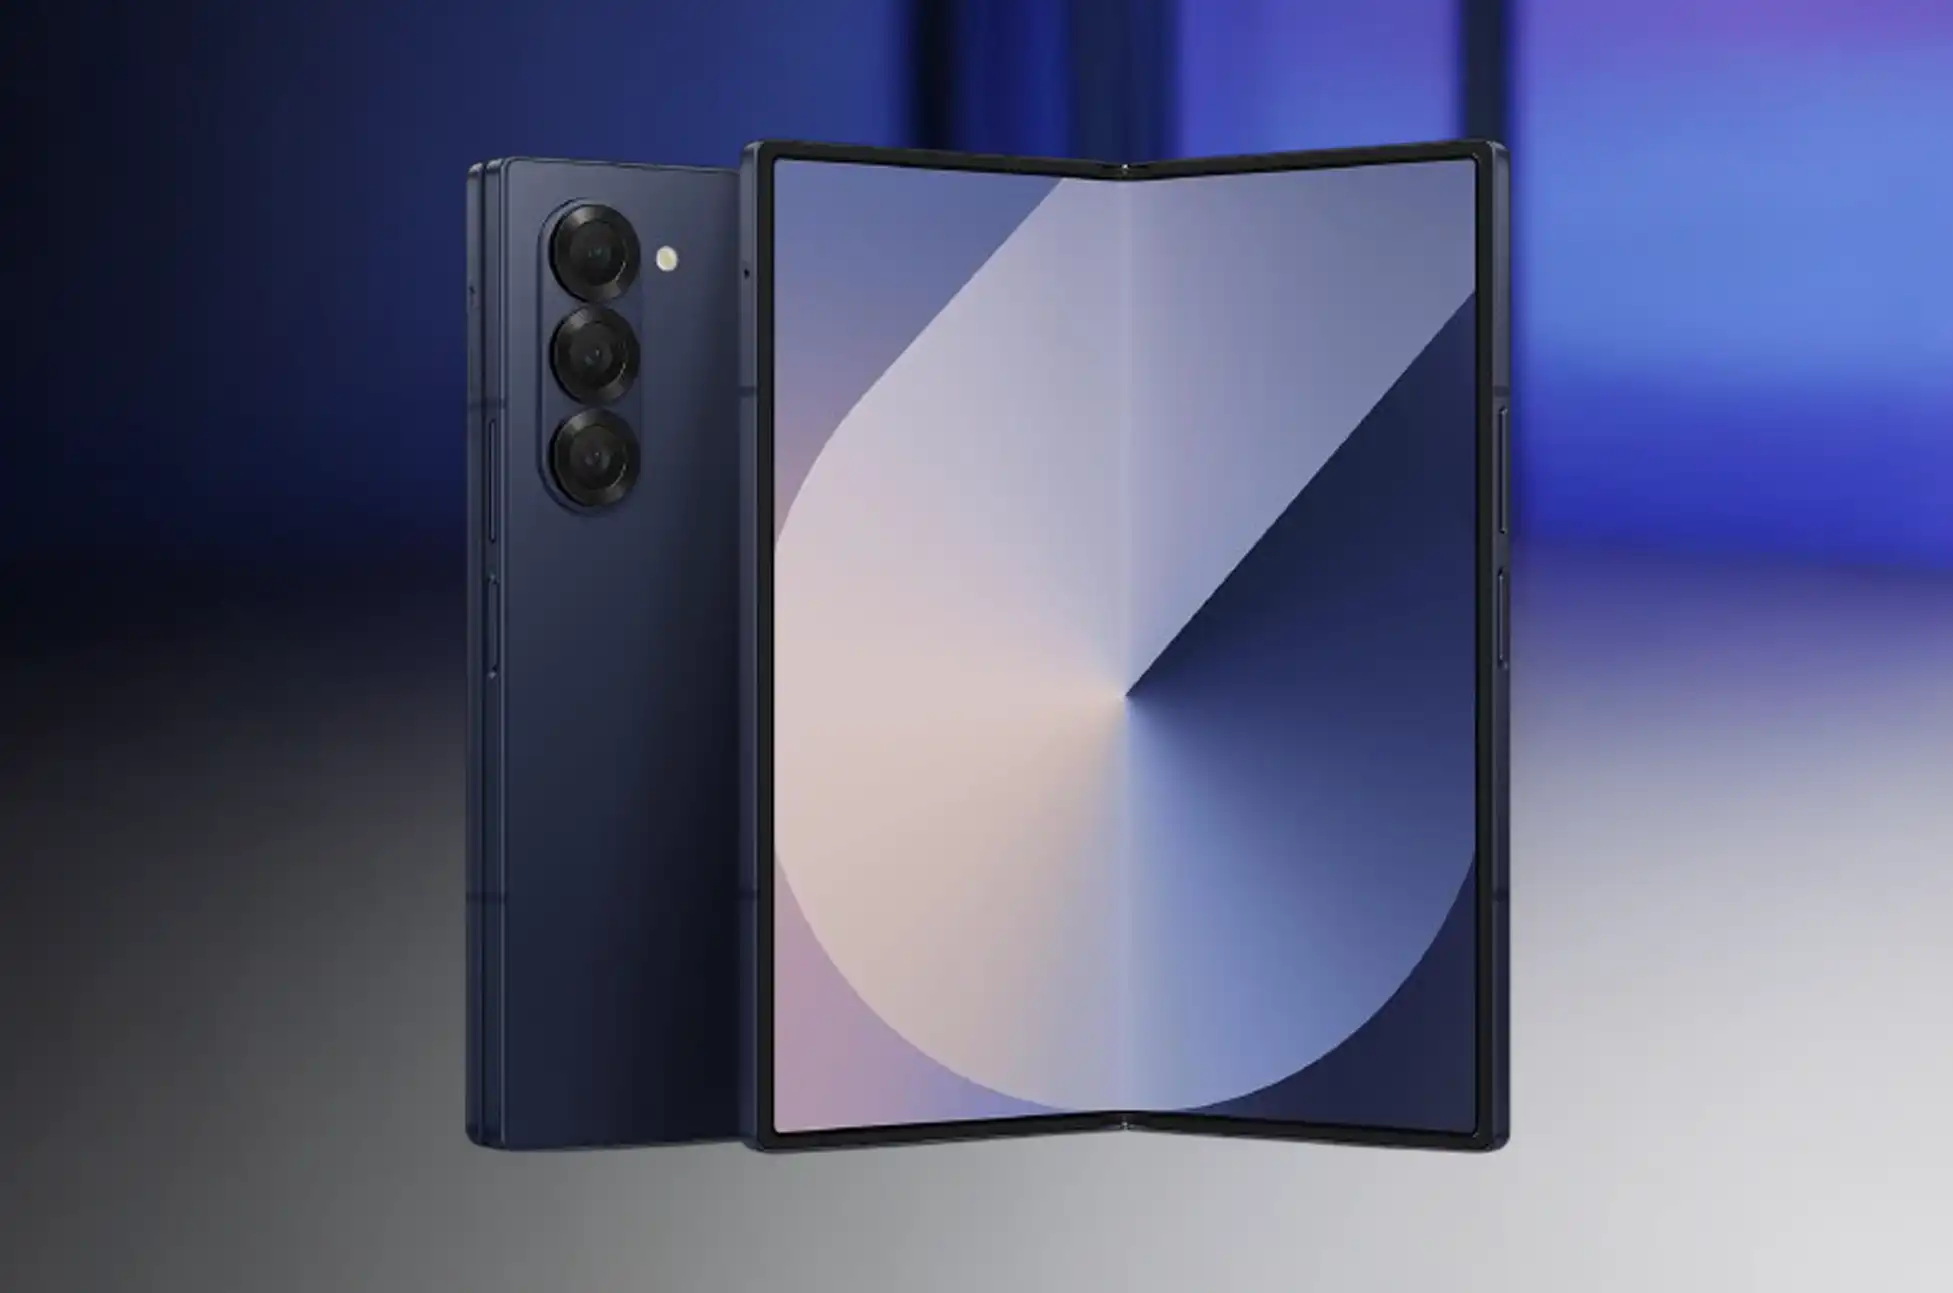
Android Foldable Phones ? The Samsung Galaxy Z Fold 7 is making waves as 2025’s hottest foldable phone. Moreover, it features a super-thin design and large displays. Additionally, it has better cameras than previous models. As a result, this foldable phone stands out from the competition.
However, before you spend $2,000 on Samsung’s latest foldable phone, consider other options. Furthermore, these alternatives may be more suitable for your needs and budget. Therefore, here are five excellent foldable phone alternatives you should explore instead.
1. Samsung Galaxy Z Fold 6: Android Foldable Phones
Why Consider This Foldable Phone: Get Samsung’s premium experience for less money.
First, the Galaxy Z Fold 6 remains an outstanding foldable phone choice. Indeed, the new Fold 7 is thinner and lighter. Specifically, the Fold 7 measures 8.9mm thick versus 12.1mm for the Fold 6. Similarly, it’s lighter at 215g compared to 239g.
Nevertheless, both foldable phone models share many key features:
• Storage & RAM: 256GB storage with 12GB RAM • Battery: Same 4,400mAh battery capacity • Charging: Both foldable phone models use 25W charging • Cameras: Identical 10MP telephoto and 12MP wide cameras
Additionally, the Fold 6 runs on Snapdragon 8 Gen 3. This chip still delivers excellent foldable phone performance for any app or game. Furthermore, you can find great deals on this foldable phone now. In fact, many stores offer significant discounts.
Best For: Budget-conscious buyers wanting a premium Samsung foldable phone experience.
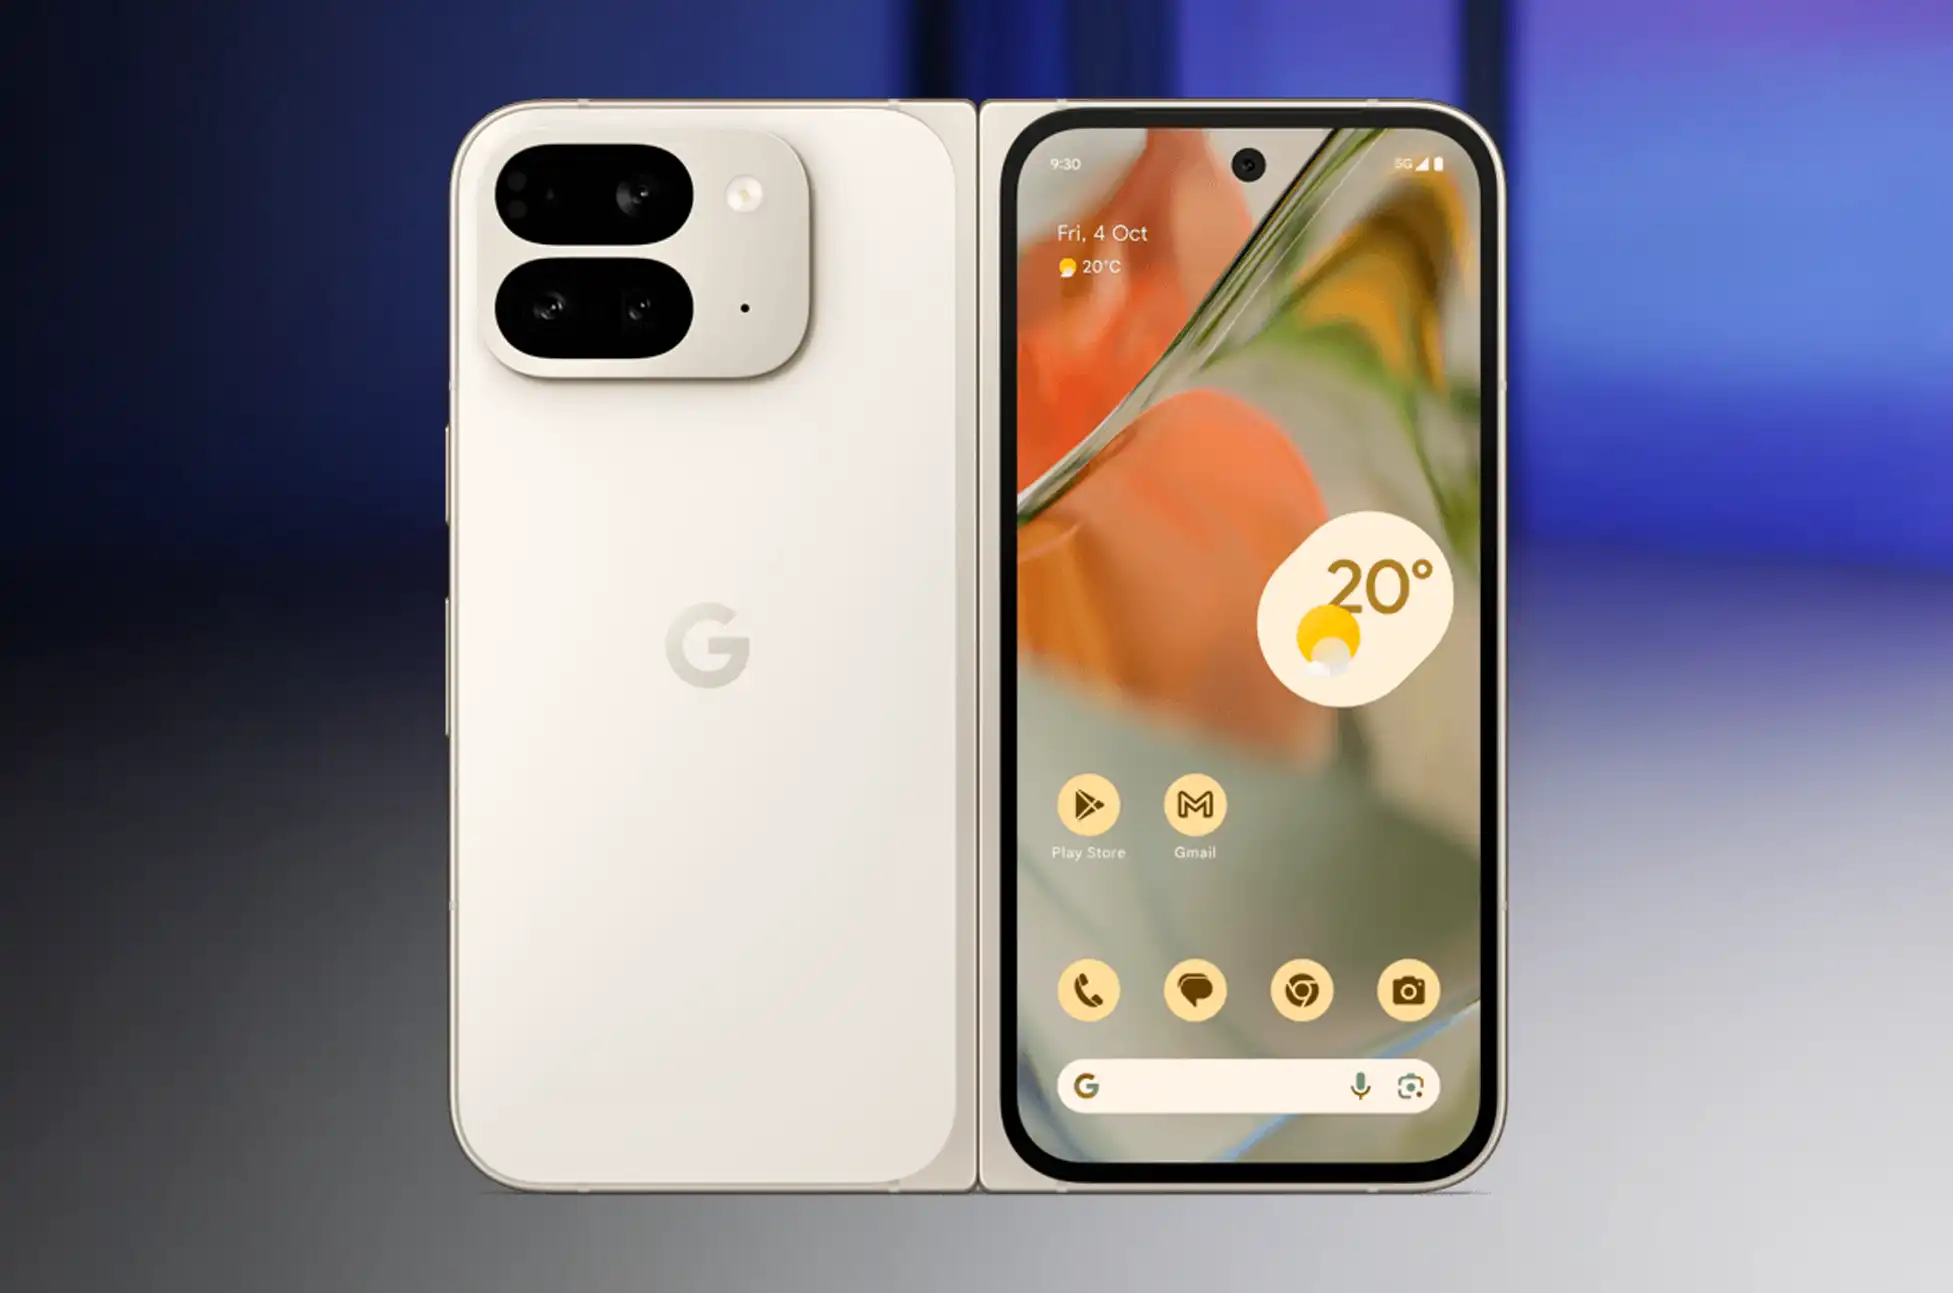
2. Google Pixel 9 Pro Fold: The Feature-Rich Foldable Phone
Why Choose This Foldable Phone: Unique features Samsung can’t match at $1,800.
Next, Google’s foldable phone brings something special to the market. Although it’s slightly thicker and heavier than the Fold 7, it compensates with better specs. Moreover, this foldable phone offers exclusive features you won’t find elsewhere.
Most importantly, the real advantage lies in Google’s software. For instance, you get features like Call Screen and Hold For Me. These work only on Pixel devices. Additionally, this foldable phone receives Android updates first.
Important Note: The Pixel 10 Pro Fold launches August 20. Consequently, it might feature significantly better chips. Therefore, you might want to wait for that foldable phone release.
Best For: Android enthusiasts who prioritize exclusive features in their foldable phone.
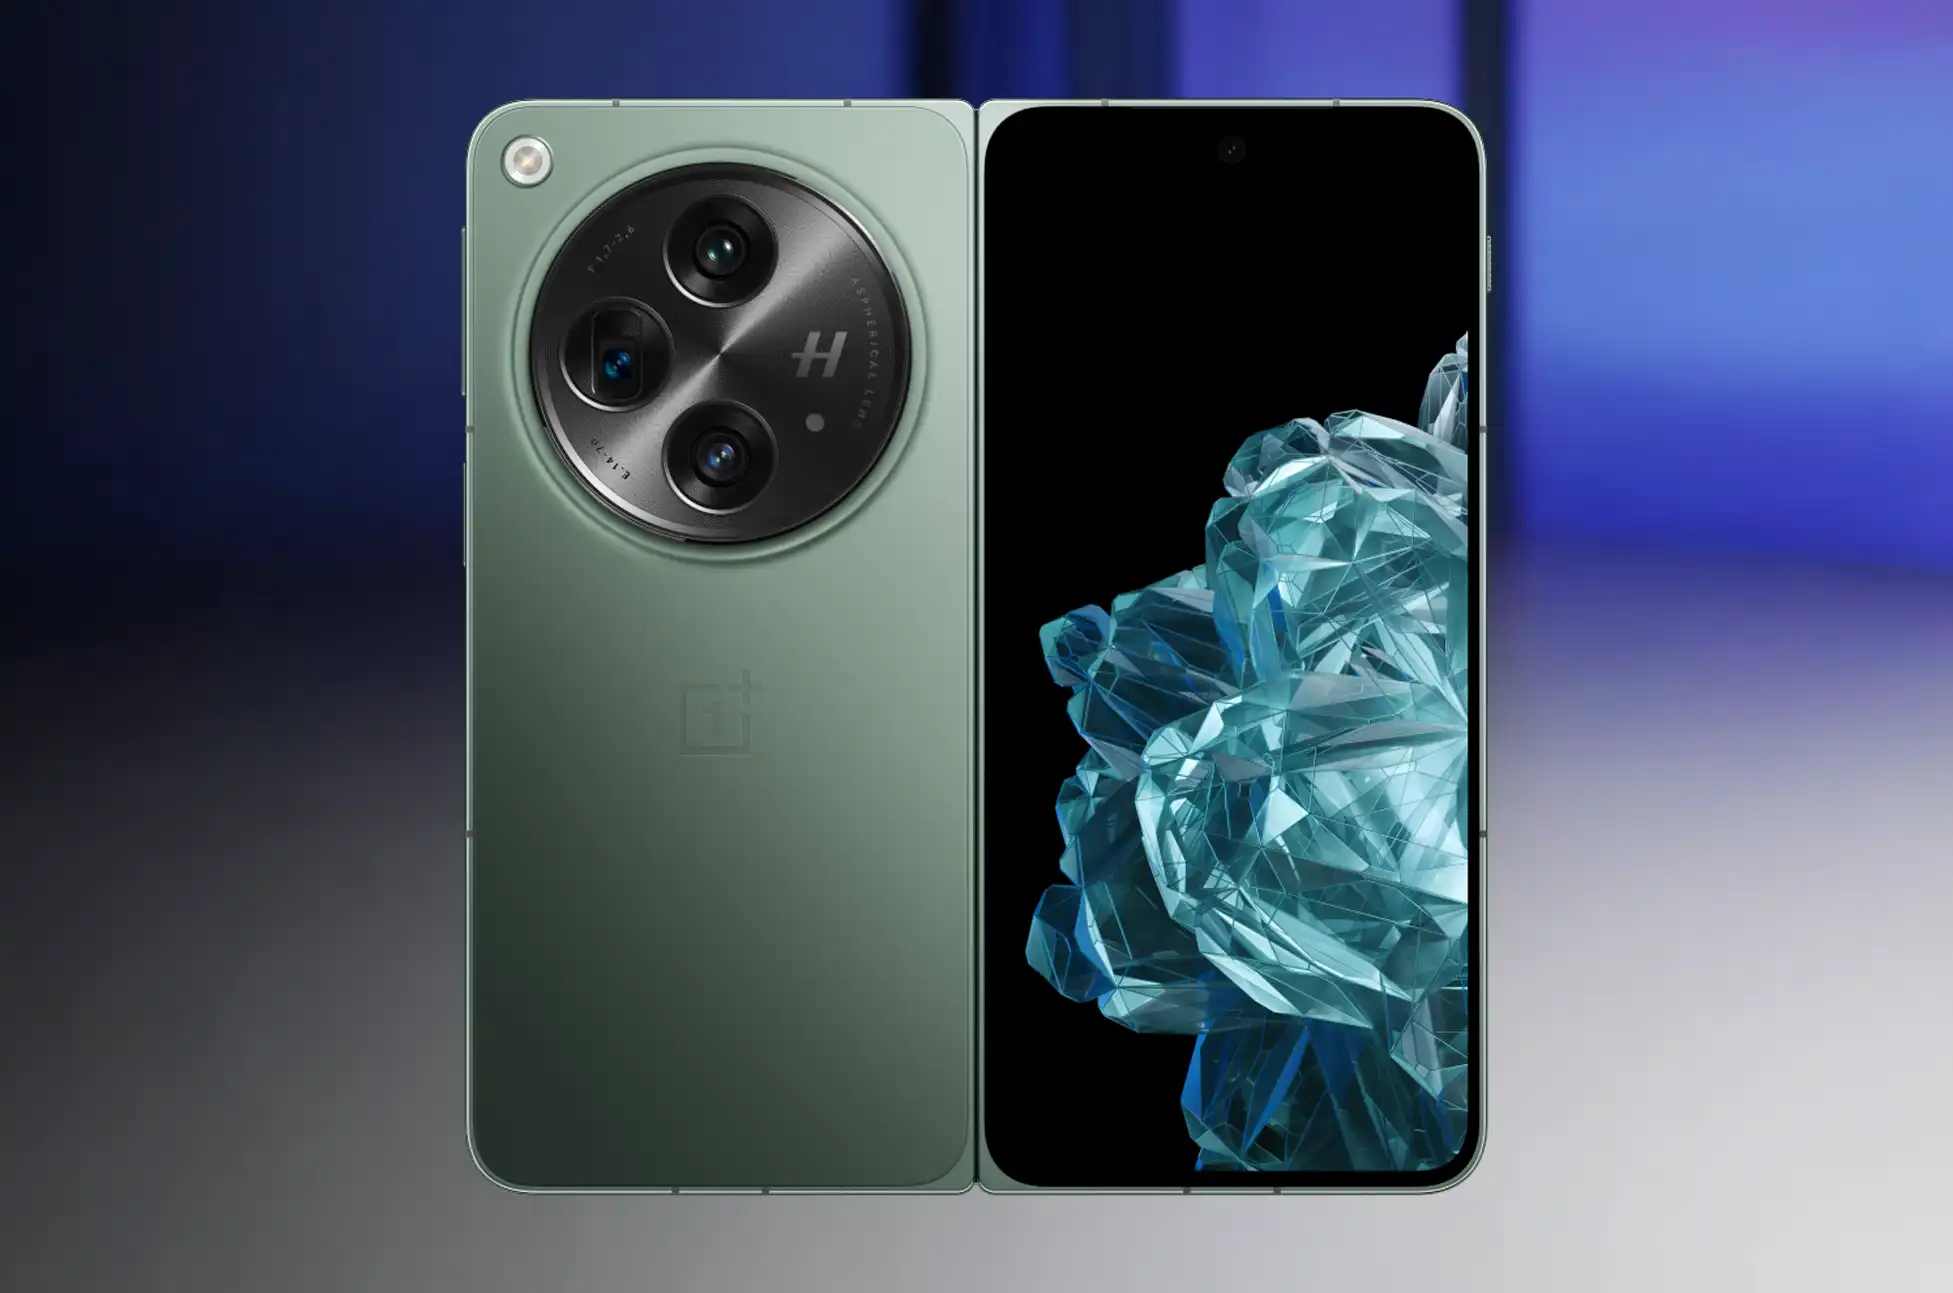
3. OnePlus Open: The Value-Packed Foldable Phone
Why This Foldable Phone Rocks: Premium features with unique style at lower cost.
Meanwhile, the OnePlus Open launched in 2023 but remains competitive today. In other words, this foldable phone proves older doesn’t mean inferior. Especially when you can get this foldable phone for less money now.
What Makes This Foldable Phone Special:
• Design: Distinctive round camera bump and premium leather back • Storage: Generous 512GB storage with 16GB RAM • Battery: Large 4,805mAh battery with lightning-fast 67W charging • Performance: Snapdragon 8 Gen 2 ensures smooth foldable phone operation
Important Foldable Phone Considerations:
However, the OnePlus Open has some limitations. For example, it offers basic IPX4 water protection. In contrast, the Fold 7 provides better IP48 protection. Also, it only receives updates until Android 17. Unfortunately, there’s no wireless charging either.
Still, for many users, these trade-offs are acceptable. After all, this foldable phone still looks and feels premium. Plus, the current price makes it very attractive.
Best For: Value seekers wanting premium foldable phone features without premium pricing.
4. Samsung Galaxy S25 Ultra: The High-Performance Alternative
Why Skip the Foldable Phone: Better performance for $700 less than Fold 7.
Sometimes, the best foldable phone alternative isn’t a foldable phone at all. Instead, the Galaxy S25 Ultra delivers flagship power at a much better price. Specifically, it costs $1,300 – that’s $700 less than the foldable phone Fold 7.
Why Choose This Over a Foldable Phone?
• Cameras: Superior zoom cameras (50MP 5x zoom, 10MP 3x zoom, 50MP wide) • Battery: Larger 5,000mAh battery outlasts most foldable phone options • Charging: Faster 45W charging beats typical foldable phone speeds • S Pen: Built-in stylus for productivity (Fold 7 foldable phone lacks S Pen support)
Importantly, the S25 Ultra uses identical software as the foldable phone Fold 7. Similarly, it features the same Snapdragon 8 Elite chip. Therefore, you get equivalent performance without the foldable phone premium.
Best For: Users prioritizing camera quality and battery life over foldable phone functionality.
Conclusion: Android Foldable Phones
Phone option serves different needs:
Galaxy Z Fold 6: Best budget Samsung foldable phone choice
Pixel 9 Pro Fold: Top foldable phone for Google features
OnePlus Open: Best value foldable phone with unique design
Galaxy S25 Ultra: Best non-foldable phone alternative
Galaxy Z Flip 7: Most affordable Samsung foldable phone
Ultimately, think about what matters most in your next phone purchase. Do you need the best cameras? Want to save money? Love unique foldable phone features? Your perfect device might not be the newest or most expensive foldable phone available.
Therefore, take time comparing these foldable phone alternatives. The right choice could save you money while delivering exactly what you need from your next device.
All products, and company names, logos, and service marks (collectively the "Trademarks") displayed are registered® and/or unregistered
trademarks™ of their respective owners.
The authors of this web site are not sponsored by or affiliated with any of the third-party trade mark or third-party registered trade mark owners,
and make no representations about them, their owners, their products or services.
Unlocked Phone System ? Imagine this scenario: your company just secured a game-changing contract with an overseas client, but your carrier-locked phones hit you with shocking international roaming fees.
Or perhaps you’re frustrated with expensive corporate plans that don’t match your team’s actual usage needs. Enter the unlocked phone solution—where cost efficiency meets operational flexibility, giving your business complete control over its communication infrastructure.
Understanding Unlocked Phones for Business
Unlocked phones are devices free from carrier restrictions, allowing you complete freedom to choose network providers, switch plans when needed, and manage communication costs effectively. It’s like owning your office space instead of being locked into an inflexible lease. Similarly, platforms like Taste Vegas offer users the freedom to explore a wide variety of gaming options without being tied to one provider—enhancing flexibility and control in the online entertainment space.
These devices offer distinct advantages over traditional carrier-locked systems:
Mix and match carriers based on coverage requirements
Scale your team up or down without contract penalties
Access competitive international calling rates
Create customized solutions for different employee roles
Planning Your Team’s Phone Strategy
Before purchasing any hardware, conduct a thorough assessment of your team’s communication requirements. How many employees need devices? What’s your current monthly expenditure? Do you have remote workers or clients in different countries?
Document these key metrics in a tracking spreadsheet:
Current monthly expenses per phone line
Data consumption patterns across your team
Frequency of international calling
Device upgrade and replacement schedules
Choosing Your Management Model
Your business has three primary deployment approaches to consider:
BYOD (Bring Your Own Device) allows team members to use personal unlocked phones with company communication allowances. This reduces upfront costs but limits your control over device security and management.
Company-Provided Fleet means you purchase and centrally manage all employee devices. This offers maximum control and security but requires higher initial investment.
Hybrid Model combines company phones for key personnel with device allowances for other team members, balancing cost and control considerations.
Unlocked Phone System : Mobile Device Management Setup
Effective MDM platforms are crucial for managing unlocked phone deployments across your organization.
Recommended MDM Solutions:
Google Workspace Device Management – ideal for Android-focused teams
Microsoft Intune – perfect for businesses using Office 365
Apple Business Manager – essential for iPhone-heavy deployments
Essential MDM Configuration Features:
Remote device wipe capabilities for security breaches
Application installation controls and restrictions
VPN and Wi-Fi profile automatic deployment
Real-time compliance monitoring and detailed reporting
After configuring your MDM platform, enable device encryption across all phones, implement multi-factor authentication policies, and deploy enterprise-grade VPN solutions for secure business communications.
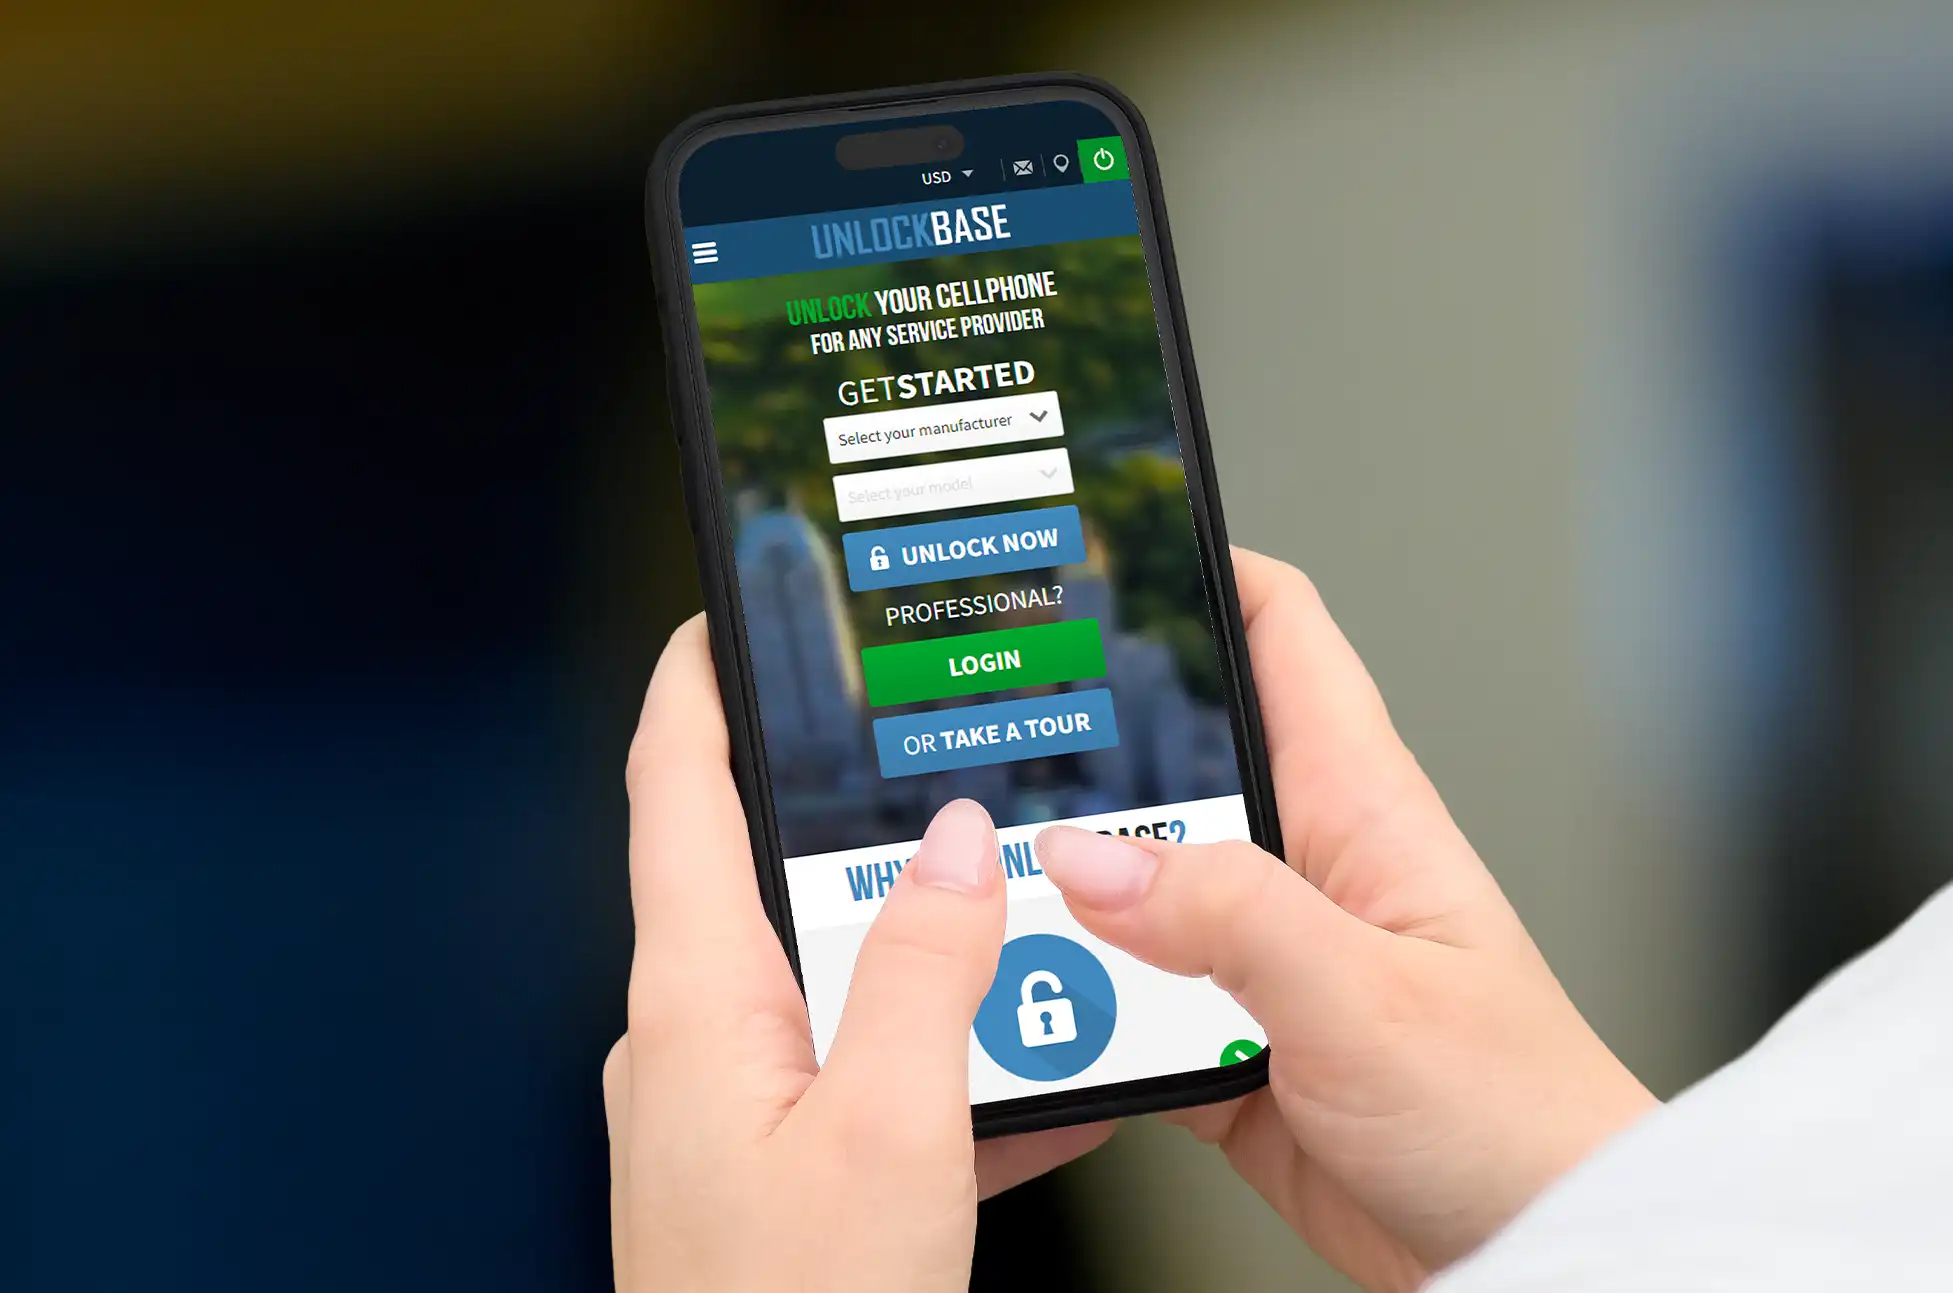
UnlockBase: Professional Phone Unlocking for Businesses
When your business needs to unlock existing carrier-locked devices quickly and reliably, UnlockBase offers professional-grade solutions that IT departments trust. This established service specializes in legitimate phone unlocking for businesses looking to transition their current device fleet without replacing functional hardware.
Why Businesses Choose UnlockBase:
Fast processing times – most unlocks completed within 24-48 hours
Enterprise-grade reliability with money-back guarantees
Support for virtually all major business phone models and carriers
No software installation or technical expertise required
Permanent unlocks that won’t interfere with future system updates
Unlocked Phone System : How to Unlock Phones with UnlockBase
Visit UnlockBase Website: Go to the UnlockBase website
Select Your Device: Choose your phone brand
Enter Device Details: Provide your tablet’s IMEI number
Payment: Complete the payment process
Receive Instructions: You’ll get detailed instructions and an unlock code via email
Unlock Your Tablet: Insert a new SIM and follow the instructions provided
Unlocked Phone System : Troubleshooting Common Issues
Device Compatibility Problems: Always verify network band compatibility using tools like WillMyPhoneWork.net before making purchase decisions.
Slower Data Performance: Confirm you’re connecting to primary carrier networks rather than deprioritized MVNO services that may throttle speeds during peak usage periods.
Management Complexity: Implement centralized expense management platforms like Concur or Expensify to streamline device cost tracking and reimbursement processes.
Unlocked Phone System : Conclusion
In today’s rapidly evolving business landscape, restrictive carrier contracts limit your ability to adapt quickly to changing market conditions. Unlocked phones provide the agility your team needs to communicate effectively, whether closing deals in major metropolitan areas or collaborating with international clients from remote locations.
Ready to transform your team’s communication capabilities? Begin with a pilot program targeting your most technically comfortable employees, and let the measurable results demonstrate the value to your entire organization.
All products, and company names, logos, and service marks (collectively the "Trademarks") displayed are registered® and/or unregistered
trademarks™ of their respective owners.
The authors of this web site are not sponsored by or affiliated with any of the third-party trade mark or third-party registered trade mark owners,
and make no representations about them, their owners, their products or services.
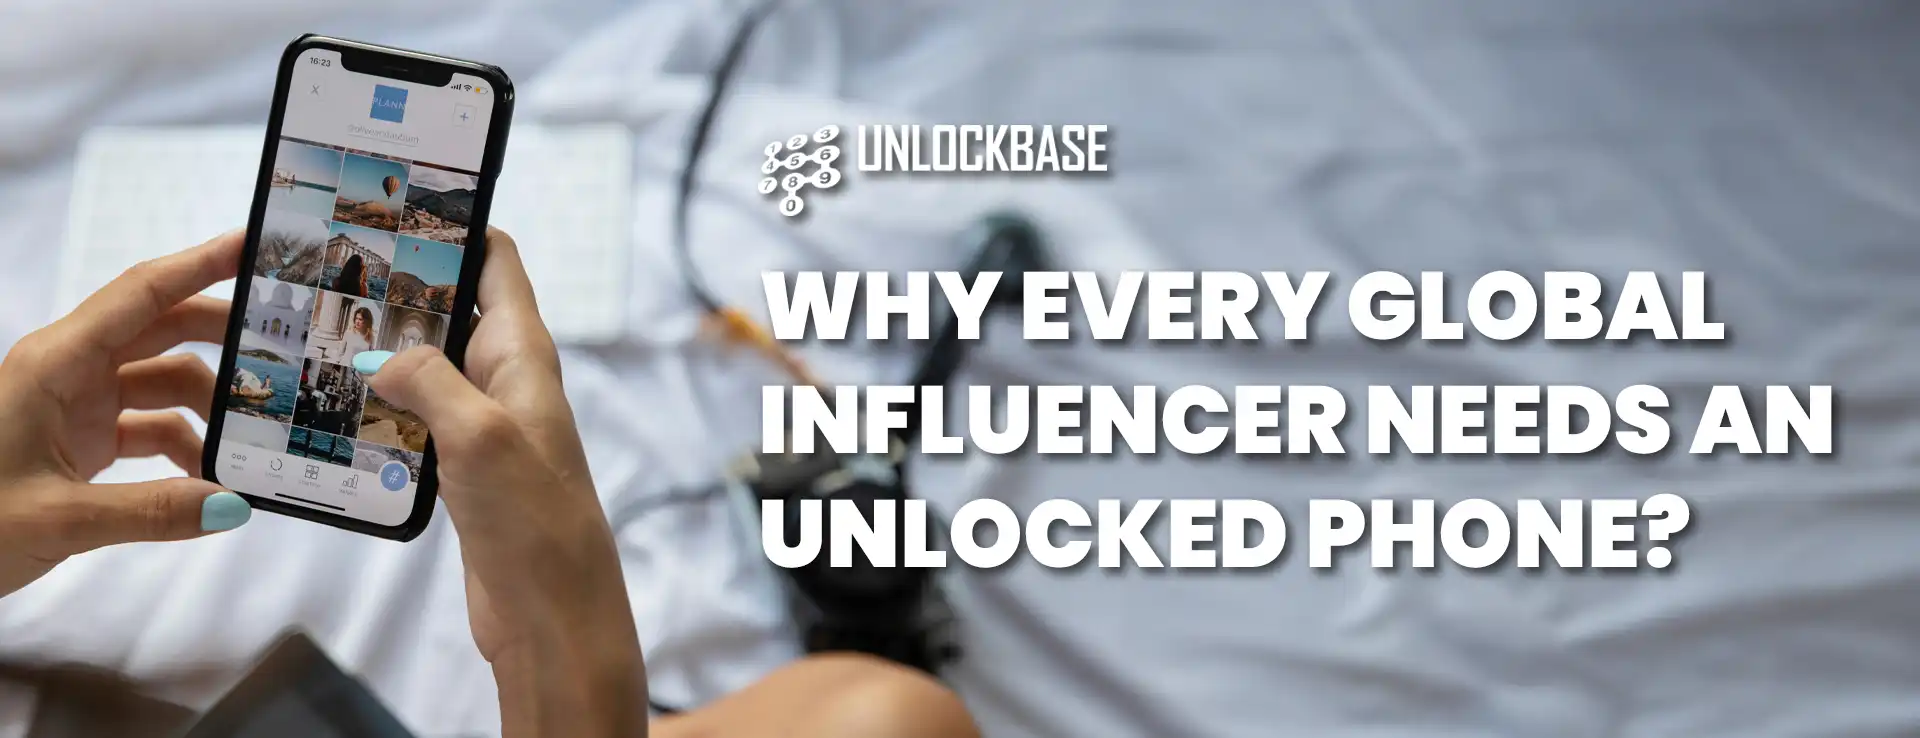
Why Influencer Needs Unlocked Phone? As a content creator in today’s connected world, your phone isn’t just a device—it’s your direct line to your audience, your business center, and your creative studio all in one. That’s why smart influencers worldwide choose unlocked phones, and here’s why you should too.
What Is an Unlocked Phone and Why Does It Matter?
An unlocked phone is a device that’s free from carrier restrictions. Unlike locked phones that tie to specific networks, unlocked phones work with any compatible carrier worldwide. Think of it as the difference between owning your home versus renting—with an unlocked phone, you control your connectivity choices completely.
Key Benefits of Unlocked Phones for Influencers
Here are the main advantages that make unlocked phones essential for content creators:
Travel Content Creation Made Simple
For influencers who create travel content, an unlocked phone is essential. Furthermore, when you land in a new country, you simply pop in a local SIM card and connect instantly at local rates. Additionally, you avoid paying international roaming fees or hunting for WiFi hotspots when you’re trying to capture that perfect golden hour shot.
Cost Savings That Boost Your Creator Budget
Every influencer knows that managing expenses helps sustainable growth. Moreover, unlocked phones offer significant cost advantages that can redirect funds toward better equipment, marketing, or brand reinvestment.
International roaming charges easily reach $10-15 per day, not including data overages. In contrast, with local SIM cards, you typically save substantial amounts on communication costs.
Influencer Needs Unlocked Phone : Better Content Quality and Reliability
Nothing kills engagement like poor connectivity during live streams or delayed content uploads. Therefore, unlocked phones allow you to choose the best available network in any location. As a result, you ensure consistent performance for your content creation needs.
Building Global Brand Partnerships
International brand collaborations are valuable opportunities for influencers, but they require smooth communication across borders. Consequently, an unlocked phone ensures you stay reachable for those time-sensitive opportunities. Whether it’s a last-minute campaign adjustment or urgent brand communication, you remain accessible.
Privacy and Security Benefits for Public Figures
As your influence grows, digital privacy and security become more important. Similarly, unlocked phones offer better control over your digital footprint since you’re not locked into carrier-specific software or apps that might compromise your privacy.
Influencer Needs Unlocked Phone : What is UnlockBase?
UnlockBase is a leading professional unlocking service with over 15 years of experience and millions of successfully unlocked devices worldwide.
UnlockBase Services Include:
Support for virtually all Android brands and models
Safe, manufacturer-approved unlocking methods
Money-back guarantee if your device cannot be unlocked
Select Your Device: Choose your phone brand from the available options
Enter Device Details: Provide your phone’s IMEI number accurately
Complete Payment: Finish the secure payment process
Receive Instructions: You’ll get detailed instructions and an unlock code via email
Unlock Your Phone: Insert a new SIM and follow the provided instructions
Influencer Needs Unlocked Phone – Take Action: Unlock Your Success Today
In the competitive world of content creation, every advantage counts. Therefore, an unlocked phone isn’t just about convenience—it’s about freedom, professionalism, and positioning yourself for global success.
From seamless international travel to cost-effective connectivity and enhanced content quality, the benefits build over time. As a result, investing in an unlocked phone becomes a strategic decision that supports your long-term growth as a global influencer.
All products, and company names, logos, and service marks (collectively the "Trademarks") displayed are registered® and/or unregistered
trademarks™ of their respective owners.
The authors of this web site are not sponsored by or affiliated with any of the third-party trade mark or third-party registered trade mark owners,
and make no representations about them, their owners, their products or services.
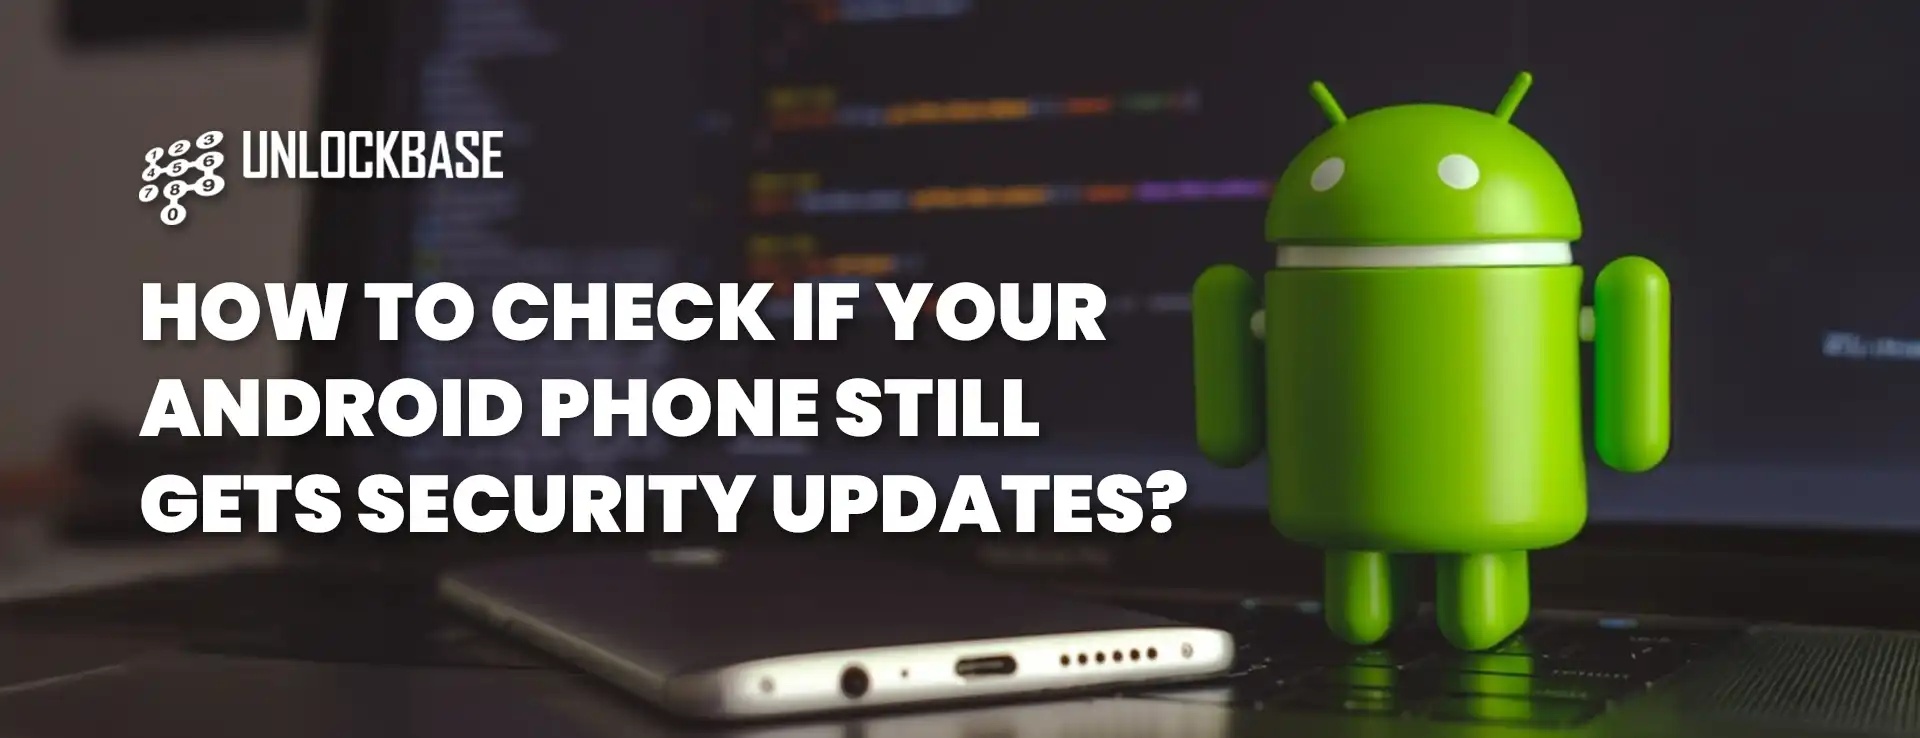
Android security updates? Keeping your Android phone updated isn’t just about scoring the latest features—it’s your first line of defense against digital threats. Security updates patch vulnerabilities, squash bugs, and keep your digital life secure. But here’s the catch: not all phones receive the same update treatment. Some manufacturers are update champions, while others… not so much.
Update frequency typically depends on your phone’s:
Age
Model
Region
Why You Should Care About Security Patches
If your phone hasn’t received a security update in months, you might be walking around with a vulnerable device. This is especially true for older phones that manufacturers have placed on the back burner.
Regular security checks help you:
Shield yourself against known vulnerabilities
Minimize risks from outdated software
Make informed decisions about upgrading to a newer device
How to Check Your Phone’s Security Status
Unlike major Android upgrades that transform your phone’s look and feel, security updates work behind the scenes. They’re focused on fixing security flaws without changing your daily experience—but they’re crucial for protecting against serious threats like malware and remote attacks.
Want to know if your device is still protected? Here’s how to check when it last received a security update:
Open your Settings app
Scroll down and tap “About phone” or “System” (varies by device)
Tap “Android version” or “Software information”
Look for the date under “Android security update”
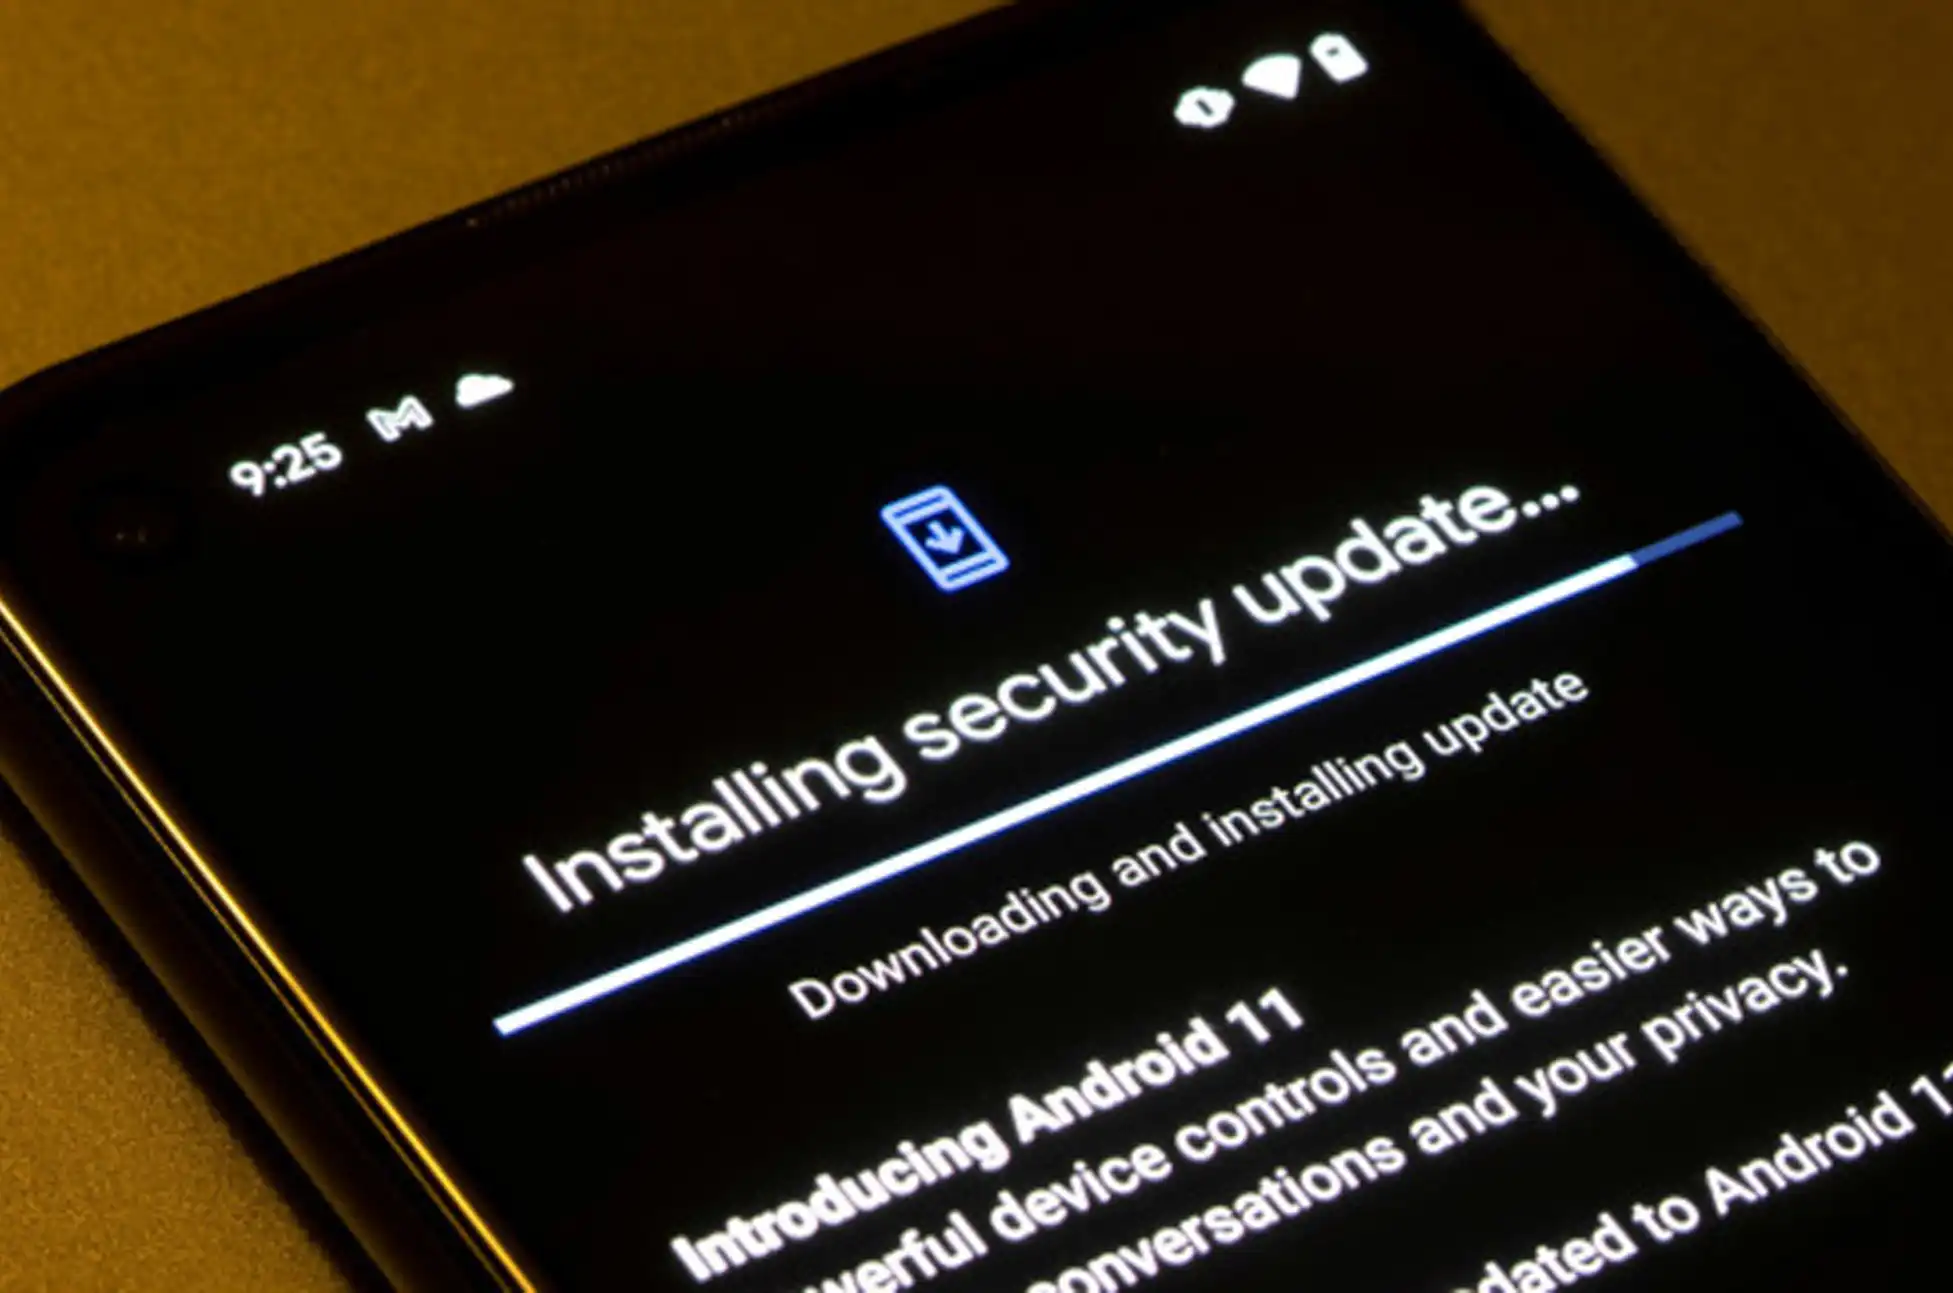
This date reveals when your phone last received protective care. For instance, a date of “May 5, 2025” indicates your most recent patch. Since Google typically releases security updates monthly, anything older than 3-4 months could signal that your phone is no longer supported.
Android security updates : How to Manually Check for Available Updates
Even if automatic updates haven’t appeared recently, your phone might have an update waiting in the wings. Here’s how to check manually:
Open Settings
Navigate to System
Tap “Software update” or “System update”
Select “Check for updates” and install if available
Remember that update policies vary by manufacturer. To learn about your specific phone’s update promise, search “[Your phone model] update policy” or visit the manufacturer’s website.
The Android Security Bulletin: Your Update Reference Point
Google publishes a monthly Android Security Bulletin outlining the latest patches and fixes. You can compare your device’s patch level to the most recent bulletin on Google’s official page. If your phone is lagging behind by two or three bulletins with no updates in sight, it might have reached the end of its supported lifecycle.
Warning Signs Your Phone Has Reached Update Retirement
Beyond just checking the security patch date, watch for these telltale signs that your phone may no longer receive updates:
No system updates in the past 6-12 months
You’re stuck on an outdated Android version (like Android 11 or 12)
Newer models in your phone’s series have launched, and your device is 2-3 years old
The manufacturer’s website lists your device as “end-of-life”
Your Options When Updates Stop Coming
If your device has stopped receiving updates, you’ll need to take precautionary measures:
Avoid installing apps from unknown sources
Use a secure browser for all web activities
Minimize sensitive tasks like banking on your device
Android security updates : Conclusion
Your smartphone holds your digital life—photos, conversations, passwords, and personal data. Staying on top of security updates is one of the simplest yet most effective ways to protect yourself in today’s connected world. Whether you choose to extend your current phone’s life through careful usage habits, explore custom ROMs, or upgrade to a newer model with better support, taking action now prevents headaches later. Remember: in the world of digital security, prevention is always easier than cure!
All products, and company names, logos, and service marks (collectively the "Trademarks") displayed are registered® and/or unregistered
trademarks™ of their respective owners.
The authors of this web site are not sponsored by or affiliated with any of the third-party trade mark or third-party registered trade mark owners,
and make no representations about them, their owners, their products or services.
Unlocking Masters Guide! Looking to break free from your carrier’s restrictions? Whether you own a Samsung Galaxy, Google Pixel, or any other Android device, this concise guide will show you how to unlock your phone and enjoy true mobile freedom.
What Is SIM Lock?
A SIM lock (or carrier lock) is a software restriction that prevents your Android phone from working with SIM cards from competing carriers. When you purchase a smartphone directly from providers like AT&T, T-Mobile, or Verizon, it typically comes with this limitation that:
Restricts your phone to the original carrier’s network
Prevents you from using local SIM cards when traveling
Keeps you tied to your current carrier’s plans and pricing
What Is Phone Unlocking?
Phone unlocking is the process of removing these carrier restrictions, allowing your Android device to accept SIM cards from any compatible network worldwide. Professional unlocking:
Uses secure, manufacturer-approved methods
Doesn’t void your warranty or damage your phone
Results in permanent unlocking that survives system updates
Is completely different from rooting or jailbreaking
Once properly unlocked, your Android phone maintains all its functionality while gaining the ability to connect to virtually any mobile network.
Top Benefits of Unlocking Your Android Phone
Freedom and Flexibility – with an unlocked device, you can switch carriers without buying a new phone and use local SIM cards when traveling internationally
Significant Cost Savings – unlocking your phone can save you money through lower international rates and better domestic plans
No replacement costs – Keep your current phone when switching provider
Enhanced Resale Value – when it’s time to upgrade, unlocked phones sell for 20-30% more than locked devices and appeal to a wider range of potential buyers
Unlocking Masters Guide : What is UnlockBase?
UnlockBase is a leading professional unlocking service with over 15 years of experience and millions of successfully unlocked devices worldwide. They offer:
Support for virtually all Android brands and models
Safe, manufacturer-approved unlocking methods
Money-back guarantee if your device cannot be unlocked
24/7 customer support from unlocking experts
Fast turnaround times (often 1-3 business days)
As an established industry leader, UnlockBase provides reliable unlocking solutions that preserve your warranty and device integrity.
How to Unlock Your Android Phone with UnlockBase
Visit UnlockBase Website: Go to the UnlockBase website
Select Your Device: Choose your phone brand
Enter Device Details: Provide your tablet’s IMEI number
Payment: Complete the payment process
Receive Instructions: You’ll get detailed instructions and an unlock code via email
Unlock Your Tablet: Insert a new SIM and follow the instructions provided
Unlocking Masters Guide : Conclusion
Freeing your Android device (Samsung, Google, or other brands) from carrier restrictions can greatly improve its functionality and worth. The unlocking process is simple and beneficial, whether done through your service provider or a reliable company like UnlockBase. An unlocked phone offers you greater freedom and versatility!
All products, and company names, logos, and service marks (collectively the "Trademarks") displayed are registered® and/or unregistered
trademarks™ of their respective owners.
The authors of this web site are not sponsored by or affiliated with any of the third-party trade mark or third-party registered trade mark owners,
and make no representations about them, their owners, their products or services.
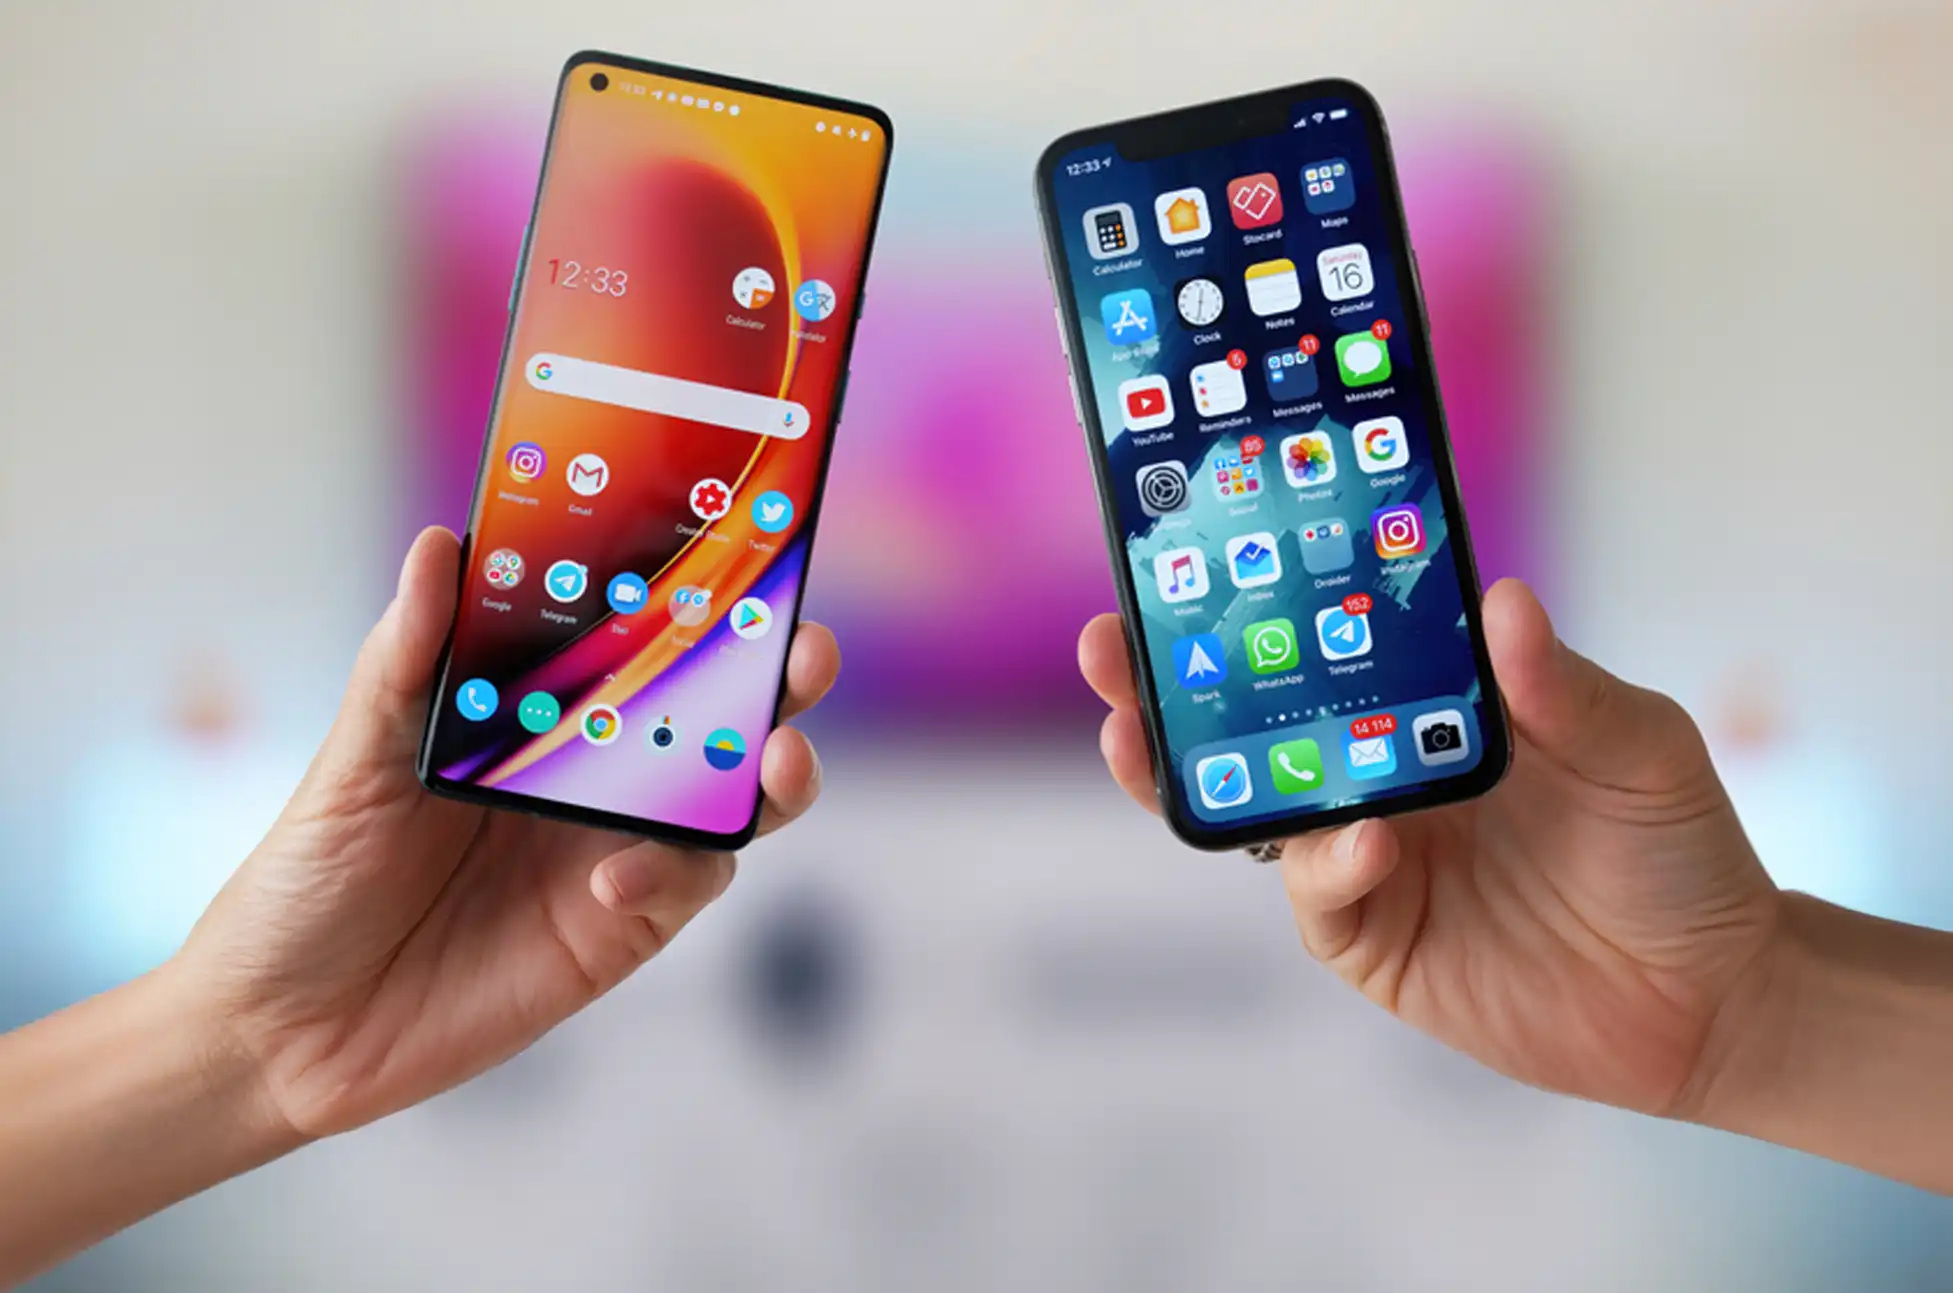
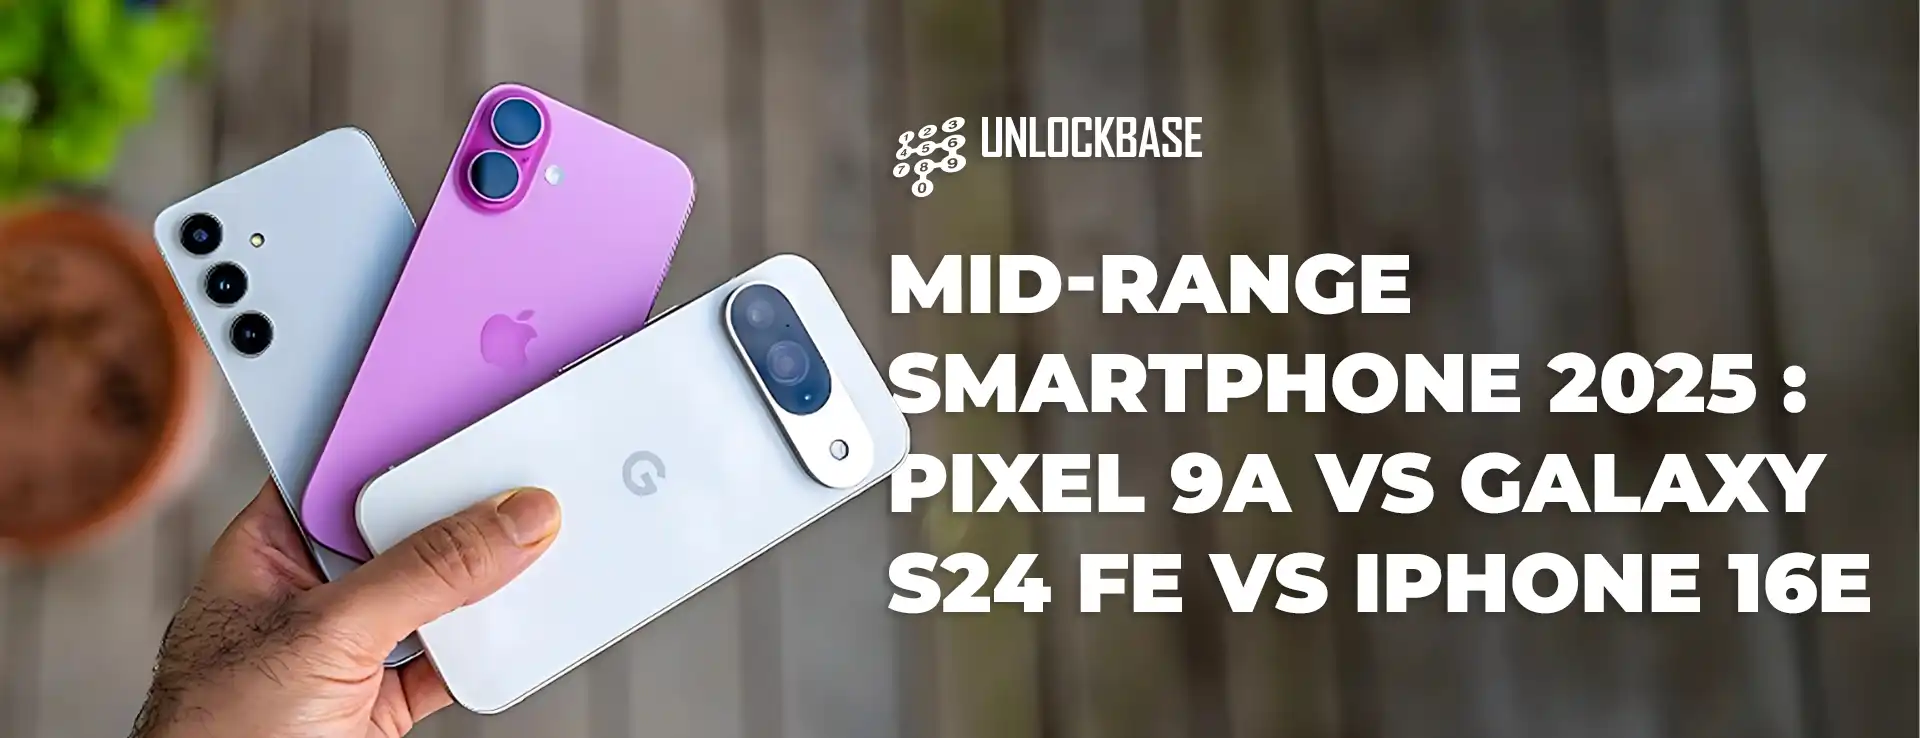
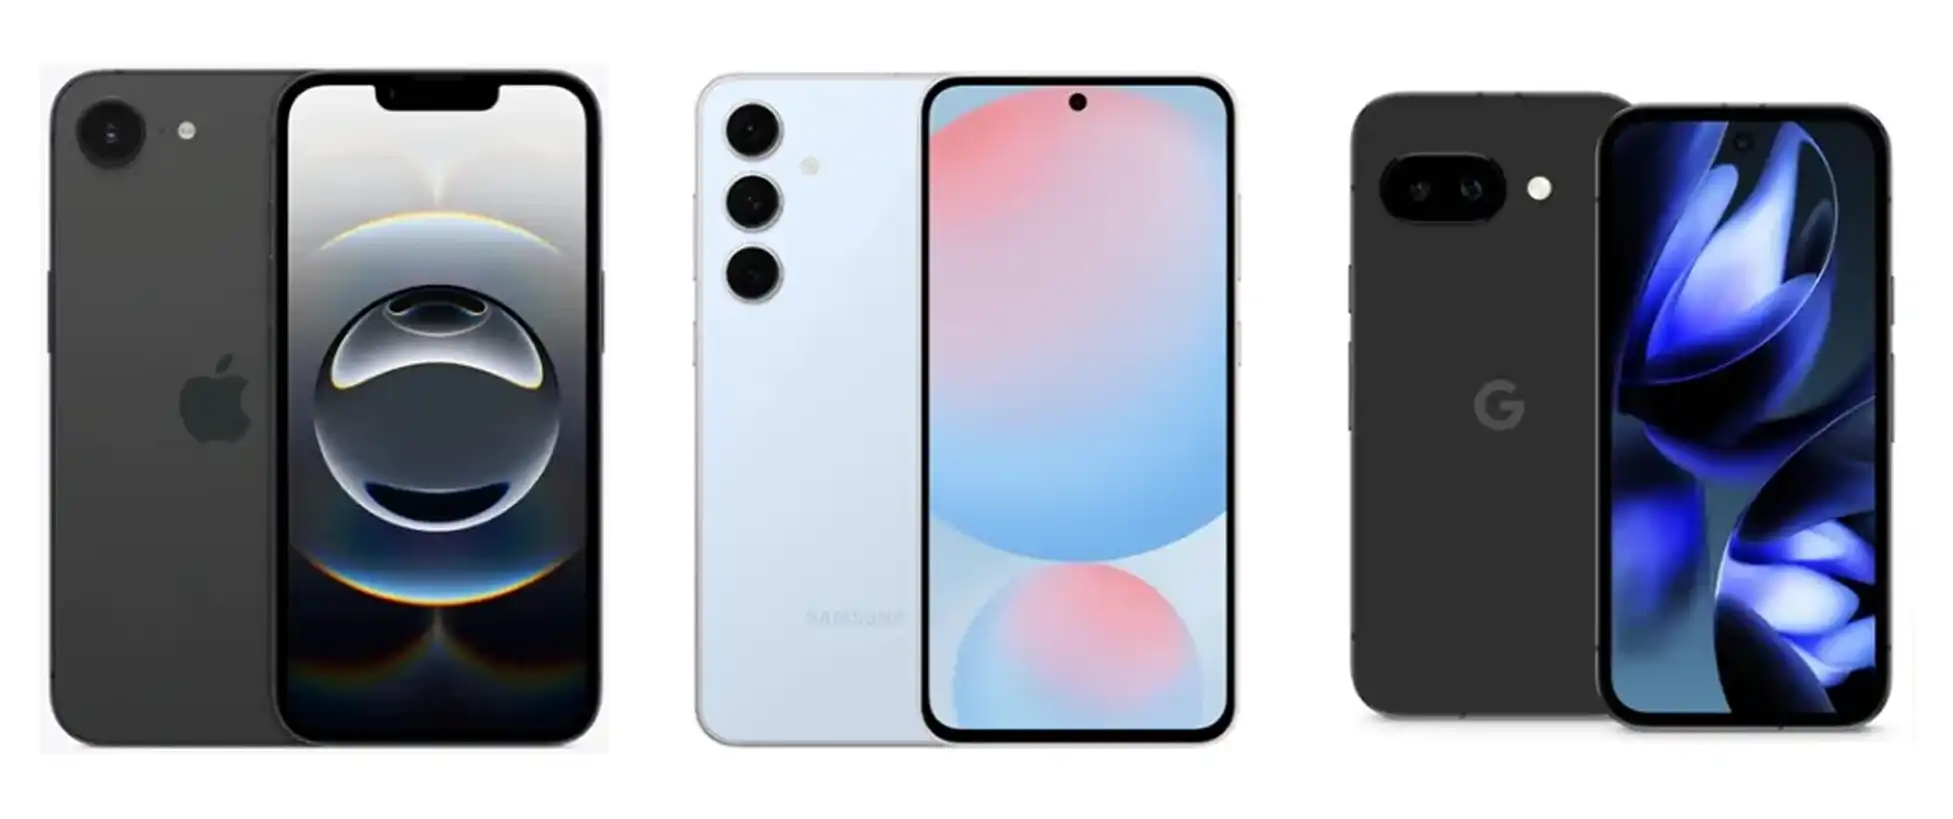
Mid-range Smartphone 2025? Looking for flagship smartphone features without emptying your wallet? The mid-range market is hotter than ever, with Google’s new Pixel 9a joining the Samsung Galaxy S24 FE and Apple iPhone 16e as top contenders for budget-conscious consumers. The Pixel 9a stands out as the most affordable option at just $499, compared to the iPhone 16e at $599 and the Galaxy S24 FE at $659. Despite its lower price point, the Pixel 9a boasts a dual camera setup and the flagship-tier Tensor G4 processor—but can it truly deliver exceptional value? Let’s find out.
The Processing Powerhouses: A Quick Comparison
Before diving into benchmarks, here’s how these three devices stack up in terms of core specifications:
Each of these phones features processors developed in-house by their respective manufacturers. Let’s see how they perform in real-world testing.
Mid-range Smartphone 2025 Benchmark Battle: CPU Performance
When it comes to processing power, GeekBench 6 provides valuable insights into how these phones handle both single-core tasks (like launching apps) and multi-core operations (such as scrolling through social media).
The results are clear: Apple’s custom CPU cores maintain their historical advantage over Android competitors. The iPhone 16e delivers particularly impressive single-core performance, nearly doubling the Pixel 9a’s scores. While the Galaxy S24 FE narrows this gap in multi-core scenarios (which are more common in everyday use), Apple still holds the overall performance crown.
But what does this mean for your daily experience?
For everyday tasks: All three phones handle routine activities like web browsing and social media without breaking a sweat
For future-proofing: The iPhone 16e’s substantial performance headroom makes it more likely to handle advanced apps several years down the road
For intensive tasks: Only resource-demanding activities like video editing will reveal the full performance differences
Graphics Prowess: Gaming Performance Compared
All three phones make some GPU compromises compared to their flagship siblings. The iPhone 16e features four GPU cores instead of the five or six found in more expensive models. The Galaxy S24 FE uses a slightly older GPU architecture, while Google’s Mali setup has traditionally been less competitive in benchmarks.
Our 3DMark Wild Life Extreme Stress Test revealed:
The Galaxy S24 FE’s Xclipse 940 GPU delivers impressive performance, maintaining a significant lead despite dropping to 71.9% of its peak performance under stress
The iPhone 16e starts strong but throttles more aggressively, falling to just 70.4% of its initial performance
The Pixel 9a begins with the lowest scores but demonstrates better stability under load (79.1% stability), narrowing the gap during extended gaming sessions
Which Mid-range Smartphone 2025 Marvel Delivers the Best Value?
Apple iPhone 16e: Raw Power with Caveats
While the iPhone 16e’s CPU dominance is undeniable, this advantage may not translate to noticeable everyday improvements. Its battery life falls short compared to both Android competitors, and its graphics performance can throttle significantly during extended sessions. Still, it’s a solid option for those committed to the Apple ecosystem.
For gamers on a budget, the Galaxy S24 FE stands out with superior graphics capabilities that maintain their edge even during long sessions. It strikes an excellent balance between everyday performance and gaming prowess. The main drawback? It’s the most expensive of the three options.
While the Pixel 9a doesn’t win any benchmark competitions, it delivers reliable performance identical to the more expensive Pixel 9. With its significantly lower price point and excellent battery efficiency, it offers tremendous value. The only concern is how well it will perform toward the end of its promised seven-year software support period.
There’s no clear “wrong choice” among these three impressive mid-range contenders. Your decision should consider:
Budget constraints: The Pixel 9a offers the most bang for your buck at $499
Gaming needs: The Galaxy S24 FE delivers the best sustained graphics performance
Ecosystem preferences: iPhone users will find the 16e’s integration with other Apple products valuable
Long-term use: All three devices promise extended software support
Remember that benchmarks tell only part of the story. Camera quality, battery performance, and software features are equally important factors that might influence your decision. Stay tuned for our upcoming battery life comparison between these three mid-range champions!
All products, and company names, logos, and service marks (collectively the "Trademarks") displayed are registered® and/or unregistered
trademarks™ of their respective owners.
The authors of this web site are not sponsored by or affiliated with any of the third-party trade mark or third-party registered trade mark owners,
and make no representations about them, their owners, their products or services.
Unlocked Phones Flexibility? Tired of being stuck with one carrier? Your phone might be locked—meaning it only works with the company you bought it from. SIM unlocking removes this restriction, letting you use any carrier’s service with your existing phone.
It’s like upgrading your device without buying a new one. Let’s explore how this simple change can save you money and give you more choices.
Unlocked Phones Flexibility : What is SIM Unlocking?
SIM unlocking is the process of removing the software restriction that ties your phone to a specific mobile carrier. A locked phone will only work with SIM cards from your original service provider, while an unlocked phone accepts SIM cards from any compatible carrier. This distinction makes all the difference in how you can use your device.
Why SIM Unlocking Matters: 5 Key Benefits
1. Freedom to Switch Carriers
The most immediate benefit of SIM unlocking is the ability to use your phone with any compatible network. Unhappy with your current carrier’s coverage or pricing? Simply unlock your phone, purchase a new SIM card from a different provider, and you’re set. This flexibility lets you choose the best plan for your needs without purchasing a new device.
2. Better Value Through Carrier Competition
Phone is unlocked, carriers must compete for your business. This position of power allows you to:
Shop around for the best monthly rates
Take advantage of promotional offers from any carrier
Switch to prepaid plans that often cost less than contract options
Avoid being trapped in poor service situations due to device limitations
3. Hassle-Free International Travel
For travelers, SIM unlocking is particularly valuable. Instead of paying high international roaming fees, you can purchase local SIM cards in the countries you visit. This approach typically saves 60-80% on data costs while providing better local coverage. Simply swap out your home SIM for a local one upon arrival, and enjoy affordable connectivity throughout your trip.
4. Increased Resale Value
When it’s time to upgrade, an unlocked phone commands a higher resale price. Potential buyers value the freedom to use the device with their preferred carrier, expanding your market of interested purchasers and typically increasing resale value by 20-30% compared to locked devices.
5. No More Carrier Dependency
With an unlocked phone, you’re no longer dependent on a single carrier for service or support. This independence is particularly valuable if you move to an area where your original carrier has poor coverage or if your carrier increases prices unexpectedly.
Unlocked Phones Flexibility : How to Unlock Your Phone
After completing the unlocking process, confirm success by:
Powering off your phone completely
Replacing your current SIM with one from a different carrier
Turning the phone back on
Attempting to make a call or use data
Phone connects to the new network without prompting for an unlock code, congratulations—your device is successfully unlocked!
Conclusion: Unlocked Phones Flexibility
SIM unlocking your phone is a straightforward process that delivers immediate benefits. Whether you’re seeking better rates, planning international travel, or simply want the freedom to switch carriers at will, an unlocked phone puts you in control of your mobile experience.
By removing artificial restrictions from your device, you gain flexibility, potential cost savings, and increased long-term value from your smartphone. In a world where connectivity matters more than ever, why limit your options? Unlock your phone—and unlock a world of possibilities.
All products, and company names, logos, and service marks (collectively the "Trademarks") displayed are registered® and/or unregistered
trademarks™ of their respective owners.
The authors of this web site are not sponsored by or affiliated with any of the third-party trade mark or third-party registered trade mark owners,
and make no representations about them, their owners, their products or services.
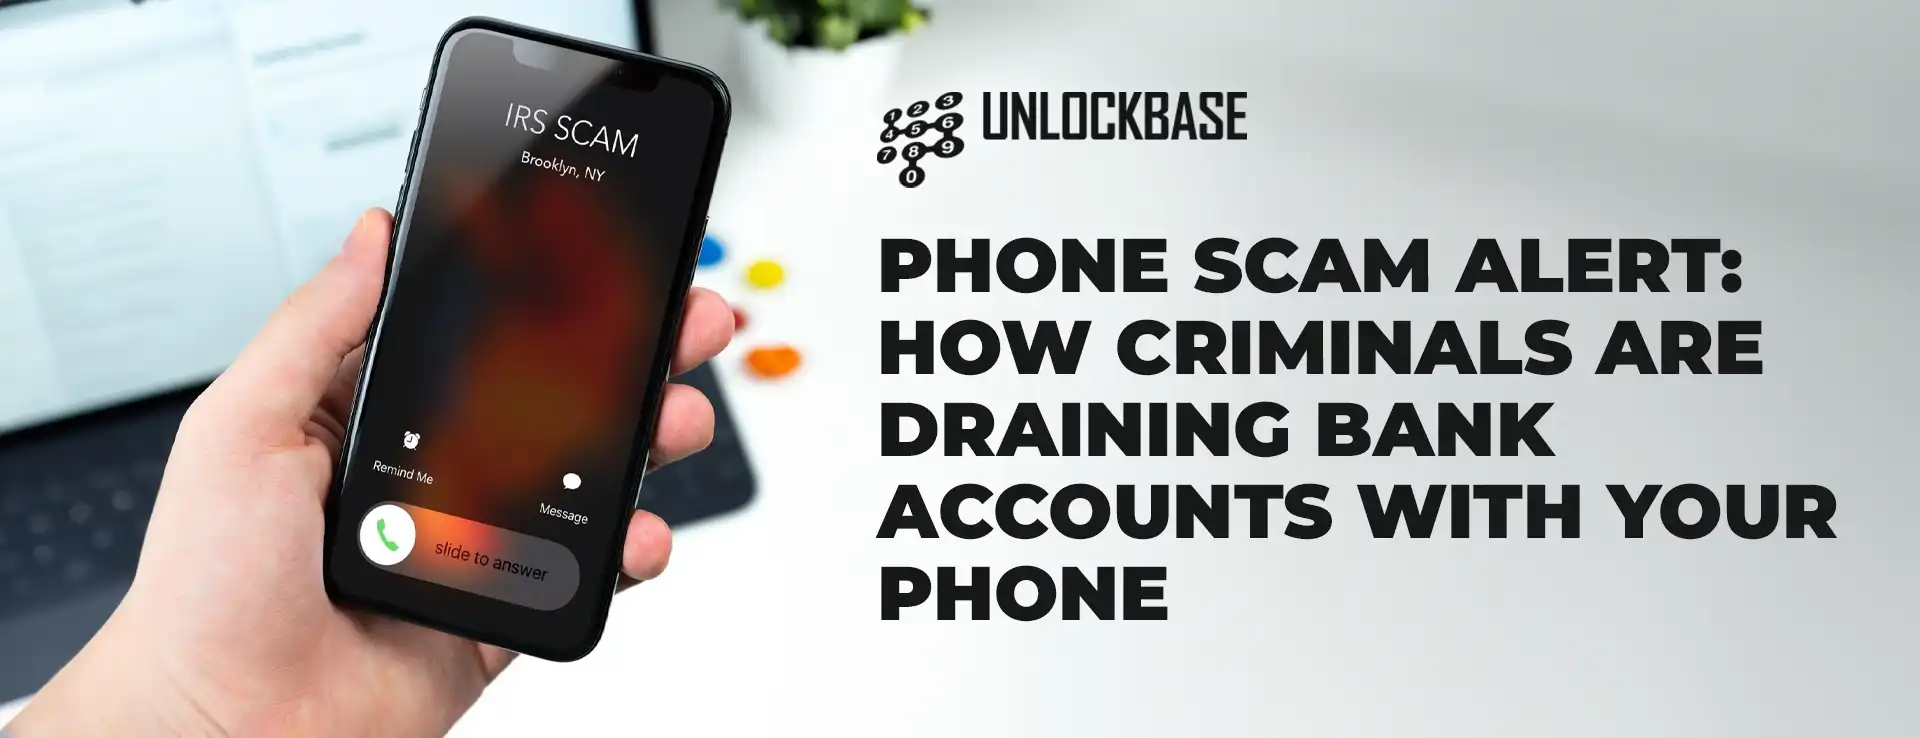
Phone Scam Alert Breaking: NYC residents lost over $76,000 to sophisticated street scammers – Here’s how to protect your money
In an era where digital payments are becoming increasingly common, criminals are adapting their tactics. A particularly cunning street scam has emerged in New York City, blending social engineering with digital theft. This comprehensive guide will help you understand the threat and protect your finances.
Phone Scam Alert : The Evolution of Street Scams
Gone are the days of simple pickpocketing. Today’s scammers are tech-savvy and psychologically sophisticated. They’re targeting busy professionals, students, and tourists in high-traffic areas like SoHo, Greenwich Village, and popular Brooklyn neighborhoods, using a combination of technology and trust manipulation.
Anatomy of the Scam
The Approach:
Scammers appear well-dressed and professional
They claim to represent legitimate organizations (schools, sports teams, or charities)
They carry fake documentation and promotional materials
They target busy areas during peak hours
The Setup:
Request a small, seemingly reasonable donation ($5-$20)
Use popular payment apps like Venmo, Cash App, or Zelle
Create a sense of urgency or emotional appeal
Build trust through professional appearance and behavior
The Switch:
Claim the initial transaction “failed”
Offer to “help” resolve the issue
Request temporary access to the victim’s phone
Execute rapid unauthorized transfers
By the Numbers:
Total losses in NYC: $76,000+ (2023)
Average theft per incident: $928-$3,500
Primary target demographic: Women aged 25-40
Most active areas: Manhattan and Brooklyn
Majority of perpetrators traced to organized groups in New Jersey
Phone Scam Alert : Red Flags to Watch For
Unsolicited requests for donations in public spaces
Pressure to use specific payment apps
Claims of transaction failures without verification
Requests to handle your phone or payment app
Urgent or emotionally manipulative language
Protecting Yourself:
Digital Safety:
Enable biometric authentication for payment apps
Set up transaction limits
Enable notifications for all transfers
Regularly monitor account activity
Street Smart Tips:
Never hand your phone to strangers
Verify charitable organizations independently
Use official websites for donations
Trust your instincts if something feels wrong
Keep payment apps locked with additional security
Phone Scam Alert : What to Do If You’re Targeted
Document the interaction (descriptions, locations, times)
Contact your bank immediately to freeze accounts
File a police report with detailed information
Report the incident to the FBI’s Internet Crime Complaint Center (IC3)
Alert your local community through neighborhood apps
The Bigger Picture: This scam represents a growing trend in hybrid crimes that combine traditional street crime with digital theft. As payment apps become more prevalent, experts predict these types of scams will continue to evolve and spread to other major cities.Stay Informed, Stay Safe: The best defense against these scams is awareness and vigilance. Share this information with friends and family, especially those who are new to digital payment systems or living in high-risk areas.
All products, and company names, logos, and service marks (collectively the "Trademarks") displayed are registered® and/or unregistered
trademarks™ of their respective owners.
The authors of this web site are not sponsored by or affiliated with any of the third-party trade mark or third-party registered trade mark owners,
and make no representations about them, their owners, their products or services.
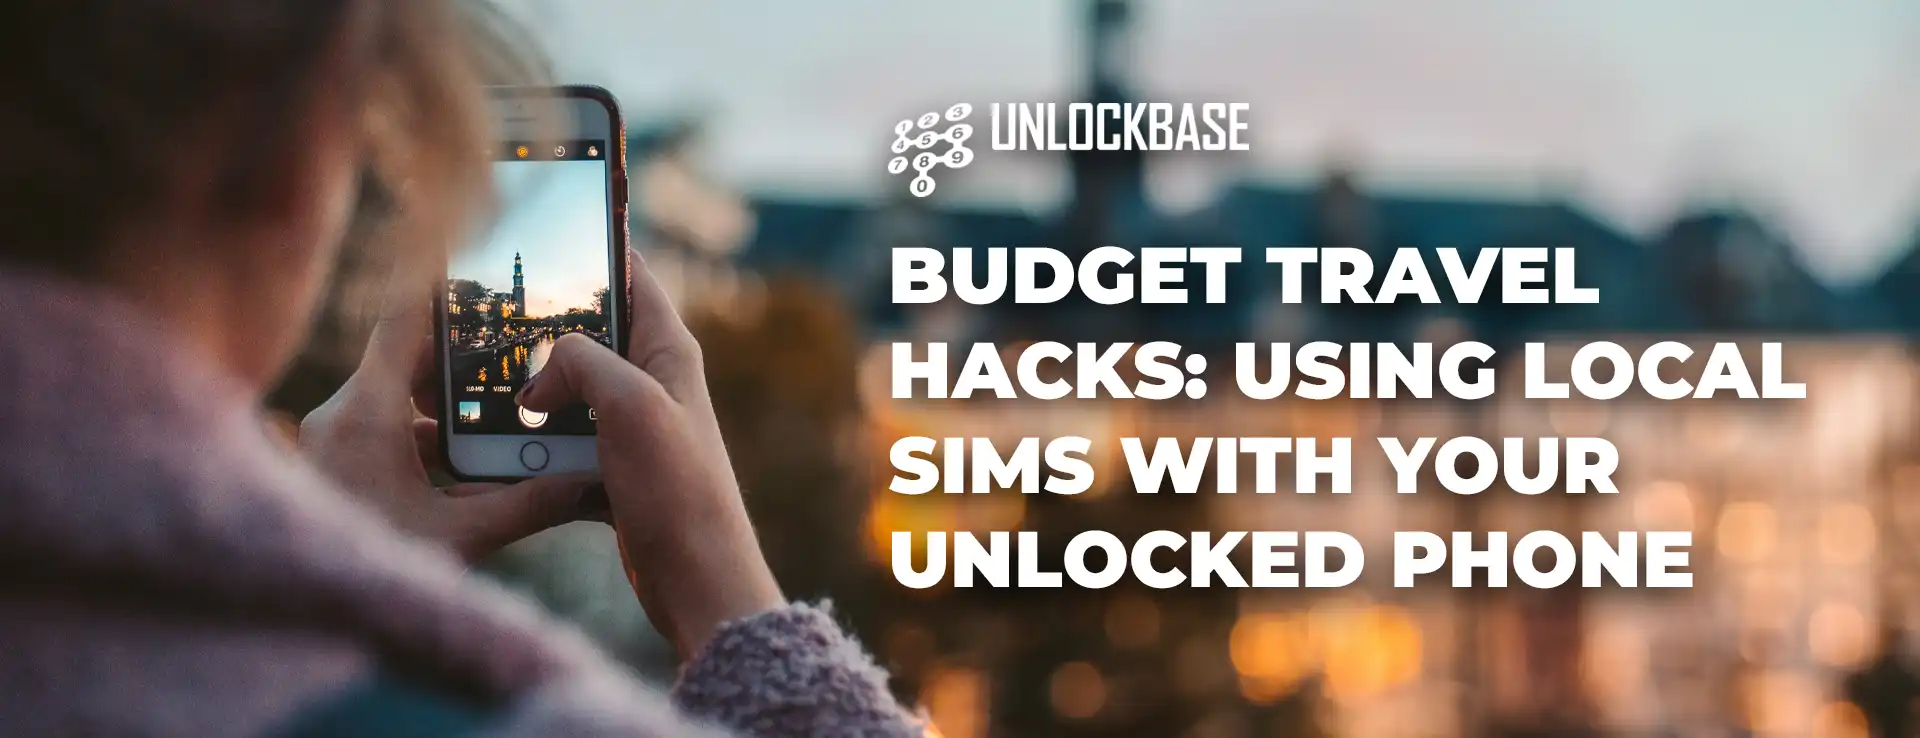
Budget Travel Hacks with Your Phone? Imagine exploring the cobblestone streets of Rome, hiking through Bali’s lush landscapes, or navigating Tokyo’s bustling markets – all without breaking the bank on roaming charges. The secret? Your unlocked phone and local SIM cards.
Why Unlocked Phones Are Your Travel Best Friend
Travel doesn’t have to drain your wallet, especially when it comes to staying connected. Imagine exploring the world without constantly worrying about roaming charges or connectivity issues. The secret? An unlocked phone and local SIM cards.
Why Carrier Locks Are Your Travel Nightmare
International roaming can turn your dream vacation into a financial horror story. Typical roaming charges can rack up hundreds of dollars, transforming a budget-friendly trip into an expensive ordeal.
Budget Travel Hacks with Your Phone : Your Passport to Global Connectivity
An unlocked phone is like a universal travel adapter for mobile communication. It gives you the flexibility to:
Switch SIM cards in any country
Use local carrier rates
Avoid astronomical roaming fees
Stay connected on your terms
How to Unlock Phone using UnlockBase
Unlocking your phone doesn’t have to be complicated. UnlockBase simplifies the process with:
Choose the country and network your phone is locked to.
Confirm your payment and wait for an email with the unlock code.
Budget Travel Hacks with Your Phone : Step-by-Step with UnlockBase
Back up your data
Enter the provided unlock code
Insert new carrier’s SIM
Follow activation instructions
The Real Cost of Travel Connectivity
Let’s break down the savings:
International roaming: $20-$50 per day
Local SIM with UnlockBase: $5-$15 per trip
Potential savings: Up to 80% on communication costs
Pro Travel Connectivity Tips
Research local carrier options before traveling
Purchase SIM card upon arrival
Keep original SIM as backup
Use WiFi when possible to conserve data
Technical Compatibility Checklist
Ensure your phone is ready for global adventures:
Supports multiple network bands
Unlocked through a reliable service like UnlockBase
Compatible with GSM networks
Recent smartphone model preferred
Beyond Savings: The Freedom of Connectivity
Unlocking your phone isn’t just about saving money. It’s about:
Staying connected with loved ones
Navigating new destinations
Sharing travel memories instantly
Avoiding communication stress
Budget Travel Hacks with Your Phone : Conclusion
An unlocked phone with a local SIM isn’t just a travel hack—it’s your ticket to a more connected, affordable global experience. With services like UnlockBase, the world is truly at your fingertips.
Travel smarter, stay connected, and keep more money in your pocket! 🌍📱✈️
All products, and company names, logos, and service marks (collectively the "Trademarks") displayed are registered® and/or unregistered
trademarks™ of their respective owners.
The authors of this web site are not sponsored by or affiliated with any of the third-party trade mark or third-party registered trade mark owners,
and make no representations about them, their owners, their products or services.